

The recipes shared on this site are written in the professional format but are adapted for the home cook. In many ways they’re different—and I think better—than other recipes you’ve used.
Each Recipe Makes A Complete Meal…
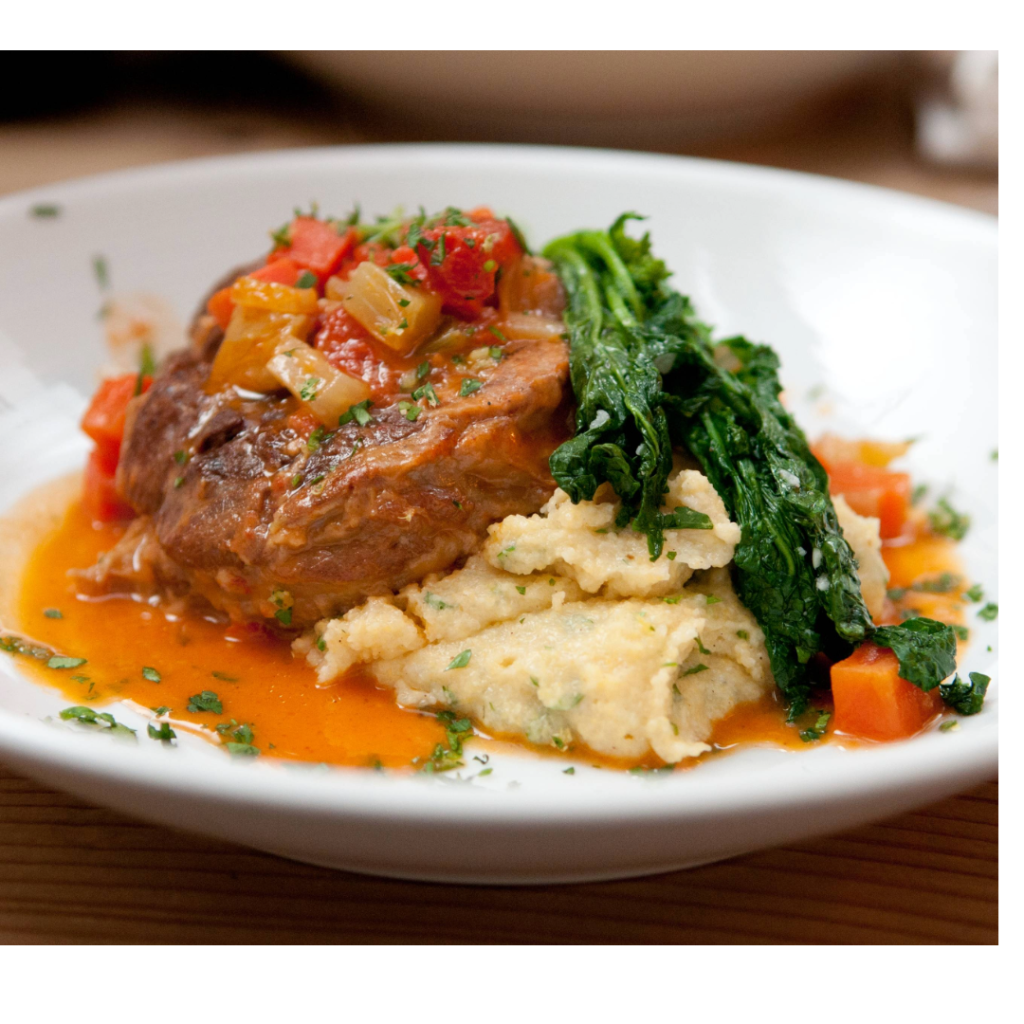
…including a protein item, a starch accompaniment, at least one vegetable accompaniment and, usually, a sauce. When you first look at a recipe on this site, it may appear lengthy or complicated. But keep in mind that recipes on other sites typically yield only the main item. It’s up to the cook to add the side dishes; that requires planning, additional recipes, and more work. My format represents the way chefs think about their entrées: that the accompaniments are an integral part of the dish and significantly contribute to its character. With my recipes you won’t need to make, or even think about, anything to “go with.” These recipes are both esthetically and nutritionally complete.
Each Recipe is a Teaching Tool
Think of the recipes as mini-cooking lessons. You’ll notice that the recipe directions are formatted into numbered main steps and lettered sub-steps. In general, the numbered steps are concise directions for the knowledgeable and experienced cook, such as:
1. Blanch, refresh, and drain the asparagus.
Someone new to cooking may not know what that means. The lettered sub-steps below the numbered steps guide the novice cook through all of the techniques and methods necessary to complete that step.
a. Bring at least 1 gallon water to a rolling boil.
b. Make an ice water bath by filling a bowl with ice and water.
c. Drop the asparagus into the boiling water and cook… etc.
d. Plunge the asparagus into the ice bath.
If you don’t need the lettered steps, you can simply ignore them.


Consistent Yields…
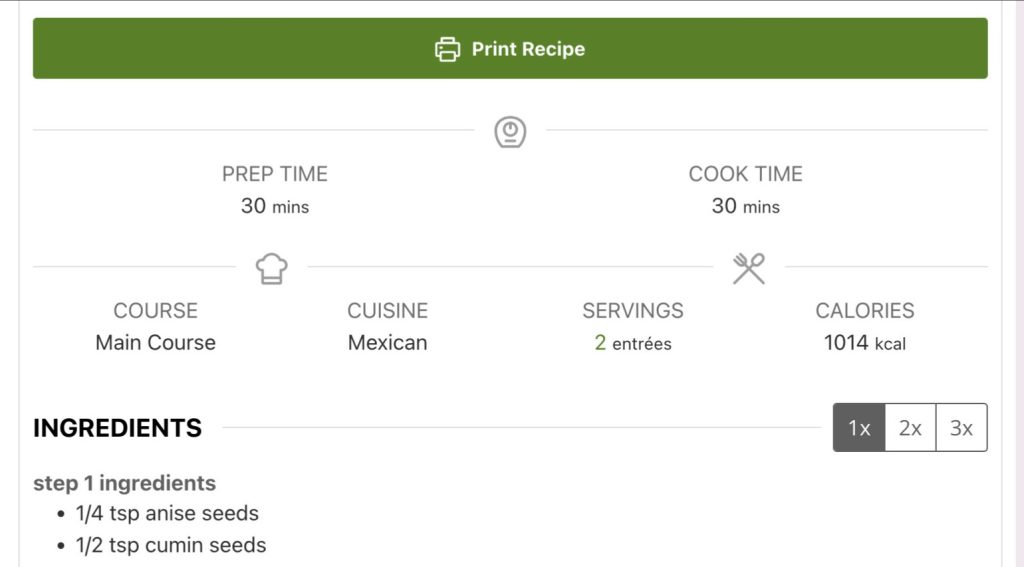
…that are easily scaled up to more portions. As written, every recipe on this site yields two dinner entrées substantial enough to satisfy most appetites. If yours is among the 34% of American households comprising two people, there is no need to scale the recipes down or have a lot of leftovers. If your household is larger (or if you want to make additional portions to enjoy later), the recipe scaling function enables you to easily convert to four or six servings depending on your needs.
Smart Ingredients Lists
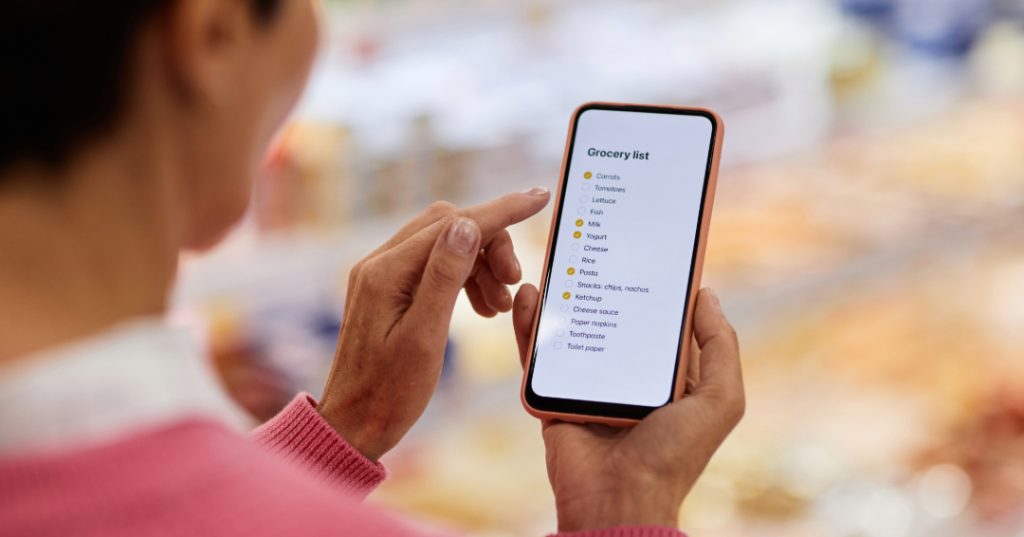
Most of the recipe ingredient amounts are written in the unit of purchase you’ll see in your grocery store; for example, “half a tomato” rather than “⅔ c diced tomato”. So there’s no guessing or math needed to determine how many tomatoes you need to buy. You can create your shopping list on Instacart, or copy the ingredients list onto your phone. For clarity when cooking, ingredients are grouped according to their use in each step. In some cases I specify certain brands of ingredients; of course, you can substitute those that you prefer or have available. As an Amazon and Instacart affiliate, my site makes a small amount of money from referrals—but be assured that I recommend only products I truly believe to be the best.
Holding Instructions
The hold section in each recipe tells you how to store your prepped products and, importantly, how far ahead you can prep. For example, marinated flank steak can be held in the refrigerator up to five days, but flounder fillets need to be used within two days. This helps you plan which dishes should be served early in the week and which can be served at the end of the week. Be aware, though, that holding is not required unless curing or marination time is needed. You can use most of my recipes just like ordinary ones by following the steps from start to finish, all on the same day.
Getting Started
Take a look around the site and choose just one recipe to make on a day when you have the time and bandwidth to try something different. Get comfortable with the format. See if you like my style. I’m hopeful you’ll learn something new and that you and your family will enjoy the dish you made.
If you decide to try the PrepHoldCook method of weekly meal production, start slowly. Choose maybe two recipes to incorporate into your upcoming dinners. Then, if my system works for you, expand to three or four or more. Finally, try adapting your own favorite recipes to the PrepHoldCook format and get your prep for the entire week done ahead of time. Here’s how to do it:
The week before:
- Open the recipe collection for the appropriate season, or search through the all-season recipe page. Decide which recipes you want to cook in the following week. Use the holding times to plan which day you will serve which recipe.
- If you want to produce more than two servings, use the recipe scaling function to scale the recipes up. (Some of my recipes are suited to “meal prep;” you can make extra and container the food for serving on another day.)
- Review the recipes’ ingredients lists. If there are any ingredients you can’t source locally, order them online. Create a shopping list and, if you use a shopping service, place your order. To save precious weekend time I recommend picking up your order on your way home from work on Fridays.
- If your recipes include a PrepHoldCook Essential that you don’t have at hand, plan to make it or add a substitute product to your shopping list.

Friday evening or Saturday morning:
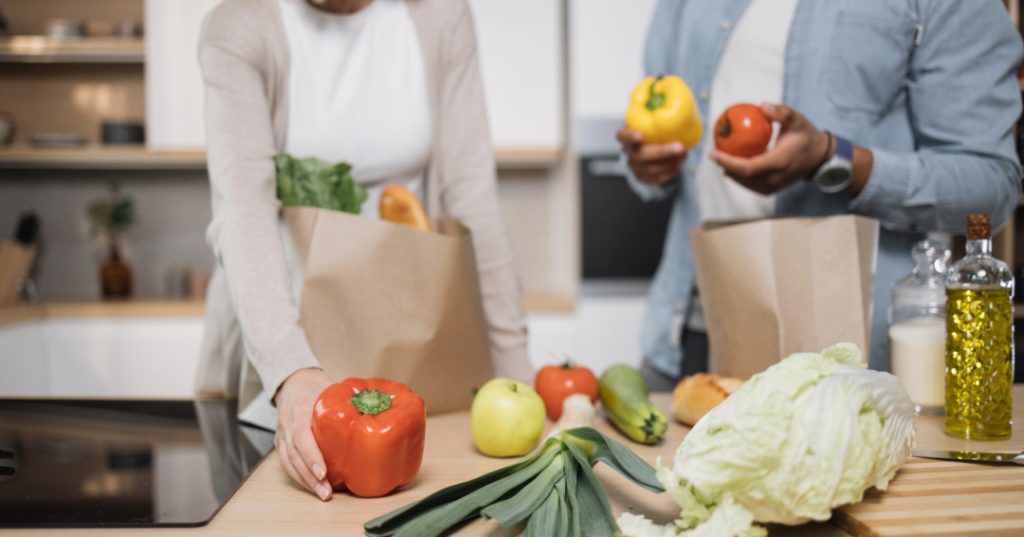
- Shop your supermarket and specialty markets. In season, try to patronize local farmer’s markets for best quality and sustainability.
- To save time and refrigerator space, consider doing some of your simpler prep while you put away your groceries. For example: wash, drain, and wrap salad greens; husk corn; portion breads prior to freezing; etc.
Over the Weekend:
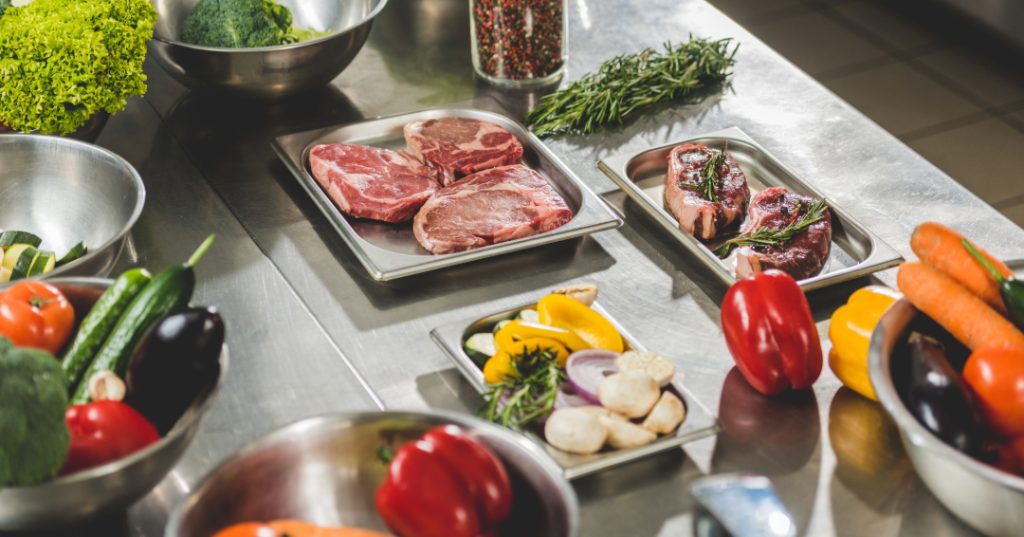
- Review your recipes and check for duplications. For example, many recipes require chopped onion and minced garlic. Note how much you need for the week and fabricate them all at the same time. If two or more of your recipes require the same sauce, marinade, or other basic ingredient, scale up as required so that you only have to prep them once.
- Complete the remaining prep steps for each of your recipes. Use a marker and masking tape to professionally label your bags and containers: name of ingredient, amount, and use-by date (according to holding instructions). When you’ve finished, your mise-en-place for the week is complete.
- Store your mise-en-place in a logical way: place items needed later in the week in the back of your ‘fridge, and put things that are needed early in the week in front.
Each Dinnertime:
- Set the table with napkins, glassware, and whatever flatware your diners will need. You’ll be creating individual plate presentations so you won’t need to pre-set plates.
- Remove your recipe’s mise-en-place from the ‘fridge and pantry, and arrange the items near the stove.
- Place the plates you’ll be using near the stove and have any other required vessels (bread baskets, sauce dishes, etc.) at hand. Ideally, hot food is served on hot plates, so plan for warming your plates in the oven when necessary.
- Re-read the finishing instructions in your recipe and estimate how long it will take you to finish and plate the meal. Decide when you want the food on the table.
- If time allows, sit down, have a drink, and relax for a while.
- Follow the finishing instructions in your recipe and then serve.
- Enjoy a delicious, restaurant-quality meal!