

Your Cooking Lesson
Advice, explanation, and in-depth information to help you achieve recipe success.
Stir-fry dishes originated in Asia but now are popular across the globe. Culinary lore tells us that this cooking method was developed by cooks in places that traditionally lacked fuel resources; without forests to provide hardwood logs for long, slow roasting and other sustained heat methods, instead they learned to quickly cook small morsels of food over kindling or charcoal with just a short burst of high heat. They invented the wok, a hemispherical spun-steel pan that conducts heat well and enables food to sizzle and sear in a minimal amount of oil. The Chinese culinary term wok hei describes the special taste of foods cooked over fire with a blast of high heat: smoky, slightly charred, and with bold, concentrated flavor. If you’ve watched an Asian restaurant chef at work, you’ve heard the hiss of the food hitting the hot wok and seen the flames licking up around it.
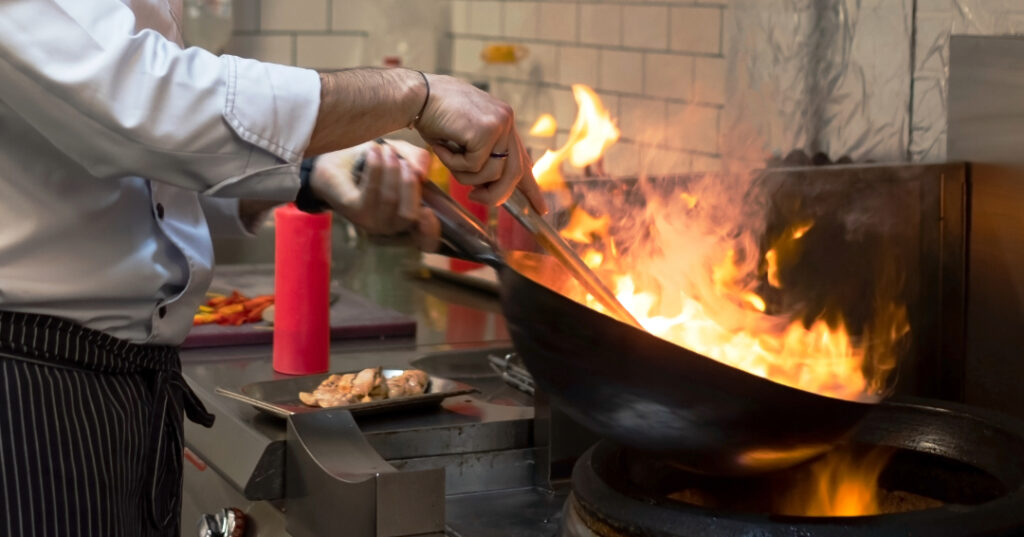
Unfortunately, few domestic ranges provide the extremely high heat required to achieve wok hei. Moreover, domestic range grids aren’t designed to accommodate a traditional wok’s rounded bottom. If you want to use a wok on your domestic range, try a flat-bottomed one. https://amzn.to/4gNk2J7 But you can achieve good results with a carbon steel sauté pan. https://amzn.to/40rqLCO Of course, if you have an electric flat-top or induction range, you must use compatible pans. Whatever equipment you use, the secret to a good stir-fry is using the highest heat your stove can generate and getting the pan very, very hot before you begin.


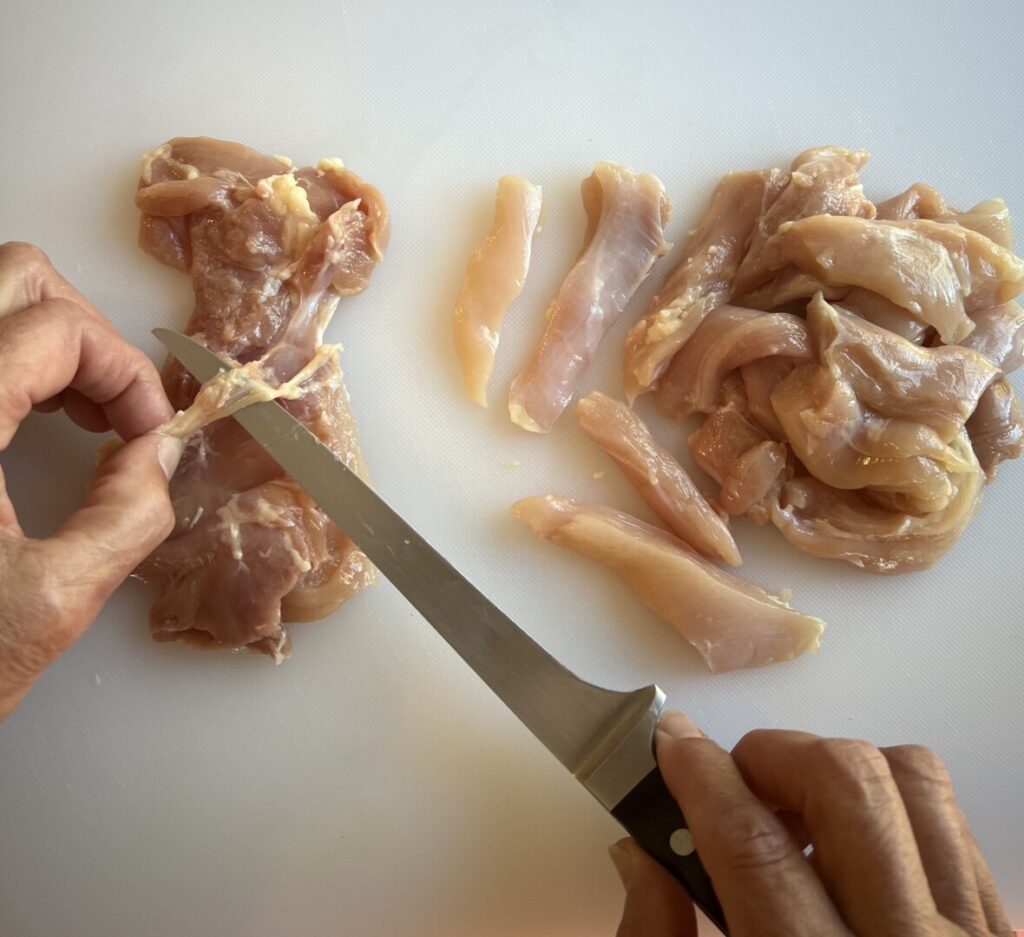
The first step in prepping any protein-based stir-fry is to fabricate and marinate the meat. Asian marinades typically include cornstarch, which dissolves into the liquid marinade ingredients and coats the meat with a slippery surface that holds in moisture and prevents sticking. Although I prefer chicken thigh meat for its full flavor and denser texture that helps prevent overcooking, you can use chicken breast meat for this dish if you prefer. To fabricate boneless, skinless chicken thighs, all you need to do is remove visible fat and connective tissue, then cut the thighs into strips.
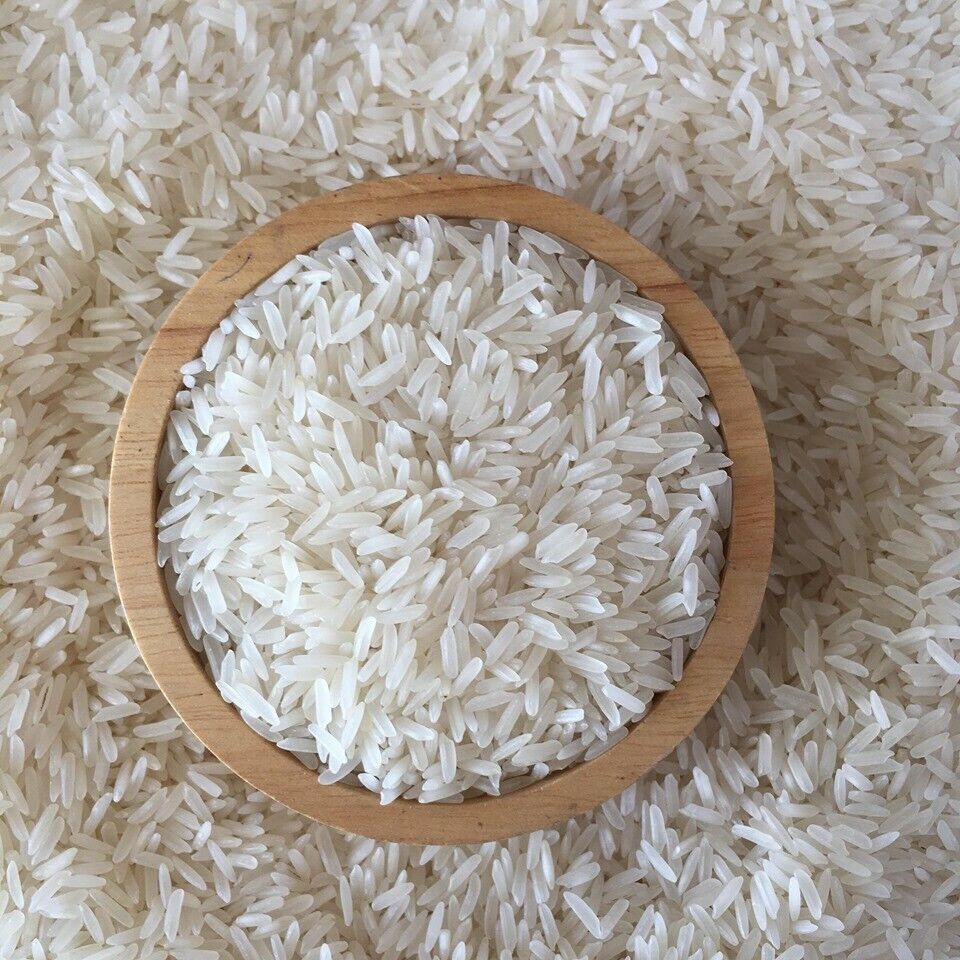
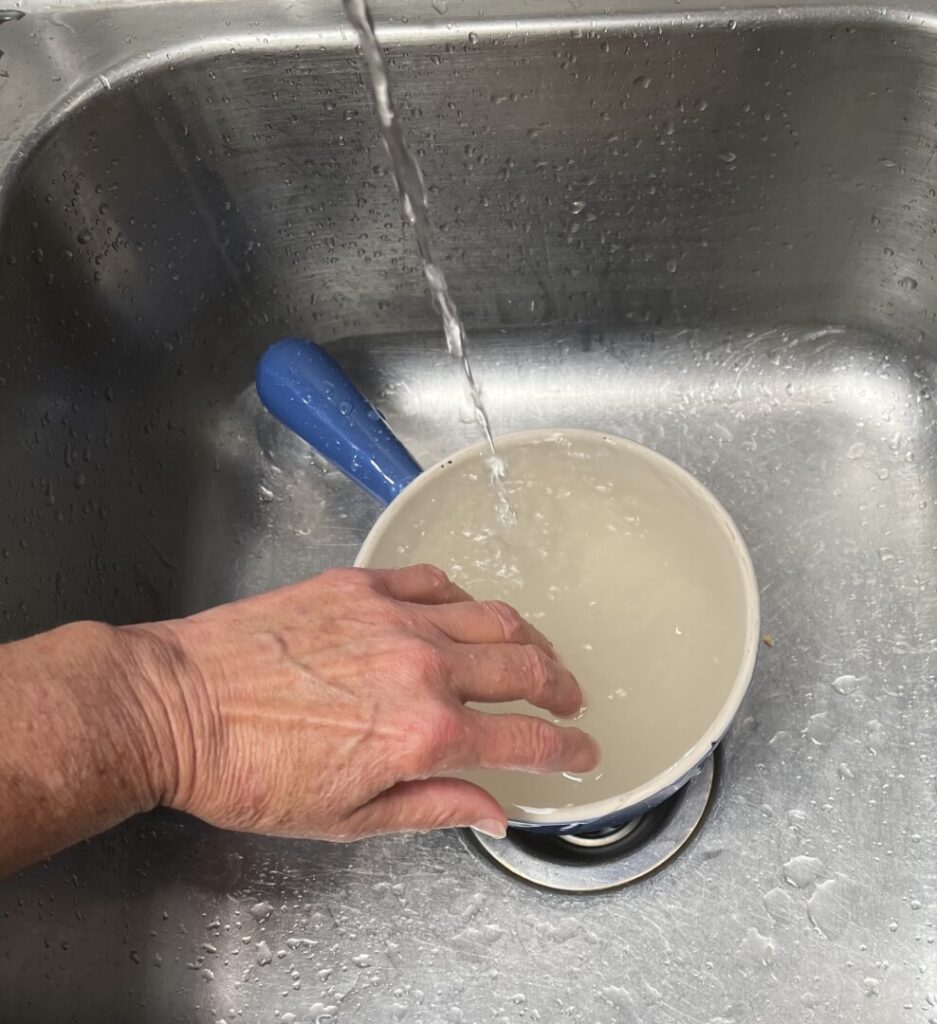
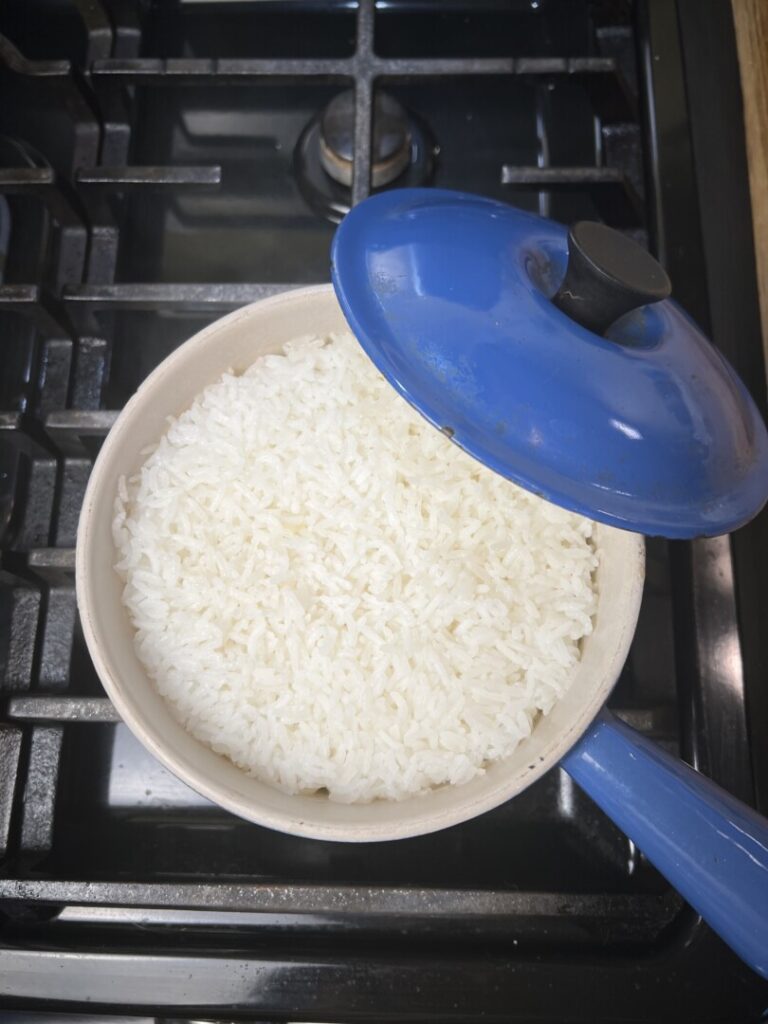
Jasmine rice, which is my choice for east Asian meals, requires 20 minutes of soaking in hot water before cooking. This allows the delicate grains to absorb water slowly and swell up gently before it’s cooked on the stove. First, you’ll wash the rice under cool running water to remove milling dust that can make rice sticky. Drain and then cover with hot tap water. You have 20 minutes to do other things, then you’ll drain again and add the cooking water. The ratio for jasmine and other tender-grain rice is easy to remember—after soaking, 1:1. The water amount is equal to the amount of raw rice you started with. Although it’s not traditional, I like to add a little salt and a bit of oil to the cooking water to enhance flavor and texture. The type and size of the saucepan you use is important to success. Rice needs a thick-bottomed pan to prevent scorching, and the pan needs to be the correct size. When cooked, rice absorbs liquid and expands to three times its raw volume. Your saucepan should have a capacity of about 4 times the volume of the raw rice. Too large a pan results in uneven absorption of water, resulting in mushy rice on the bottom and undercooked rice at the top. For 1 cup raw rice the Le Creuset 1 1/4-qt saucepan is perfect https://amzn.to/4h6hAgL; for 2 cups rice, choose the 2-qt https://amzn.to/4h8X6E9. Start the rice on the stovetop until most of the cooking liquid absorbs, then finish cooking in the oven. Of course, you can use a rice cooker if you prefer https://amzn.to/3PvjhZj.
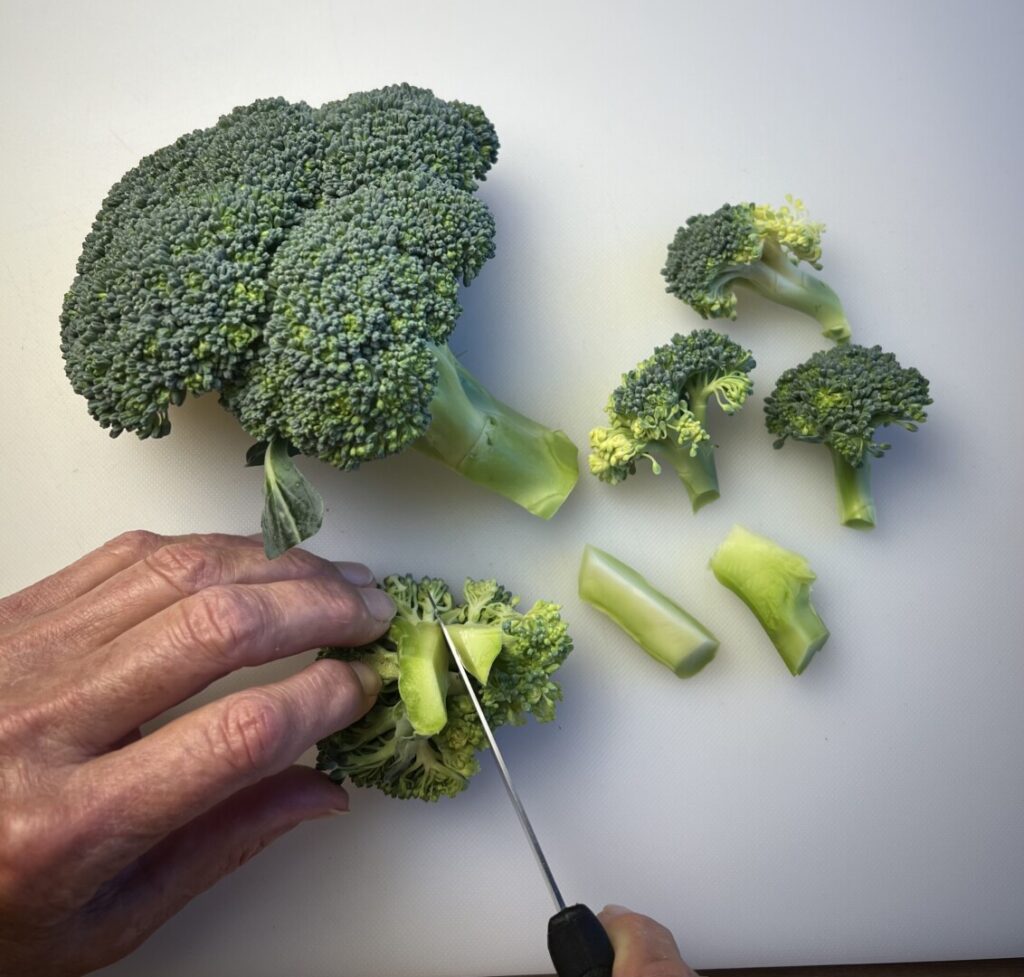
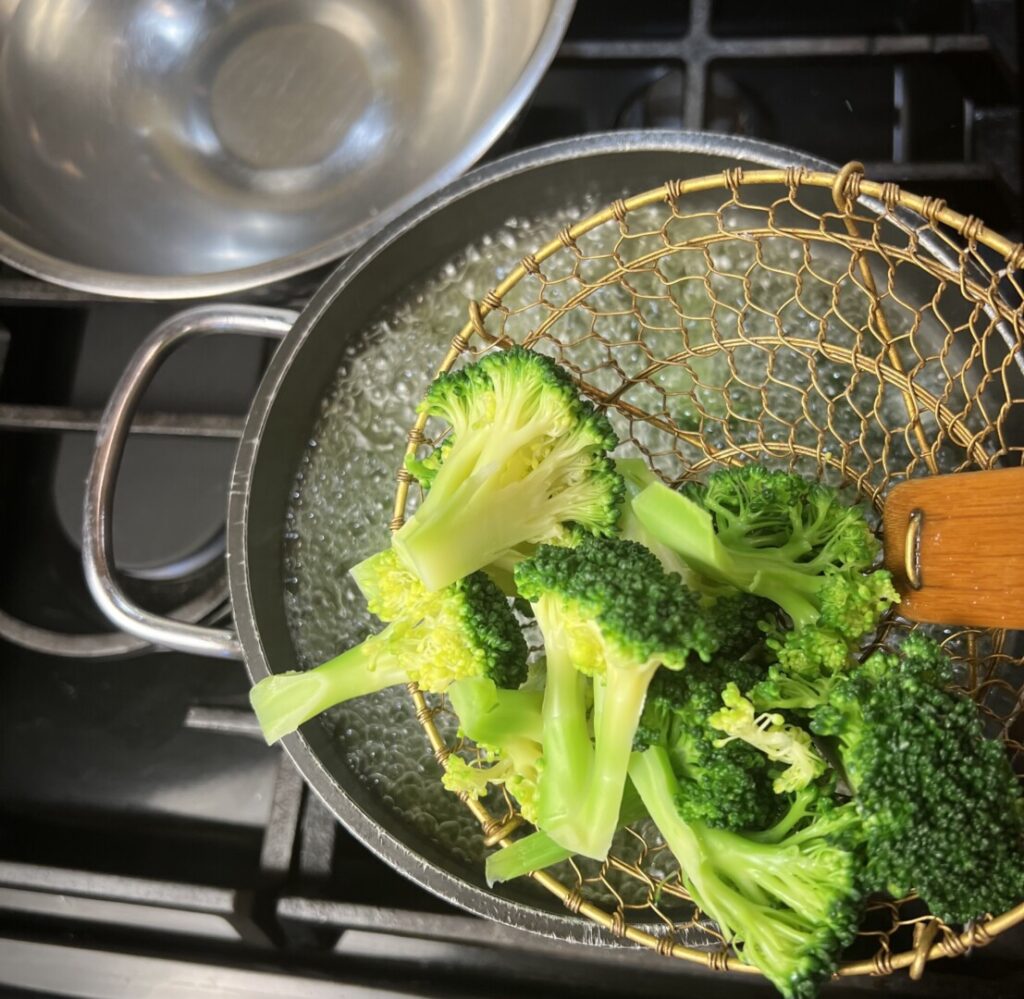
Broccoli plays the starring role in this stir-fry. Available and of good quality year-round, it’s a dependable vegetable that holds up well in the ‘fridge. We rarely see whole broccoli, including the stem, in today’s supermarkets because the stems are now processed into broccoli slaw. If the broccoli crown you purchase has some stem attached, be sure to use it. I recommend peeling any stem pieces so that they cook at the same rate as the florets. The photo below shows the most efficient way to separate the crown into same-size florets: cut down just through the stem, then pull the resulting sections apart. Mature broccoli, such as you buy in a store, is a firm vegetable that requires some moist heat to cook properly. Asian restaurant chefs cook broccoli to order in the wok by braising it: first stir-frying, then splashing in some water to create steam, then allowing the water to evaporate away so that the broccoli finishes by once again sizzling in hot oil. To simplify your stir-fry process, we’re going to blanch and refresh the broccoli ahead of time as part of prep. You’ll drop it in rapidly boiling water for less than a minute until crisp-tender, then transfer to a bowl of iced water to stop the cooking. To efficiently blanch and refresh, a “spider” strainer (shown in the right-side photo) is helpful. (https://amzn.to/4gNGlyr or https://amzn.to/3PrUvtc) To prevent spattering oil, make sure to blot the broccoli dry before frying it!
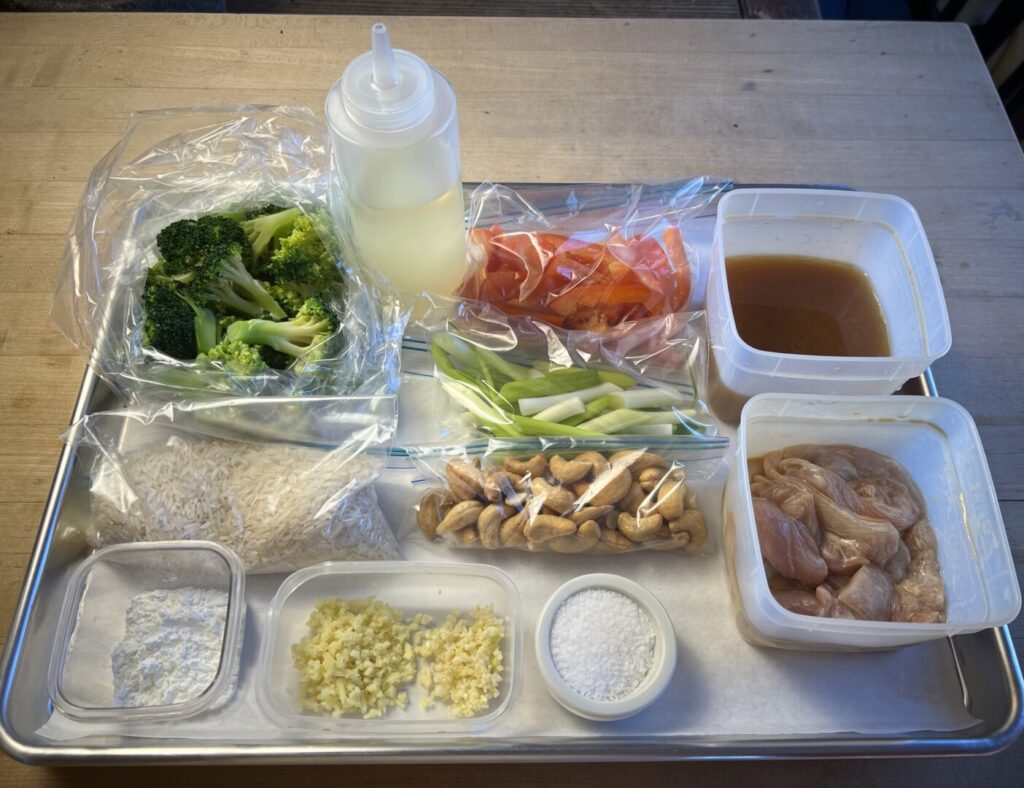
The rest of your prep involves fabricating the aromatic vegetables and secondary vegetables, and mixing the sauce. Here’s your completed mise-en-place:
It’s dinnertime—now you’re ready to COOK!

A slurry is a mixture of starch and water used for thickening sauces. Mix your slurry just before stir-frying so the cornstarch doesn’t sink to the bottom and harden.
Stir-fry happens fast! There’s no time to be running around the kitchen looking for tools or ingredients you’ve forgotten. Before you start cooking, double-check that everything you need is at hand. Having your cooking oil in a squeeze bottle is helpful for speed and control. (Include a pan lid in your equipment mise to extinguish flames in the pan if the oil flares up.) Wearing long sleeves is a good idea, as spattering may occur.
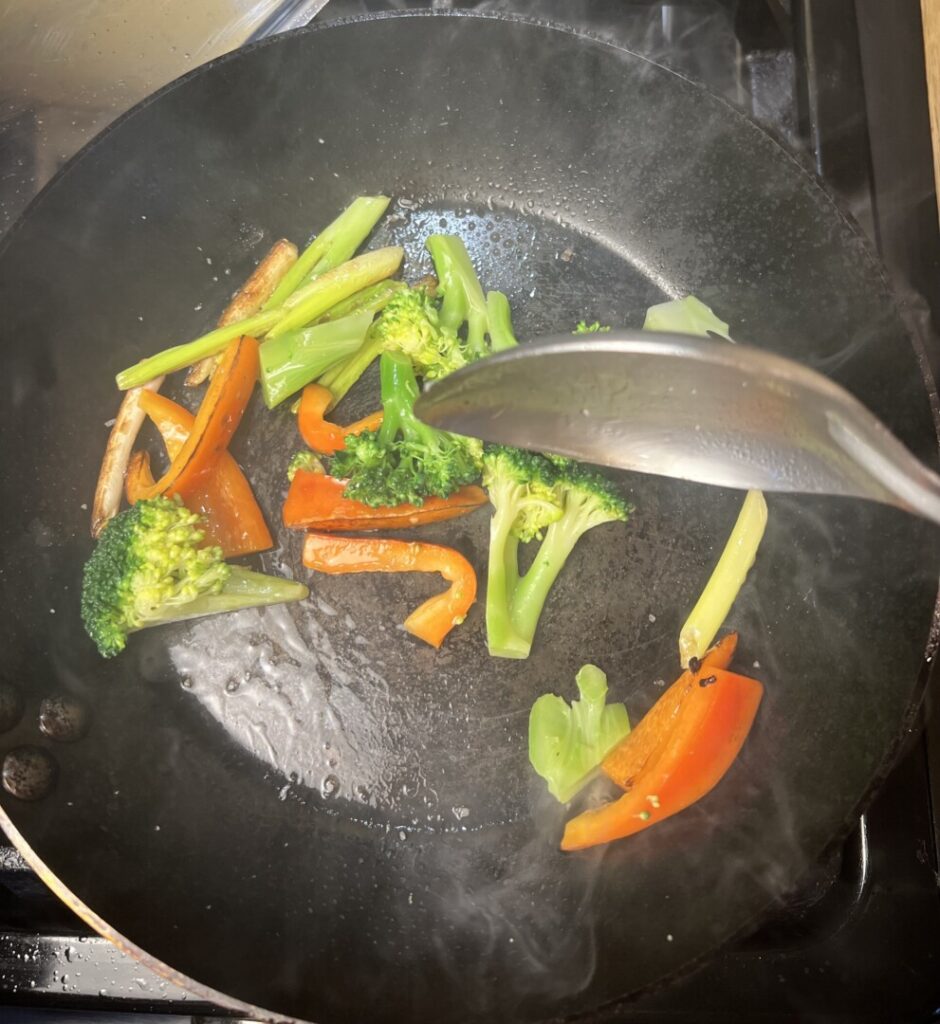
Put your sauté pan on your highest heat burner and wait until it’s really hot. You should see wisps of vapor rising from the surface. On a well-seasoned carbon-steel pan you may see tiny wisps of smoke, as well. A drop of water flicked into the pan will bead up instantly and vanish. Squeeze in a little oil and then toss in the vegetables along with a pinch of salt. Stir, flip, and “jump” the vegetables in the pan a few seconds until glossy, vividly colored, and slightly charred at the edges. Remove to a sizzle pan or work plate.
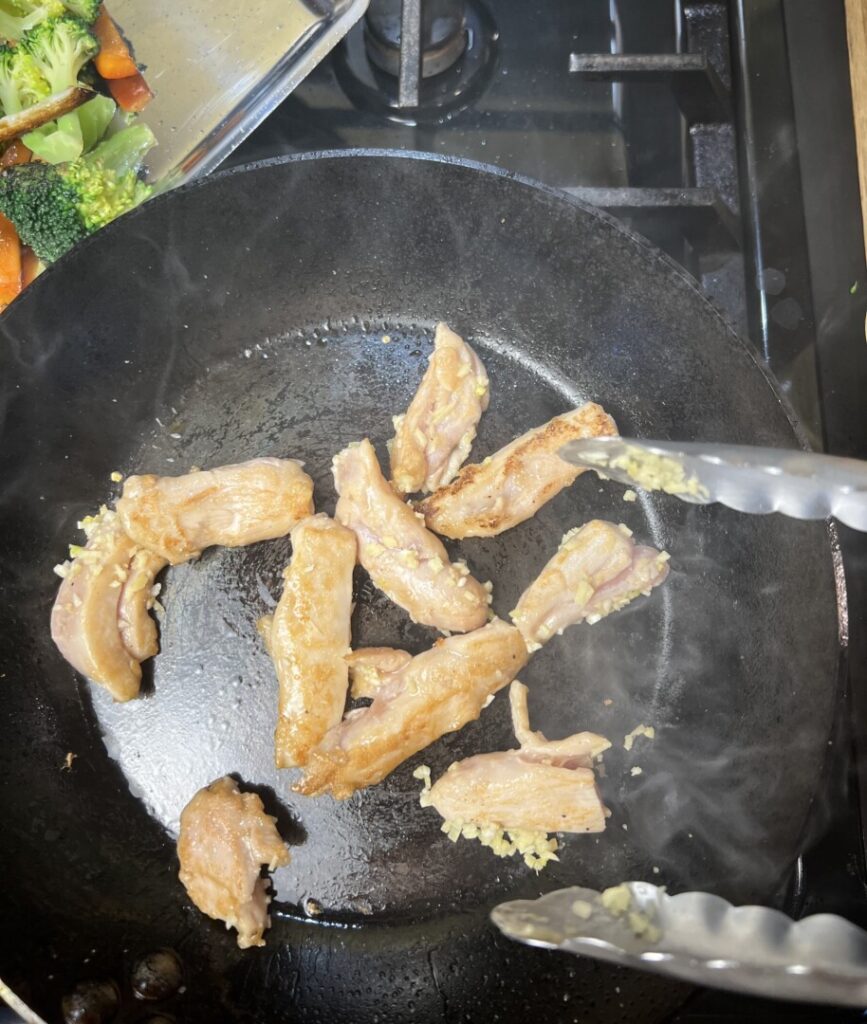
Squeeze in a bit more oil and add the chicken. Stir-fry, as before, for about a minute then add the aromatic vegetables. Stir-fry a few seconds longer; don’t let the aromatics start to scorch.
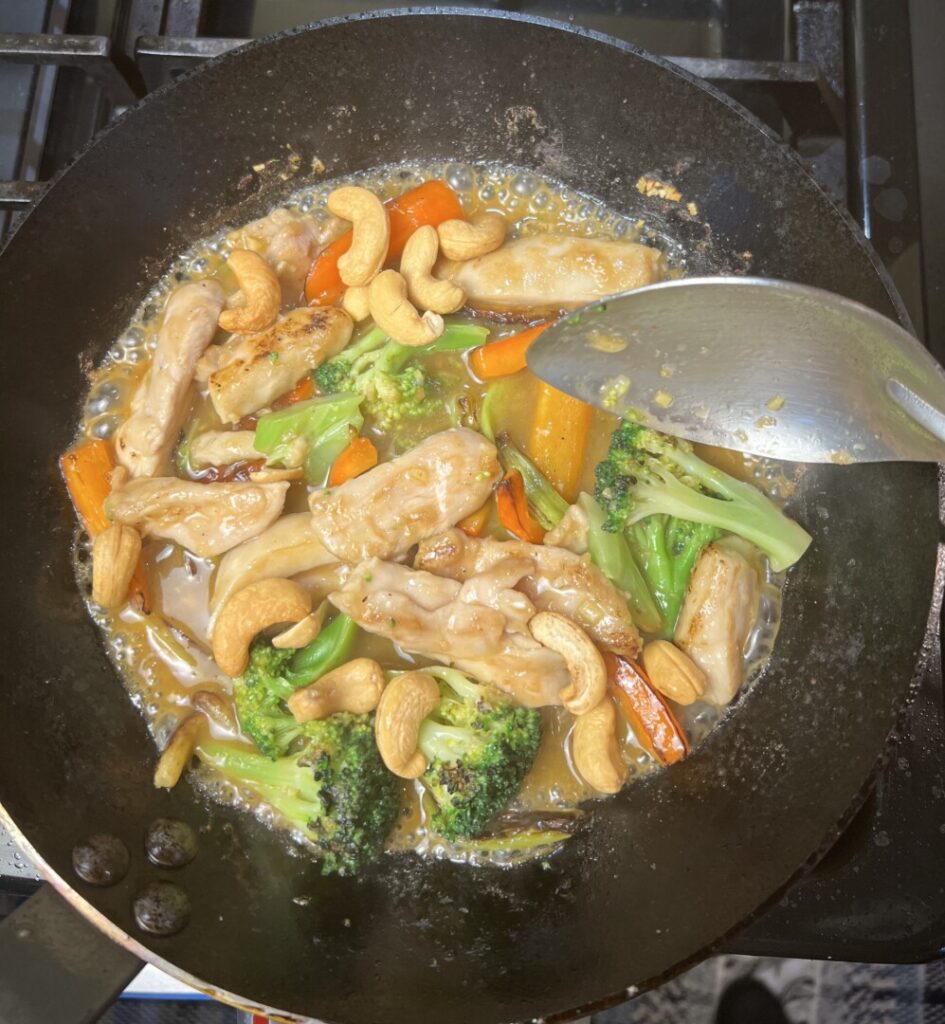
Quickly return the vegetables to the pan, pour in the sauce, and bring to the boil. Taste for seasoning and make corrections. (If you love spicy food, you may want more Sriracha.) Push the chicken and vegetables to one side of the pan and then stir in just enough slurry to thicken the sauce to nappé consistency (thick enough to coat a spoon yet thin enough to flow on a plate). Then stir to re-combine.
Now you’re ready to plate!
Mound the rice in the center of a warm plate and make a well in the center. Spoon in the stir-fry, ensuring even portioning of chicken, vegetables, cashews, and sauce.


Chicken, Broccoli, and Cashew Stir-Fry
with Jasmine RiceIngredients
step 1 ingredients
- 1 c jasmine rice
step 2 ingredients
- 1 Tbsp cornstarch
- 3 Tbsp Chinese Shaohsing rice wine
- 1 tsp Chinese soy sauce (preferably Pearl River Bridge or Koon Chun brand)
- 8 oz boneless, skinless chicken thighs
step 3 ingredients
- 1/2 tsp kosher salt
- 1 tsp peanut oil or canola oil
step 4 ingredients
- 1/2 broccoli crown
step 5 ingredients
- 1/2 red bell pepper
- 3 large scallions
- 1 garlic clove
- 1/4 oz fresh ginger
step 6 ingredients
- 1 1/4 c chicken bone broth or chicken stock
- 2 tsp Chinese soy sauce (preferably Pearl River Bridge or Koon Chun brand)
- 1 Tbsp Sriracha sauce (preferably Huy Fong brand)
- 3/4 tsp sugar
- 1/4 tsp kosher salt
- 1/4 tsp Chinese dark sesame oil (preferably Kadoya brand)
step 9 ingredients
- 4 tsp cornstarch
- 5 tsp water
step 10 ingredients
- 4 Tbsp peanut oil or canola oil (in squeeze bottle)
- to taste kosher salt
- 1/2 c roasted, salted, whole cashews
Instructions
PREP: Mise the recipe ahead of time.
1. Rinse and soak the rice:
- Preheat an oven to 350°F. Choose a heavy oven-proof saucepan with a tight-fitting lid that is just large enough to accommodate three times the volume of the raw rice you are using.
- Place the rice in the pan, then place the pan under a gentle stream of cool running water. Use your hand to swish the rice around as the water flows, taking care not to lose rice grains over the pan rim. Continue until the starchy dust is removed from the rice, and the water becomes clear.
- Pour off as much water is possible, then cover the rice with very hot tap water. Allow to soak for 20 minutes only.
2. Fabricate and marinate the chicken:
- Combine the step 1 cornstarch, wine and soy sauce in a container large enough to accommodate the chicken.
- Trim away fat and connective tissue from the chicken and then cut into strips about ½ x 2 inches.
- Mix the chicken into the marinade. Refrigerate at least 20 minutes.
3. Cook the rice:
- Pour off as much water from the rice as possible, and then add cold cooking water equal to the amount of raw rice with which you started. (For 1 c raw rice, use 1 c cold water.) Add the step 3 salt and oil.
- Cover the pan and place on a burner set to high heat. Cook undisturbed about 5 minutes until you sense the boil (hearing the boiling sound, steam appearing around the pan rim).
- Turn the heat to medium and continue cooking about 5 minutes longer.
- Peek under the lid. If the water is almost absorbed, transfer the pan to the oven. Bake about 10 minutes.
- Remove the pan from the oven.
- If prepping ahead, remove the lid and allow the rice to cool to room temperature. Store in a plastic bag.
4. Fabricate and par-cook the broccoli.
- Bring a saucepan of water to the boil. Have ready a bowl of iced or very cold water.
- Separate the broccoli crown into even-size florets slightly larger than 1 inch.
- Blanch the broccoli by dropping in into the boiling water for about 30 seconds to achieve a very crisp al dente texture.
- Immediately use a “spider” strainer or slotted spoon to remove the broccoli from the boiling water and plunge it into the iced water to refresh.
- Refresh by soaking for 5 minutes, and then drain. Blot dry on paper towels.
- If prepping ahead, place the broccoli in a plastic bag with a dry folded paper towel in the bottom.
5. Fabricate the remaining vegetables:
- Trim the red bell pepper of membrane and then cut into strips measuring about ¼ x 2 inches.
- Trim off the root ends of the scallions and then cut into 2-inch lengths.
- Peel and mince the garlic and ginger, and then combine them in a small container.
6. Mix the sauce ingredients:
- Combine the chicken broth, step 6 soy sauce, Sriracha sauce, sugar, step 6 kosher salt, and optional sesame oil in a container.
7. Assemble the remaining mise-en-place ingredients for the recipe.
HOLD: Refrigerate all ingredients up to 3 days.
COOK! Finish and plate your dinner.
8. Transfer the cooked rice to a microwave-safe container, cover it, and reheat until hot.
9. Mix the slurry: combine the step 9 cornstarch and water in a small bowl.
10. Make the stir-fry:
- Have all necessary ingredients, equipment, and plates ready at the stove, including a sizzle pan or work plate.
- Place a sauté pan or wok on a burner set to high heat. Wait until it is very hot.
- Squeeze in less than half of the step 10 oil, then immediately add the peppers, scallions, broccoli, and a pinch of salt. Stir and shake the pan, flipping the ingredients, for about 30 seconds until the peppers begin to soften and the vegetables become slightly browned at the edges. Transfer to the sizzle pan.
- Squeeze the remaining step 10 oil into the pan, then immediately add the chicken. Stir and shake the pan, flipping the chicken, about 30 seconds until it becomes firm to touch and browned at the edges. Add the garlic-ginger mixture and toss for a few seconds longer.
- Return the vegetables to the pan and mix with the chicken.
- Stir the sauce ingredients and then add the mixture to the pan. Bring the sauce to the boil.
- Push aside the chicken and vegetables to leave a pool of sauce on one side of the pan. Stir the slurry to combine it, then stir it into the boiling sauce in a thin stream. The sauce will immediately thicken. Use only as much slurry as needed to achieve a nappé consistency.
- Evaluate the flavor and correct to your taste: more salt, sugar, and/or Sriracha.
- Stir in the cashews.
11. Plate:
- Mound the hot rice on warm plates and use a spoon to make shallow wells in the center of the rice.
- Spoon the stir-fry and sauce into the wells.