

Your Cooking Lesson
Advice, explanation, and in-depth information to help you achieve recipe success.
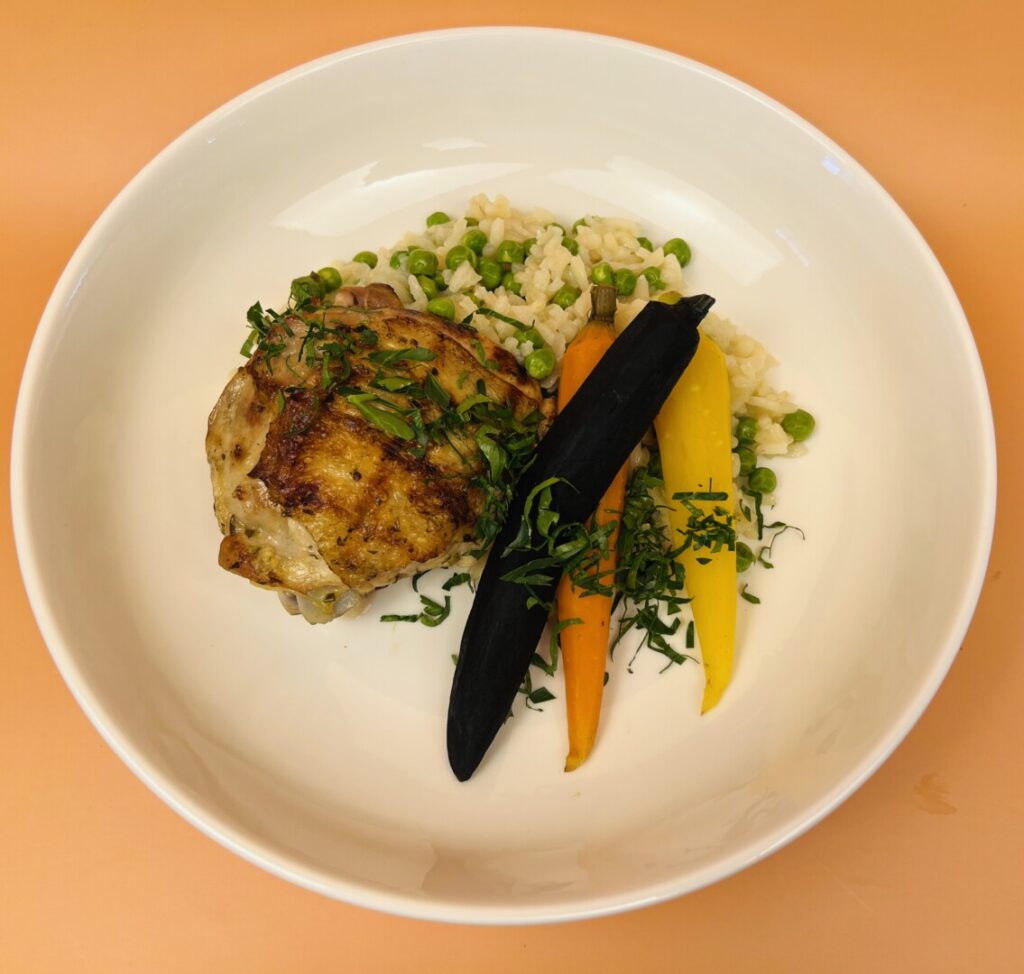
Warm weather makes vegetables flourish and gets us in the mood for cooking outdoors. And grilled chicken is a springtime favorite. The combination of tangy marinade, lightly smoky char-grilled flavor, and juicy mouthfeel makes these chicken thighs delicious in their own right, without a sauce. But they’re even better teamed with the classic risotto dish, risi e bisi. Pronounced “reezy-beezy,” the name literally translates as “rice and peas,” which are its two main ingredients. But both the rice and its risotto cooking method are unique, and fresh local peas are a seasonal treat. Complete the plate with colorful young rainbow carrots and you truly have a dish of distinction.

“Young” carrots are harvested while still small, slender, and tender—as opposed to mature storage carrots that are grown to full size and held under temperature- and humidity-controlled conditions to last through the winter season. As proof of their youth, young carrots are sold with their leafy tops (or, at least, their stems) attached. Young carrots are by far the best to feature as a side dish.
“Rainbow” is a generic name used to describe a bunched or packaged carrot assortment that includes specimens of varying colors. Carrots, like all vegetables, acquire their colors from plant pigments. Although white, yellow, and purple carrots were cultivated as far back as late antiquity, in the 15th century Dutch horticulturalists began selectively breeding carrots for the orange color derived from carotenoid pigments. Since then, orange has been the most common carrot color. But in the late 20th century, advances in horticulture made it possible to breed carrots in various attractive hues derived from all four plant pigments.
While multi-color carrots don’t taste different than orange ones, they really add visual interest to plate presentations. But if you can’t grow or find rainbow carrots, tender young orange carrots will do just fine.
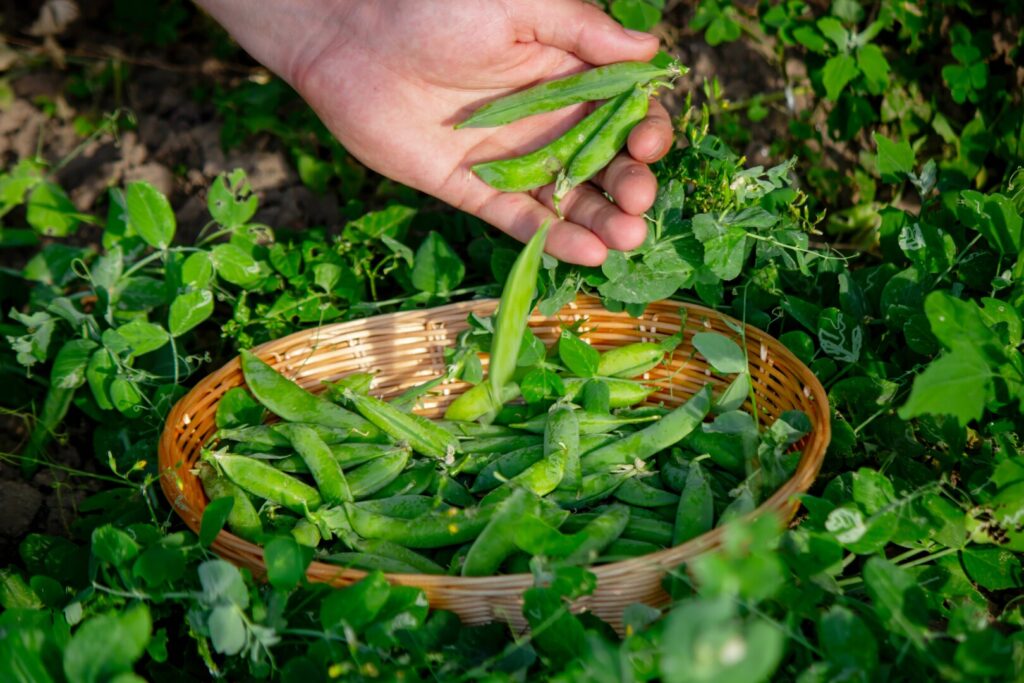
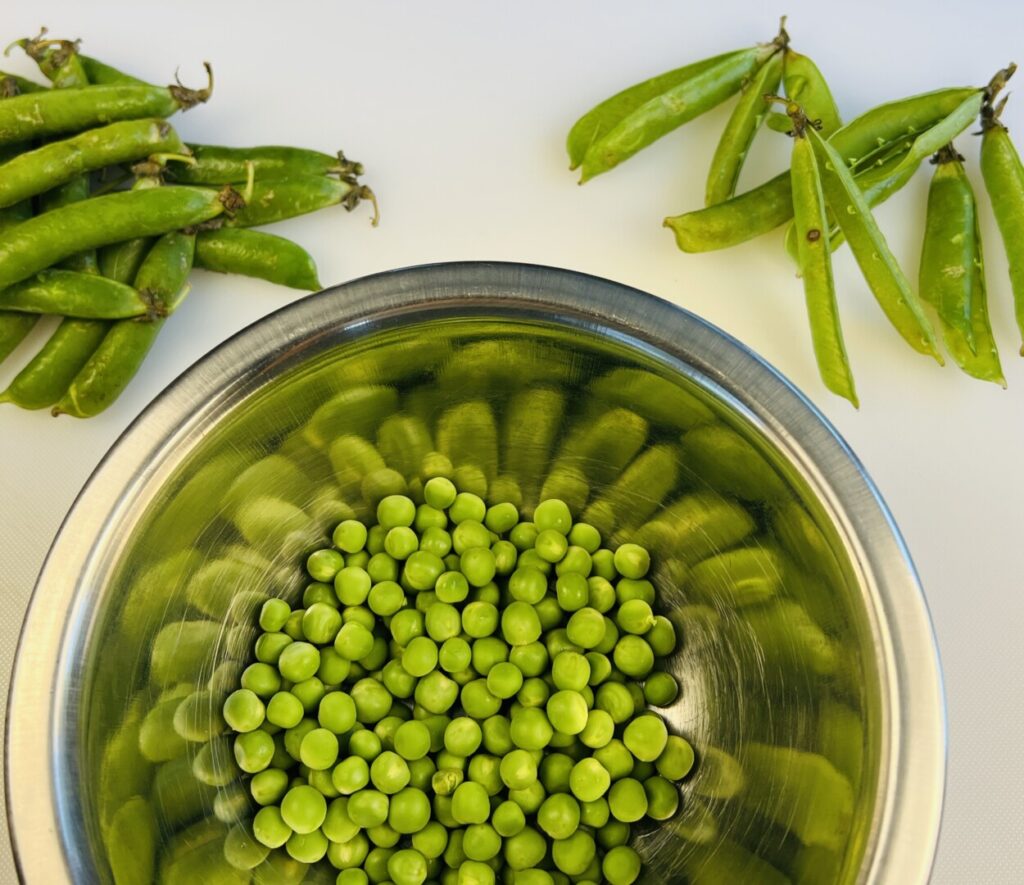
In the Mid-Atlantic, late spring brings the first harvest of locally-grown English peas. When freshly picked just before cooking, these tiny legume seeds burst in your mouth with tender, juicy sweetness. If you’re fortunate enough to grow peas in your backyard or have access to a local farmer’s market, you’re in for some good eating. Most fresh peas are sold in their pods, so you need to spend a little time shucking them (removing the peas from their pods). But it’s well worth the effort. You can learn more about fresh peas by visiting this blog post: https://prepholdcook.com/recipes/late-spring/crab-stuffed-salmon-roulades-on-herbed-croutons-with-peas-and-pearl-onions/ If finding fresh peas proves difficult, you can still make this dish using frozen peas.
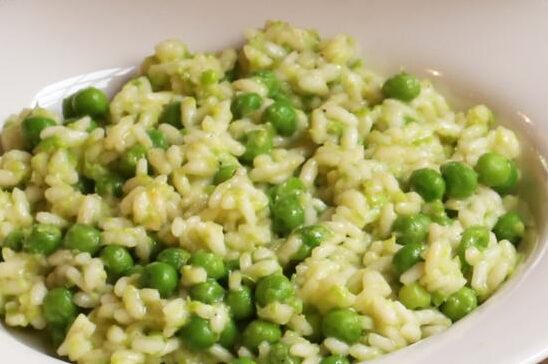
Risi e bisi is an iconic springtime dish from the Veneto, a region of northeastern Italy that includes the city of Venice. Risi e bisi is a variation of risotto, made with one of several special types of Italian rice. The risotto rice cooking method, described subsequently in this post, results in firm, chewy rice grains surrounded by a creamy sauce flavored with chicken stock and Parmigiano-Reggiano cheese. The addition of fresh, sweet, tender young peas elevates a dish of risotto into the realm of sublime.
In traditional northern Italian cuisine risi e bisi, like other risotti, is served solo as a primi, or starch-based first course. In this adaptation for an American one-course weeknight dinner, risi e bisi becomes a side dish for savory grilled chicken. But don’t hesitate to try serving it as an appetizer for a multi-course meal—possibly with the addition of some fine-diced prosciutto or pancetta.
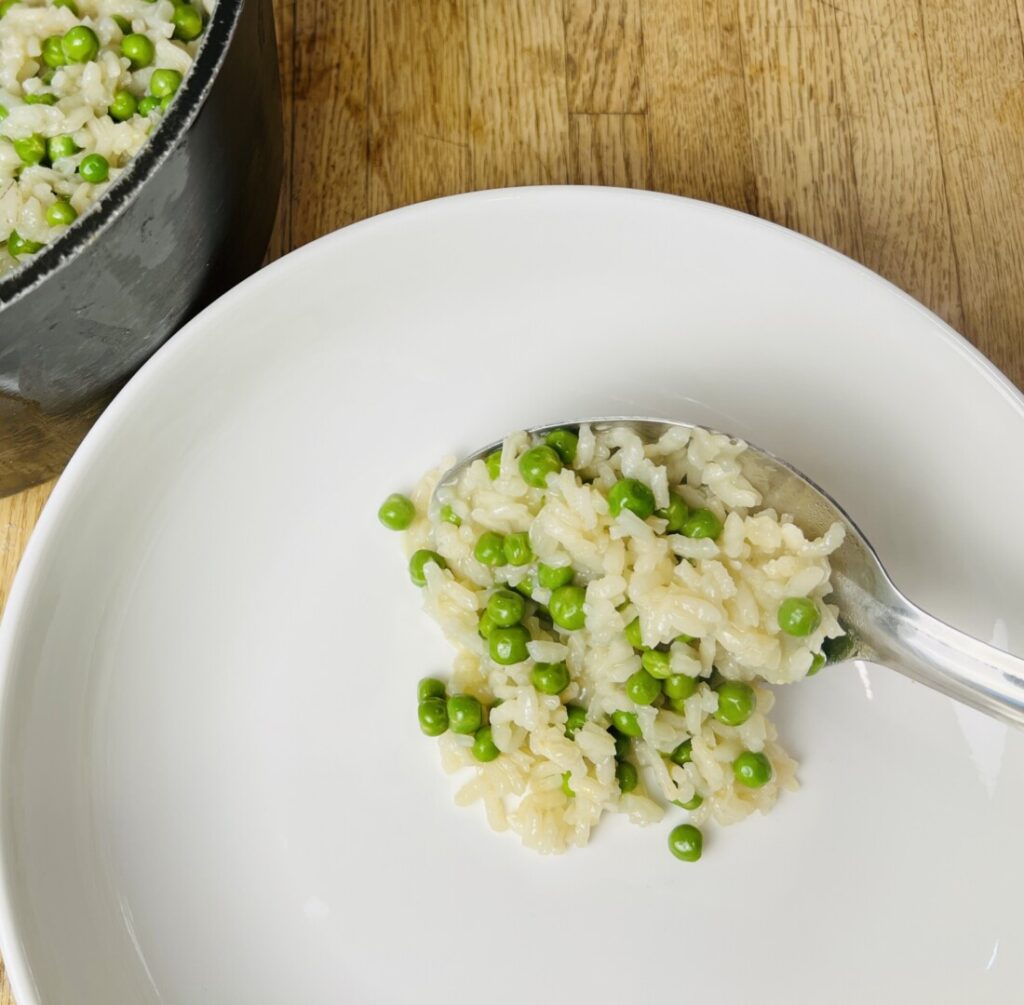
The texture of a risotto varies according to personal preference. In some Italian households and restaurants, risi e bisi is made with lots of sauce—having an almost soupy consistency meant to be eaten with a spoon. Others prefer a tighter risi e bisi—the rice grains surrounded with a creamy sauce, yet bound together enough to be eaten with a fork. This texture is more appropriate when serving risi e bisi as a side dish. The Italian term for a creamy, saucy, well-made risotto is all’onda, or wave-like.
The protein element of this dinner entrée is grilled chicken. Although for this dish you could use any part of the bird, I believe that the best cut for grilling is bone-in, skin-on thighs. Their darker meat and pockets of inter-muscular fat result in a moist and succulent outcome even if slightly overcooked. Because they’re thick and dense, thighs require grill-roasting, a variant method that finishes the cooking away from direct heat. You’ll learn about grill-roasting later in this post.
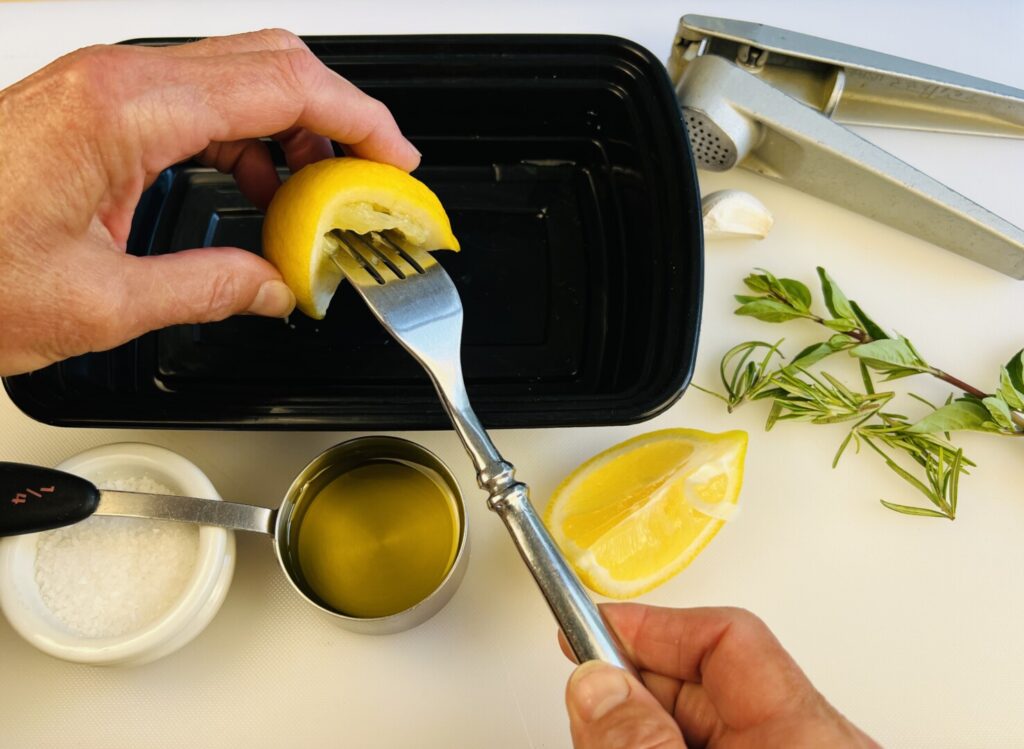
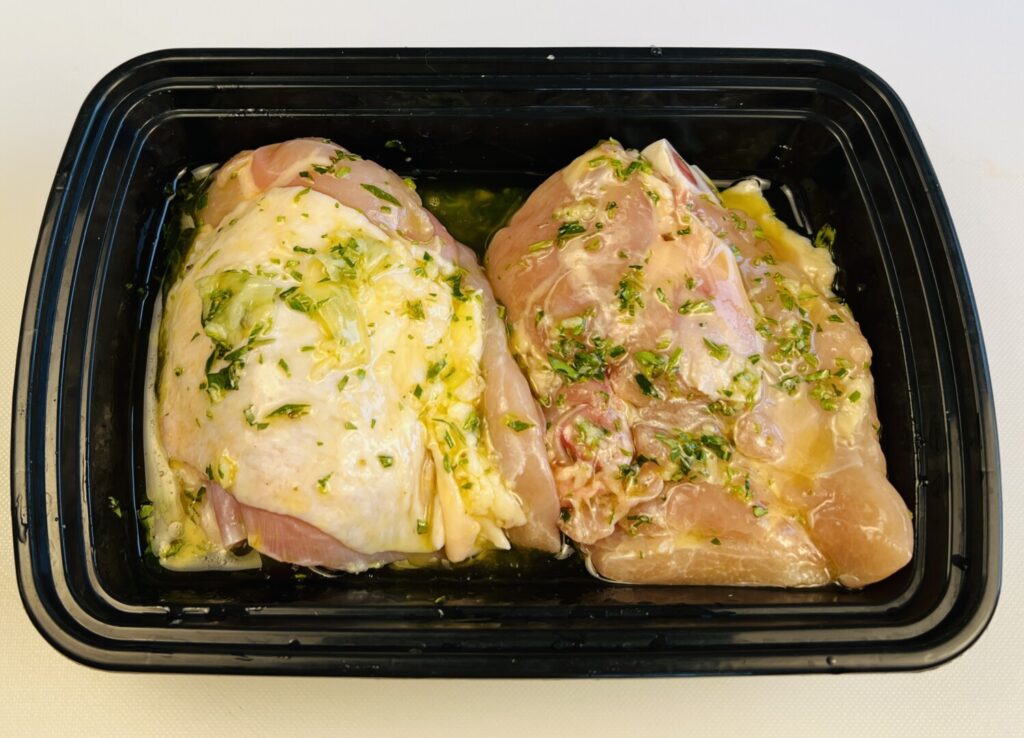
To begin prep, you’ll make the marinade: an Italian-flavored mixture of lemon juice, olive oil, garlic, and seasonings. Then trim the exterior fat and excess skin from the thighs. Marination helps ensure that your chicken has great flavor and a moist mouthfeel. Keep in mind, though, that acidic lemon juice not only adds flavor, but also breaks down muscle fibers. Too long exposure to a lemon marinade can give the chicken flesh a mushy, cottony mouthfeel. Avoid over-marination by removing the thighs from their marinade after 24 hours.

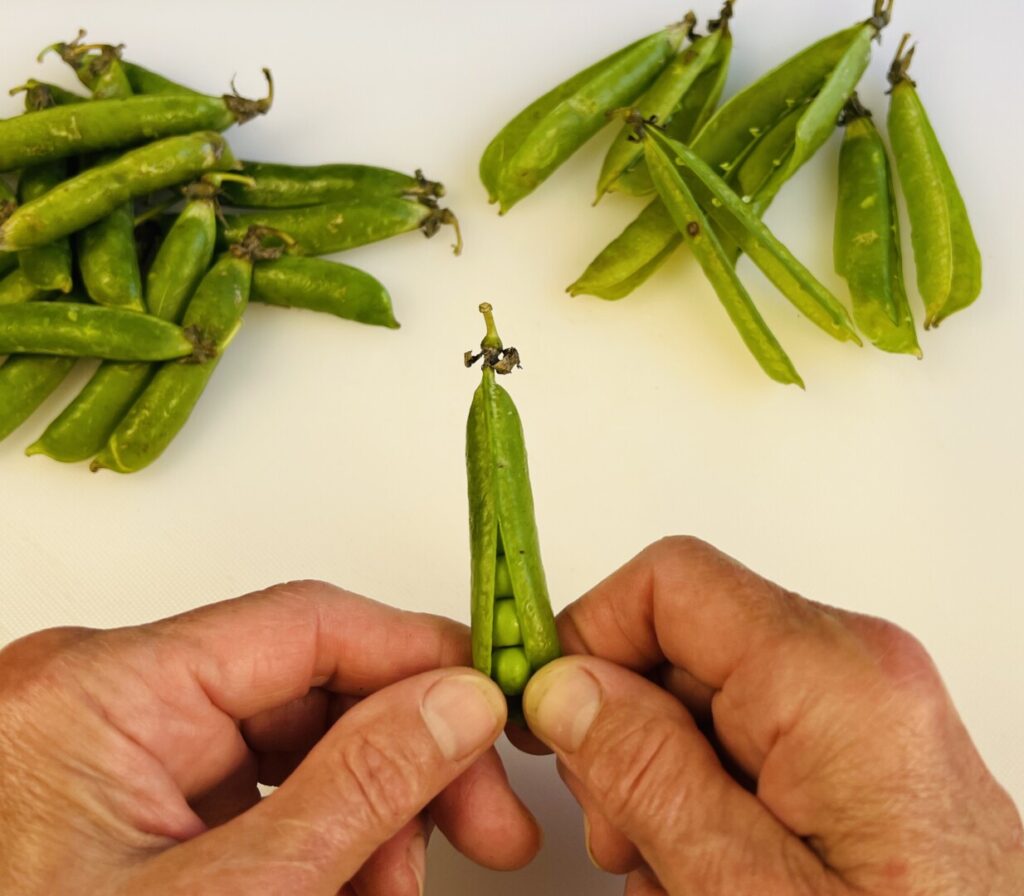
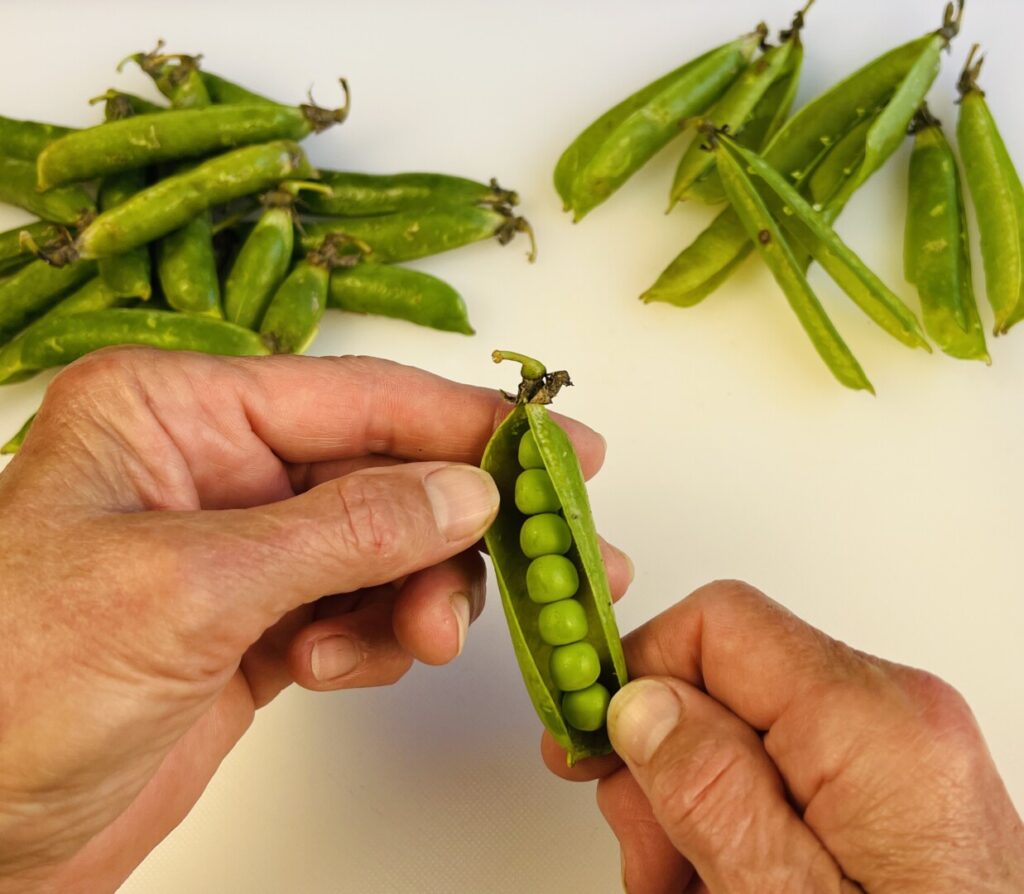
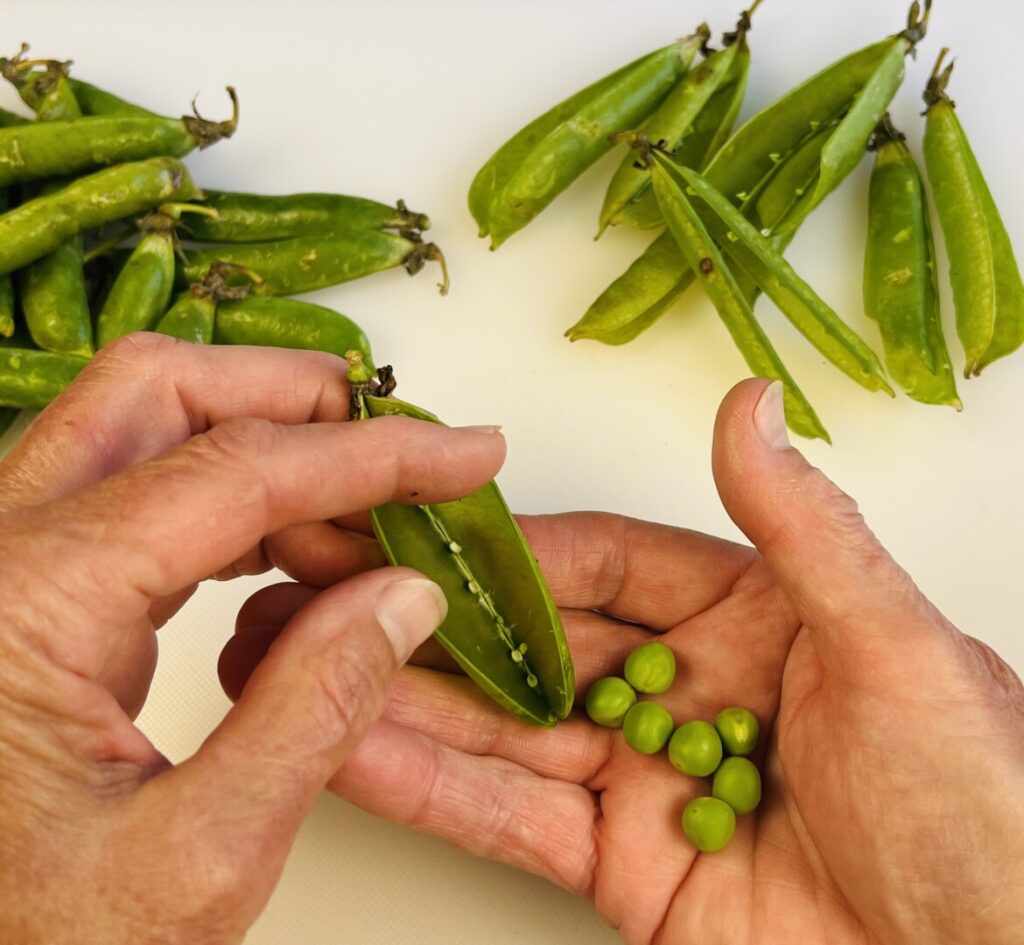
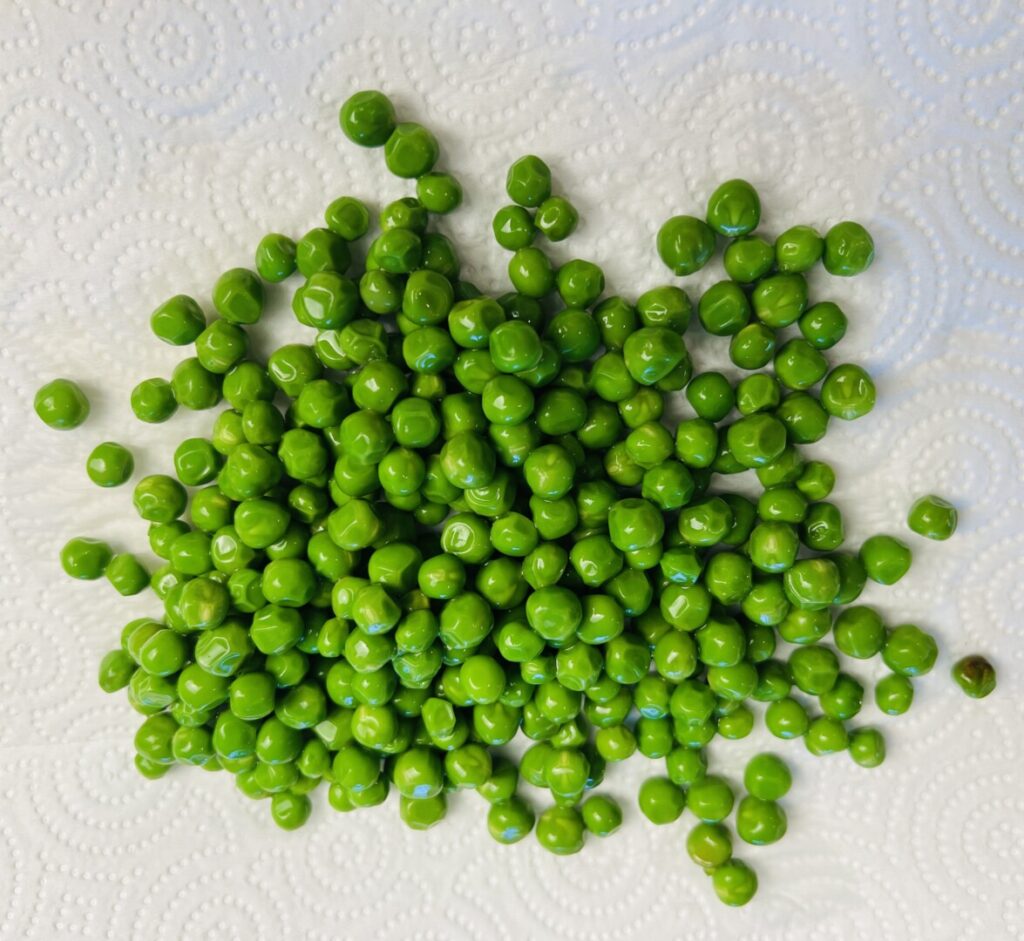
English peas need to be shucked as part of prep. To shuck a pea, hold it with the stem end pointing upward and the pea pod curving away from you. Use your thumbs and index fingers to squeeze the bottom of the pod. It will open at the seam, revealing the peas inside. Use one of your thumbs to gently scrape the peas out of the pod. In the third photo from left, I scraped the peas into my hand for a clearer visual image. But it’s most efficient to do this process while holding the pea pod over a bowl, and allowing the peas to drop into it. (I like to do this while sitting on a porch chair, pea pods in a basket and the bowl in my lap—while drinking a cool glass of white wine.)
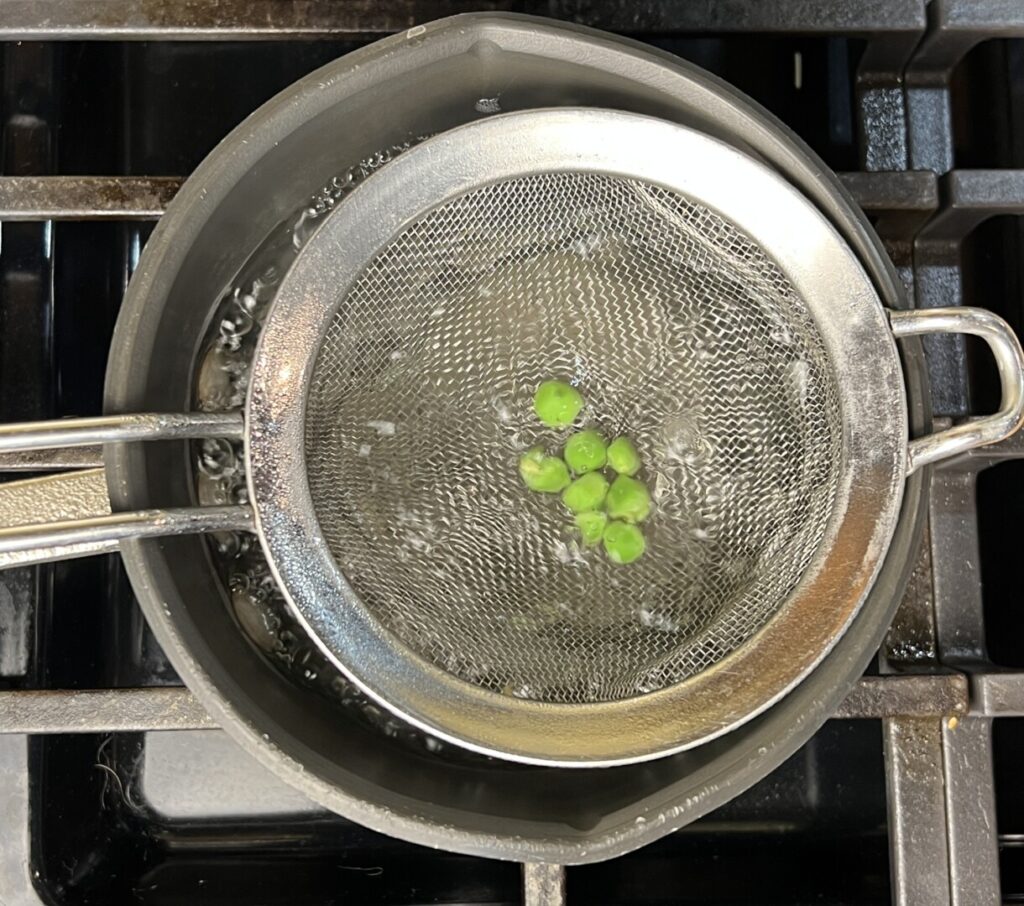
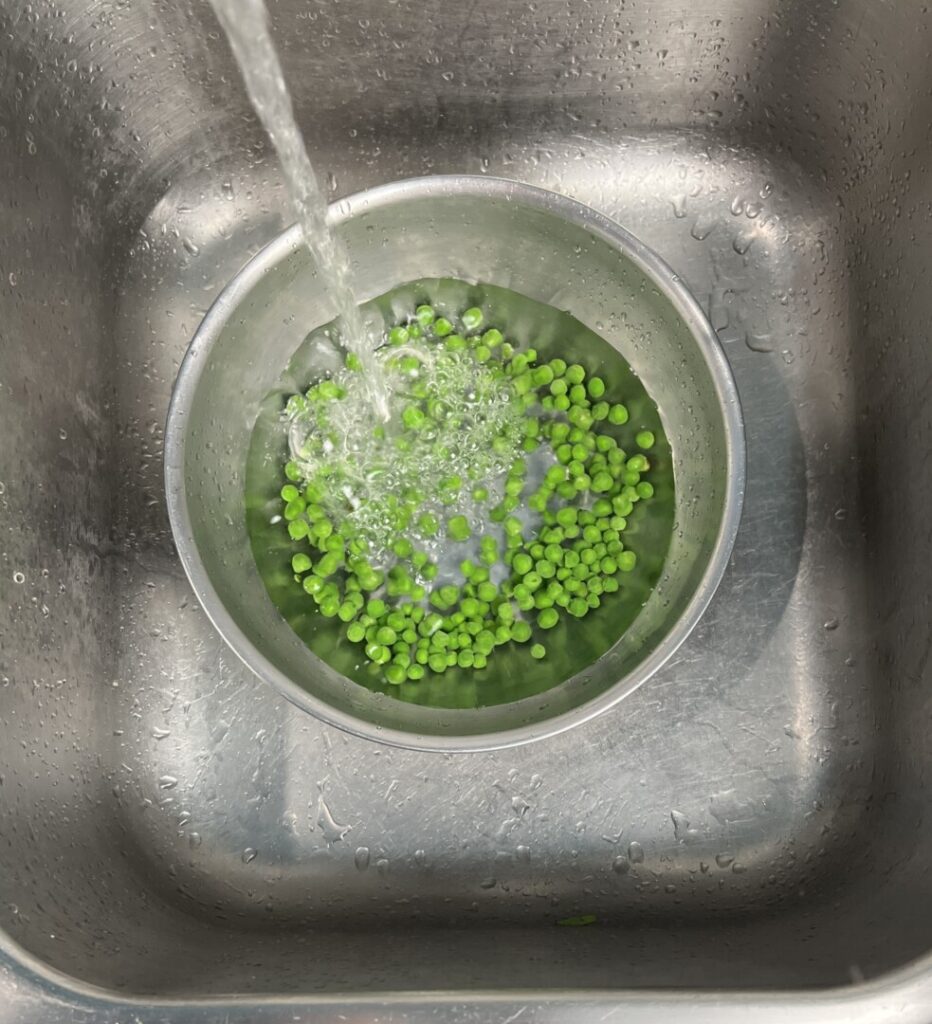
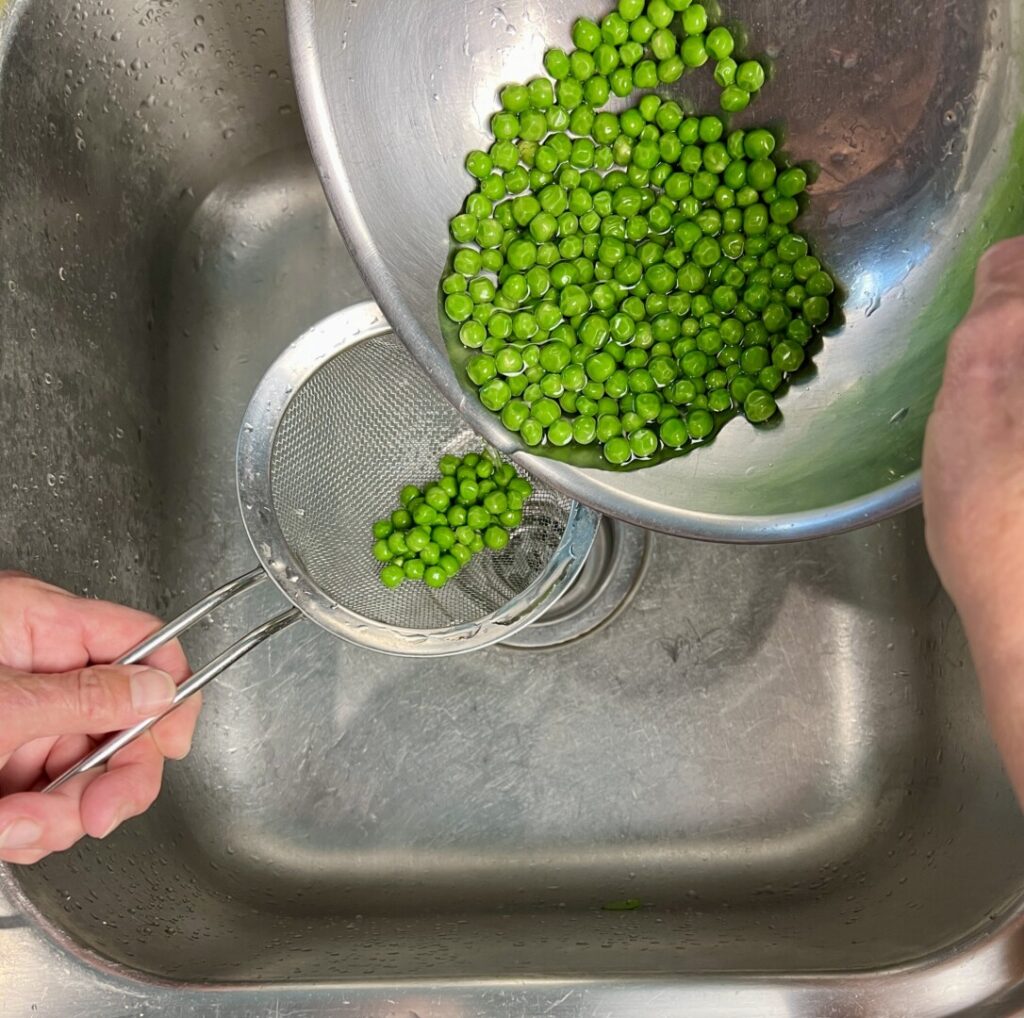
When making risi e bisi, there’s one more small but important prep step: evaluating the tenderness of the peas. The authentic, most flavorful, and most efficient way to make risi e bisi is to add the raw peas to the simmering risotto rice, and cook the two together until each is perfectly done. However, this requires previous knowledge of how long the peas will take to cook. Thus, it’s a good idea to test your peas ahead of time, so that you’ll know when to add them to the simmering rice. Place a few peas in a strainer, lower them into rapidly simmering water and then, after a minute, lift up the strainer and test-taste a pea for tenderness. If necessary, keep cooking the remaining peas (testing every 30 seconds or so) until you determine the required length of cooking time. Make a note of it, so you don’t forget!
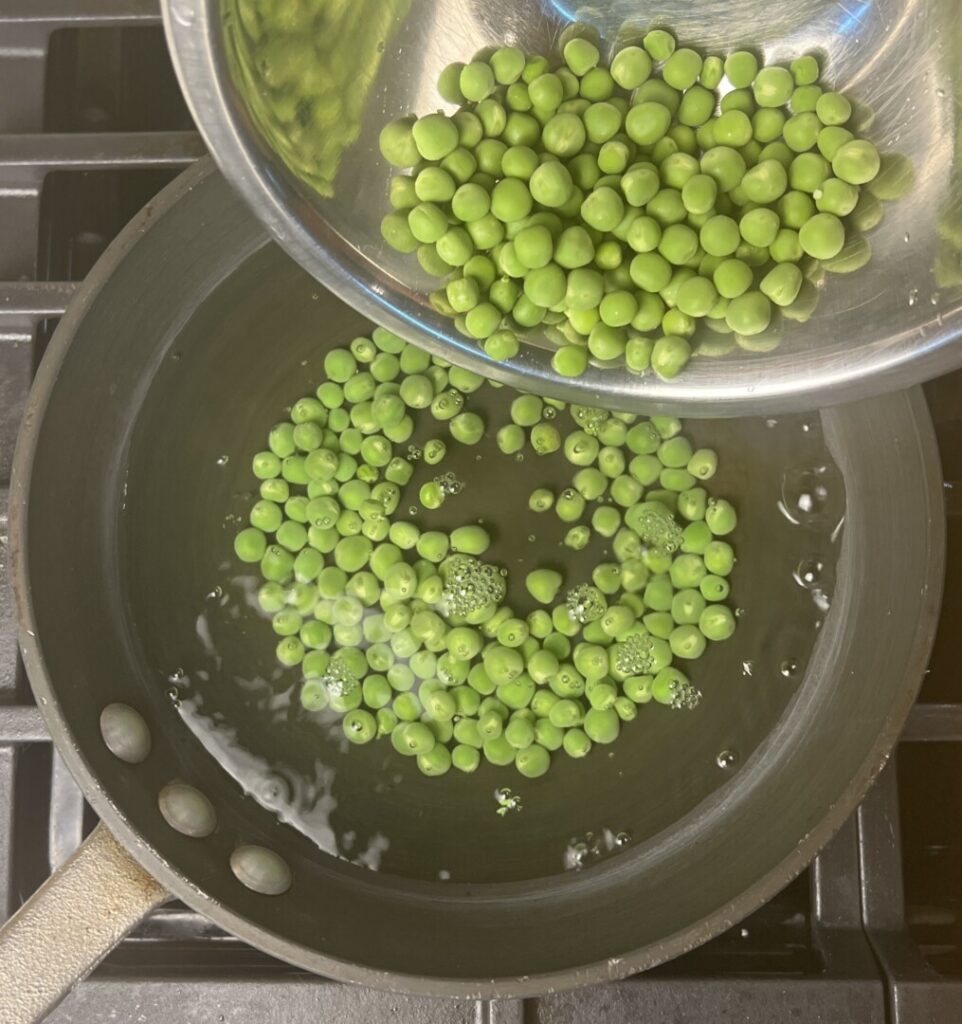
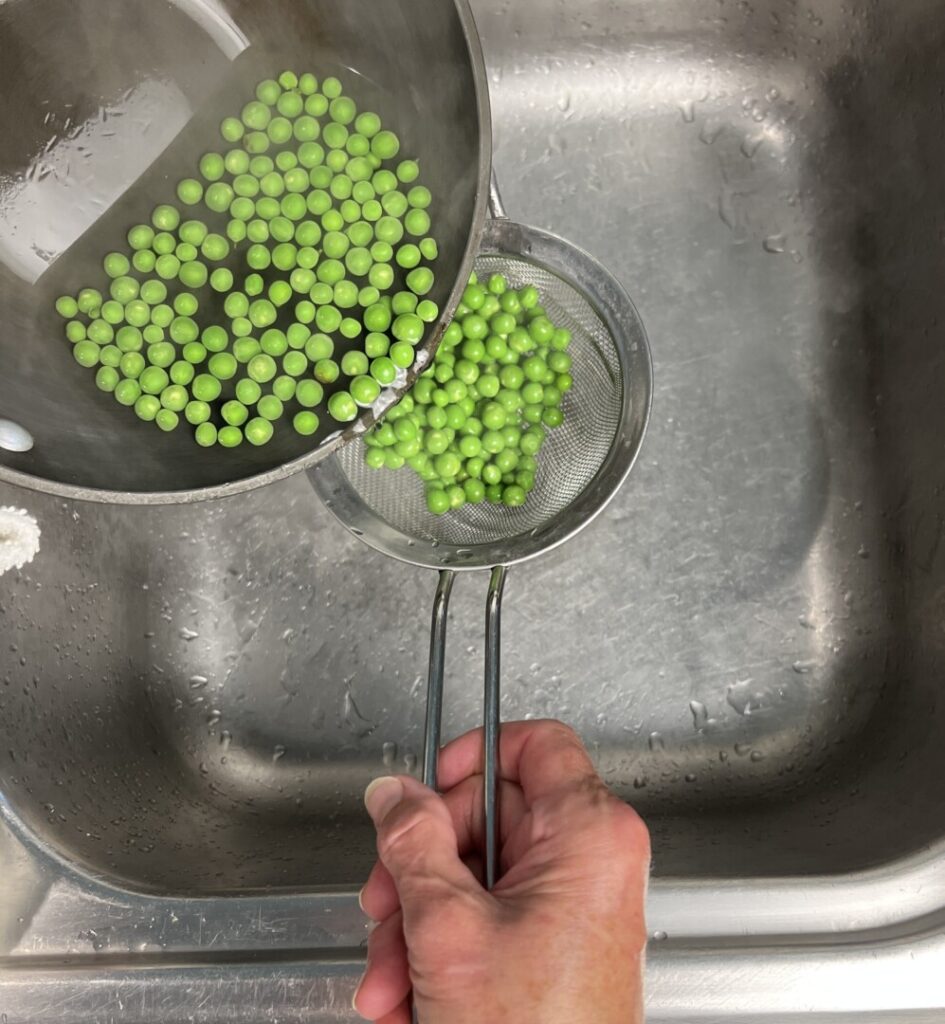
Sometimes, despite our best efforts, we end up with peas that are quite mature and starchy, and take longer than two minutes to cook tender. If this is the case, it’s best to completely cook the peas ahead of time and add them at the end of cooking the risotto. Blanch and refresh the peas as you do with other vegetables.
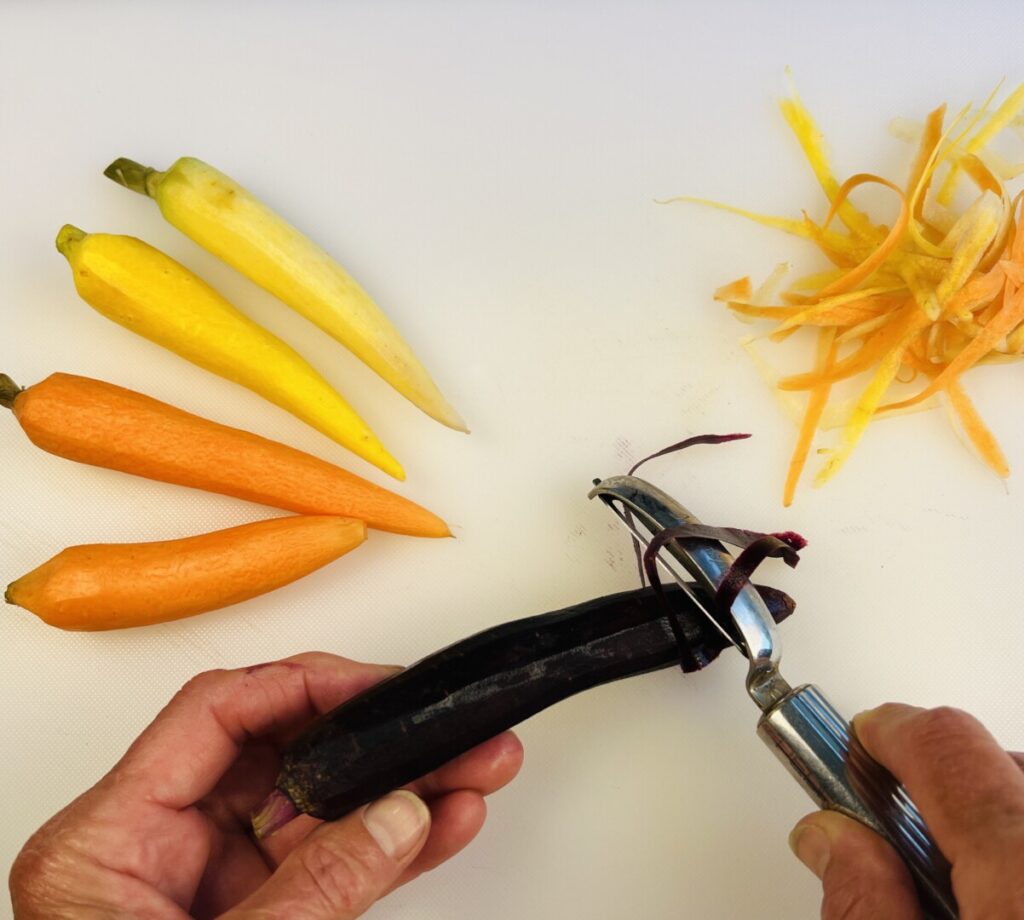
To prepare the carrots, peel and trim them. Some rainbow carrots are sold pre-cleaned and pre-peeled; however, carrots in this market form often are treated with preservatives to extend their refrigerated shelf life. For this reason, I recommend scraping them with a swivel peeler to remove the thin layer of exterior flesh that may have come into contact with any preserving agents. If any of the carrots are much larger than the others, cut them in half to equalize the sizes.
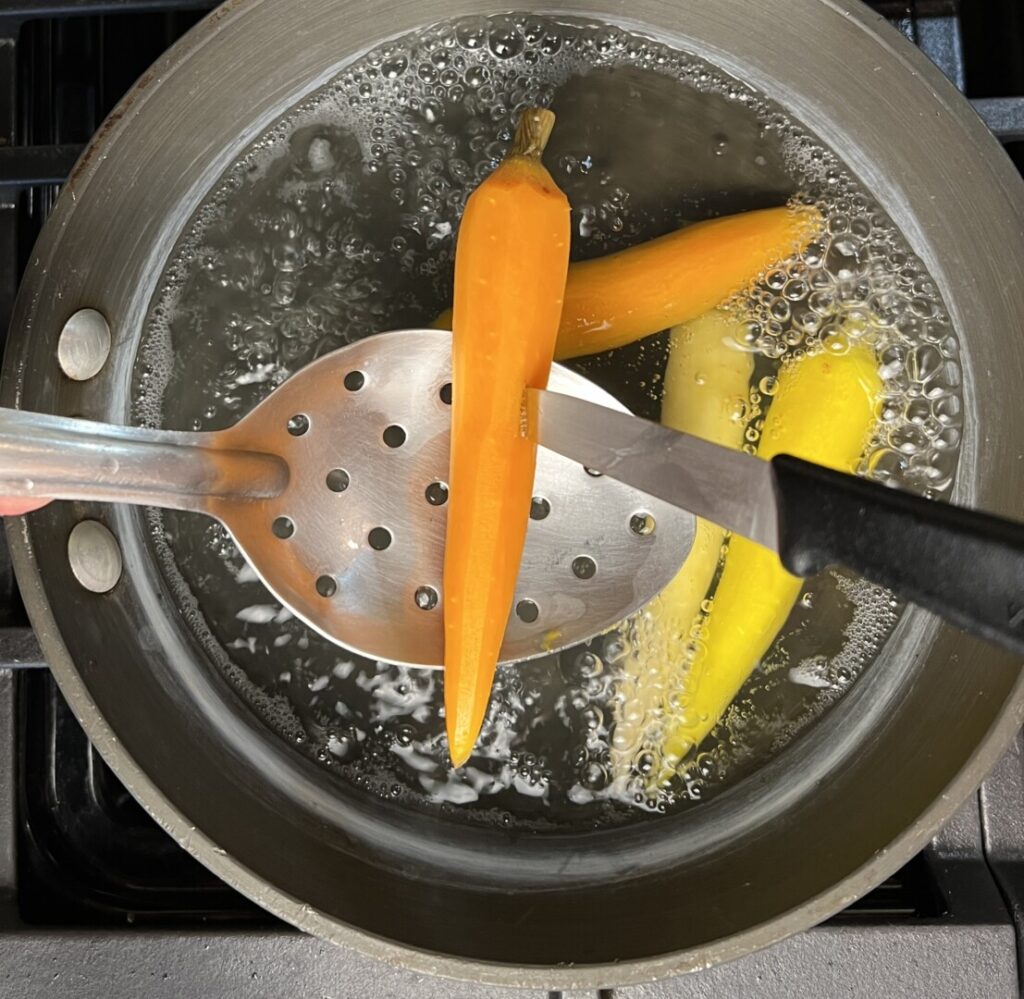
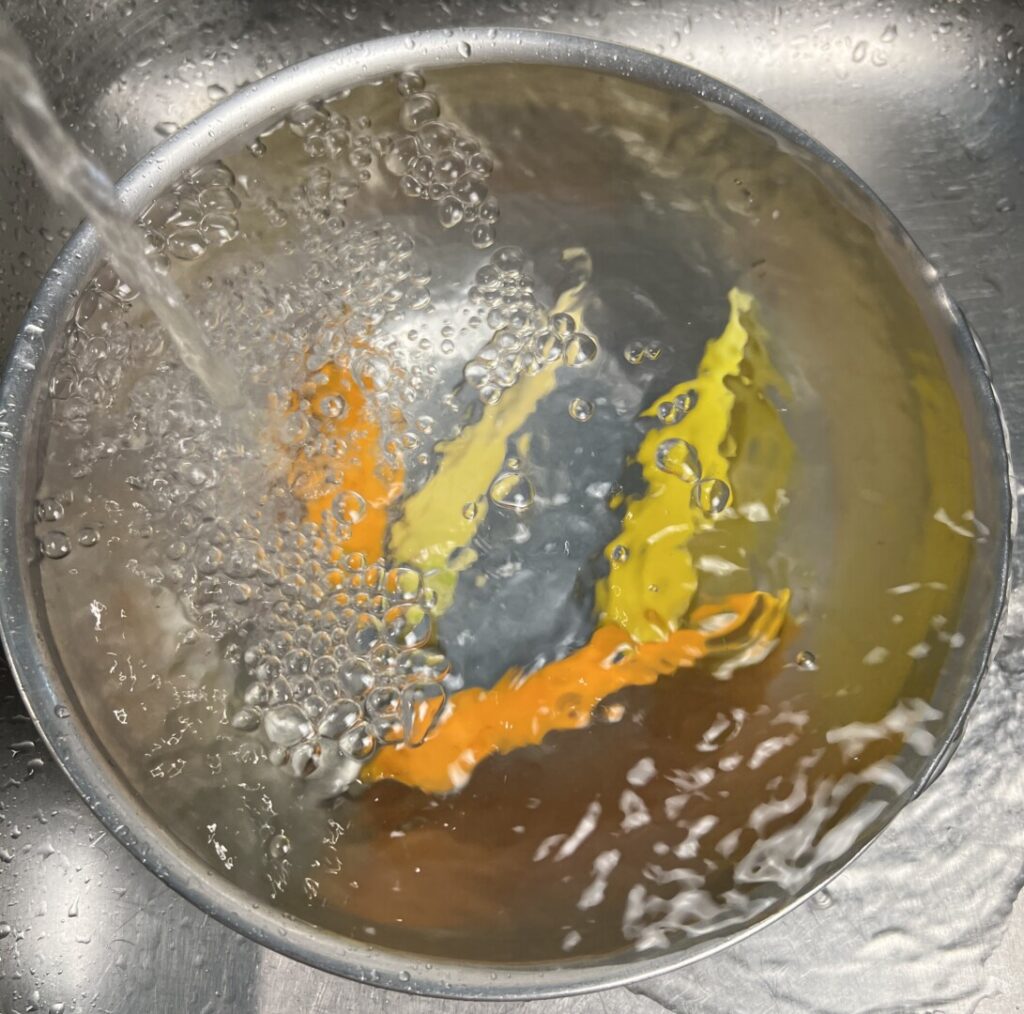
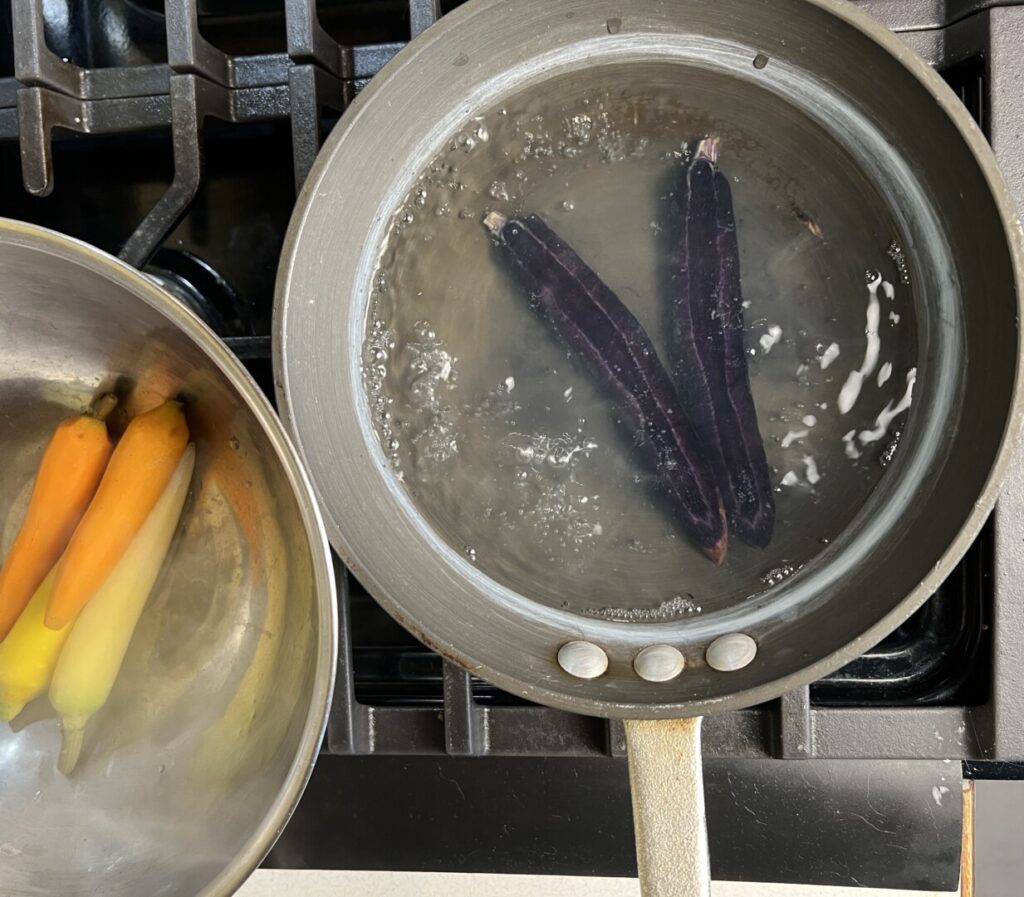
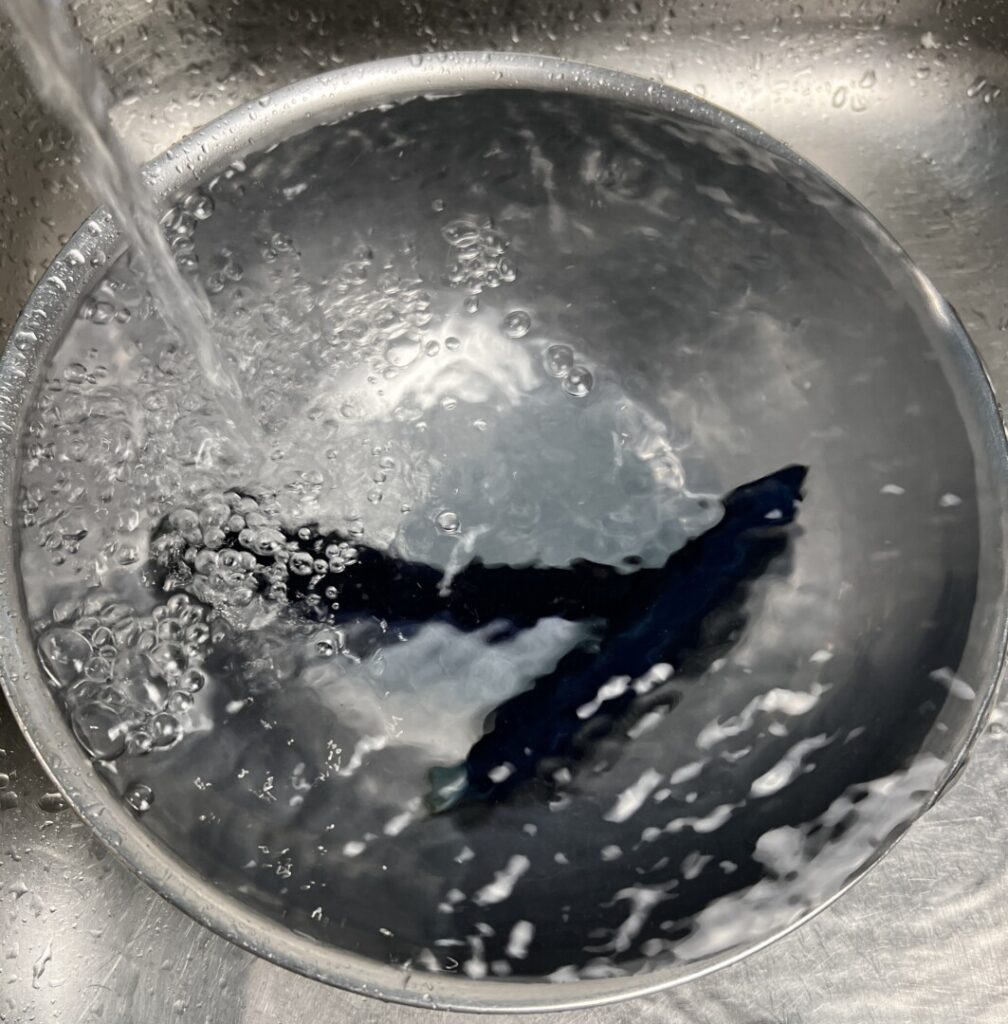
Deep-purple and black carrots derive their color from anthocyanin plant pigments. Because these color-saturated pigments are water soluble, during blanching some of the dark color releases into the blanching water. This can discolor the other, lighter colored carrots. If your rainbow mix contains purple or black carrots, blanch and refresh the light-colored carrots first. When blanched to the correct doneness, a paring knife inserted into a carrot will meet with just a little resistance. Carrots have dense flesh and hold heat; make sure to refresh under cold water until thoroughly chilled.
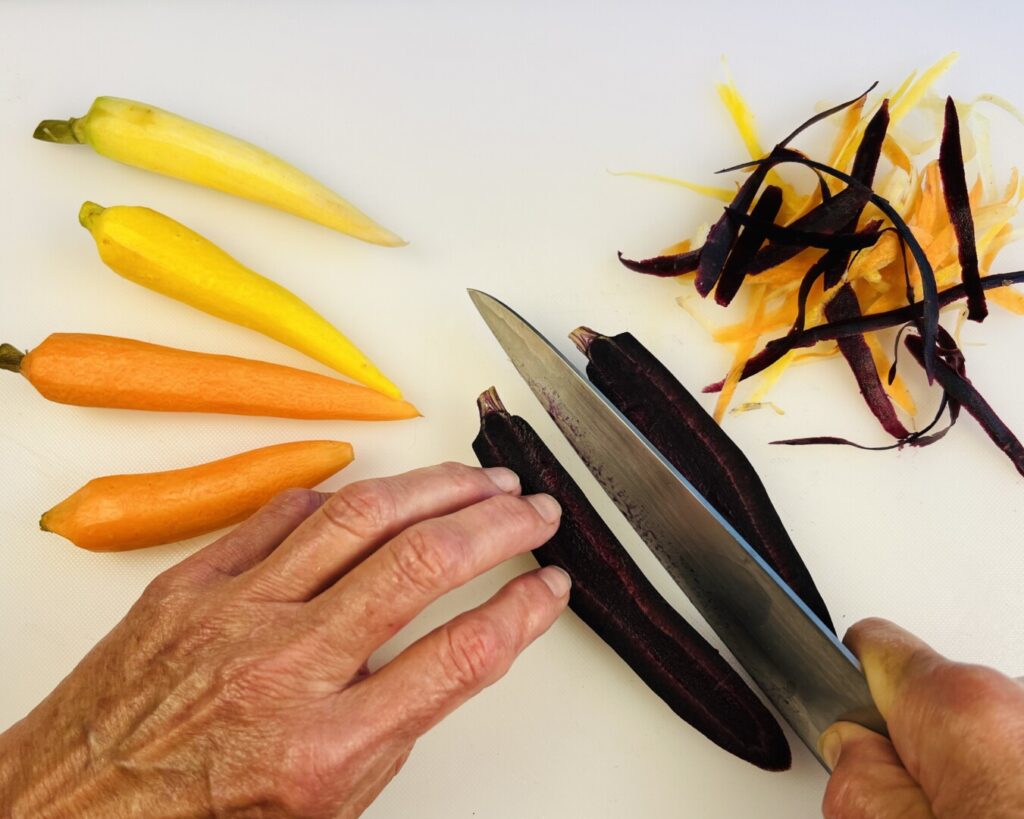
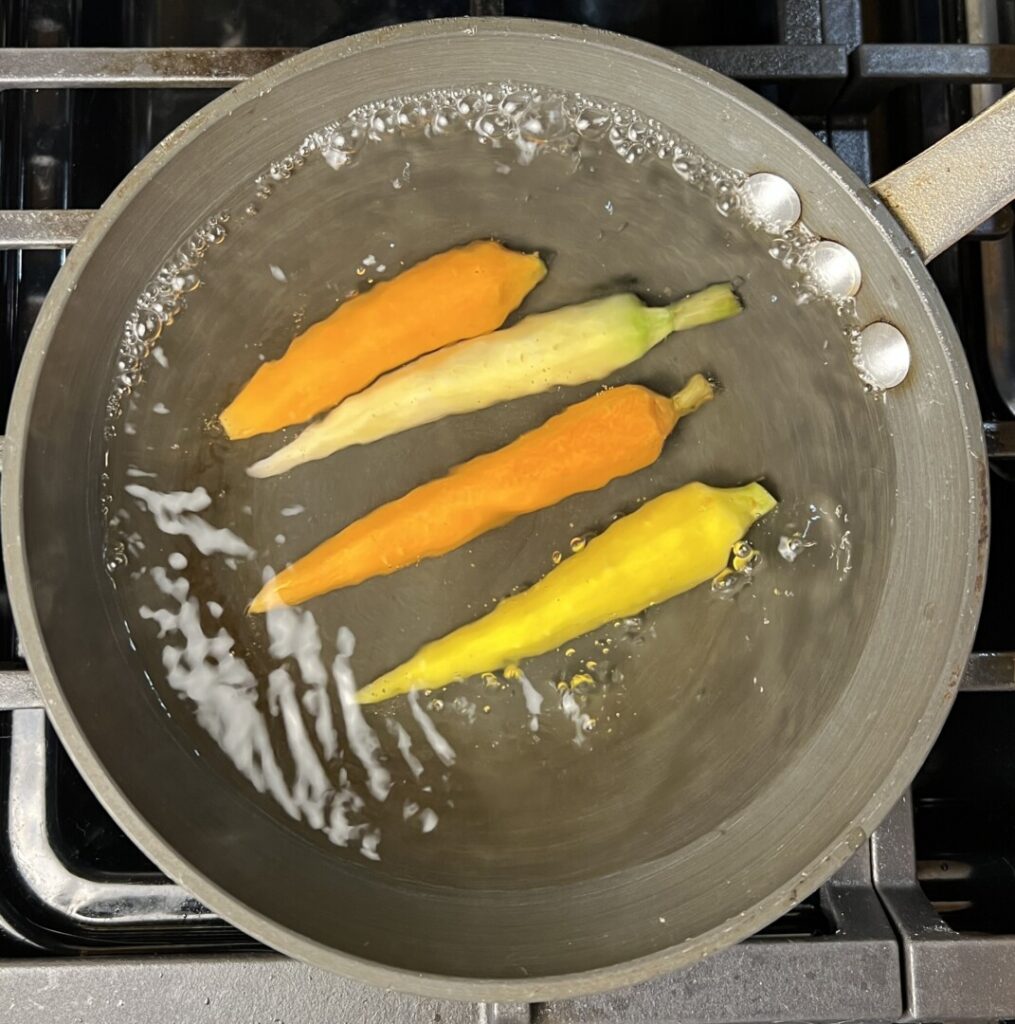
Then, use the same water to blanch and refresh the darker carrots. Keep the dark carrots separated from the lighter ones until they go onto the finished plate.

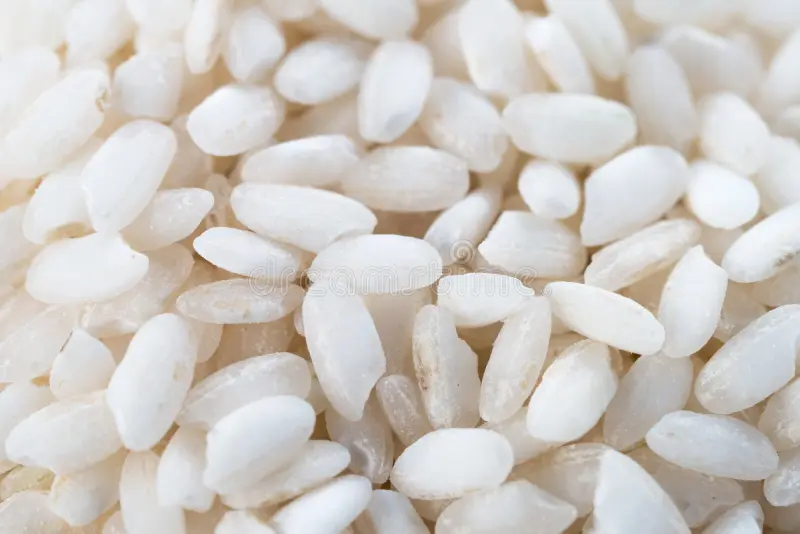
Risotto is made with one of three varieties of Italian short-grain rice: arborio, carnaroli, or vialone nano. Because arborio is the most readily available in North America, that’s the type I used when developing this recipe. All of these rice types have plump, rounded grains that are high in starch compounds—most importantly, amylopectin. When cooked by the risotto method, the rice grains slowly release their starches into the cooking liquid, resulting in a thick, creamy-consistency sauce. For authentic risotto, be sure to purchase rice produced in Italy.
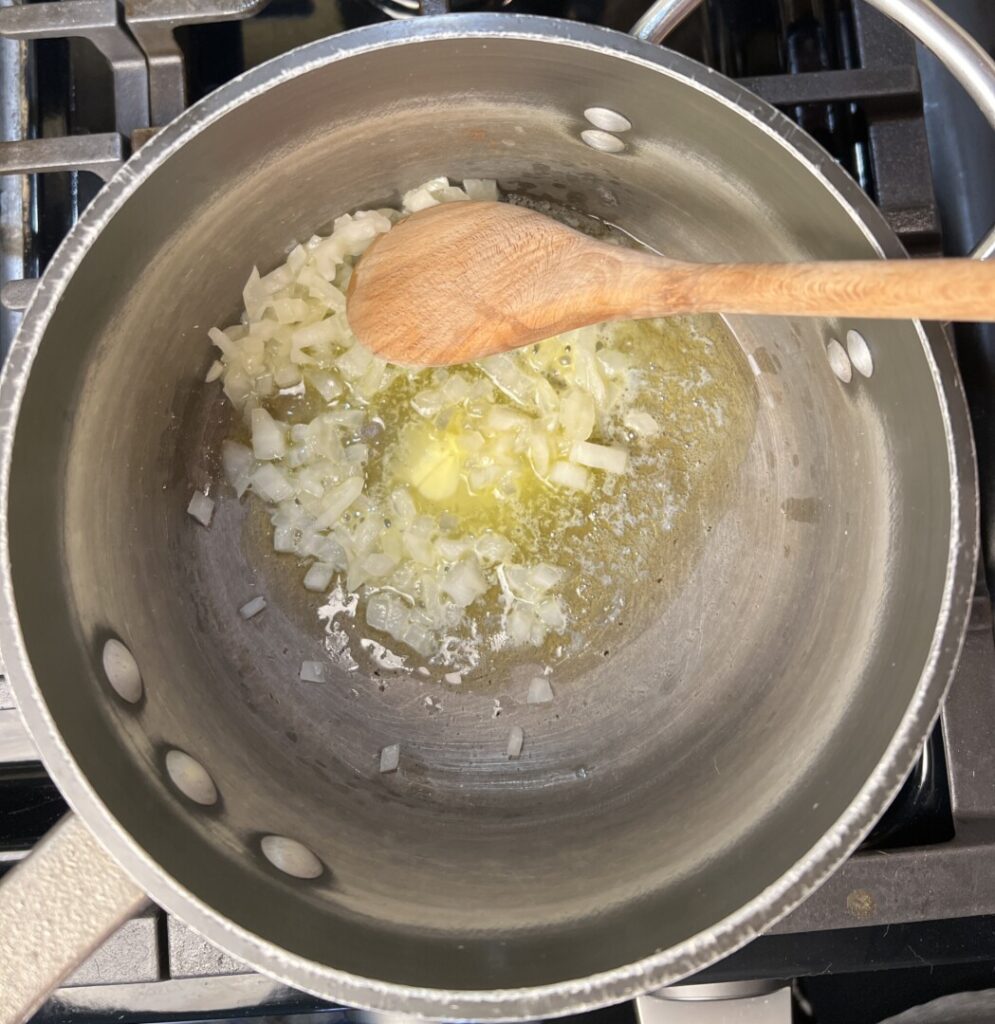
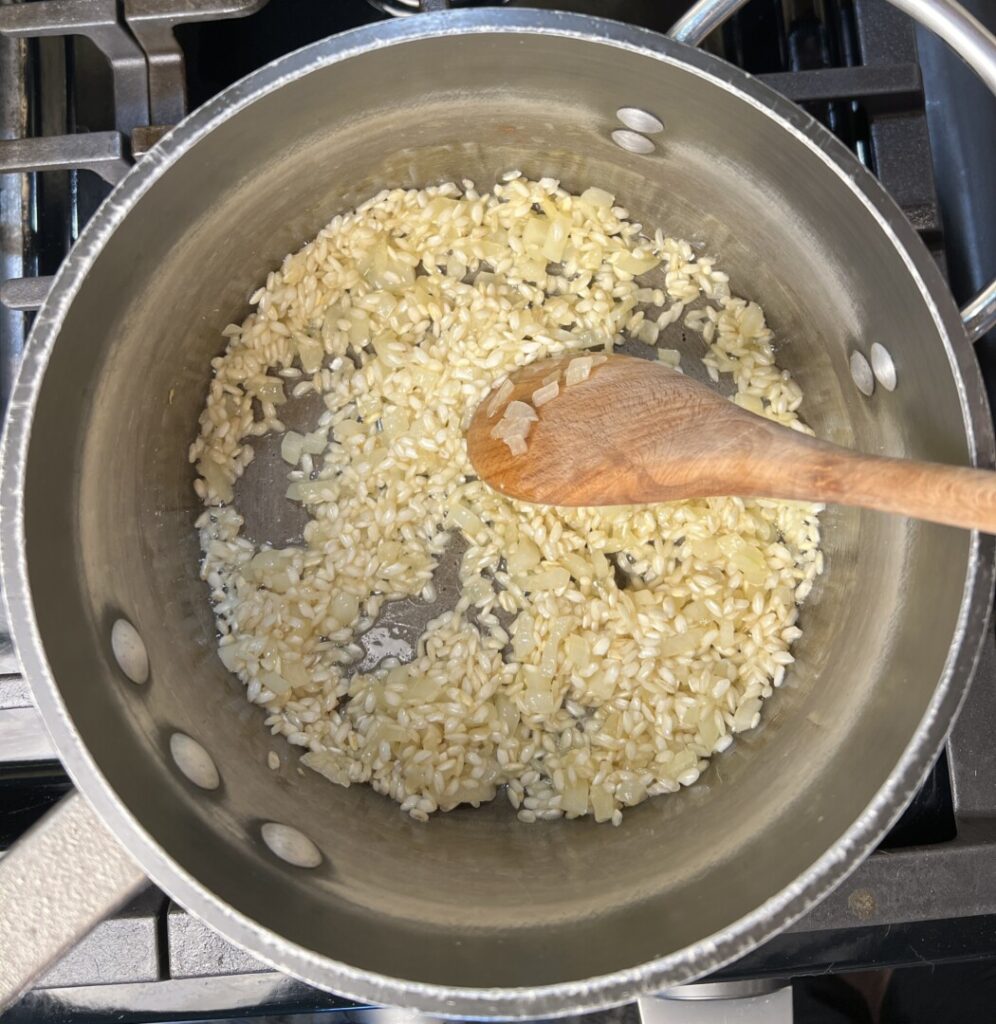
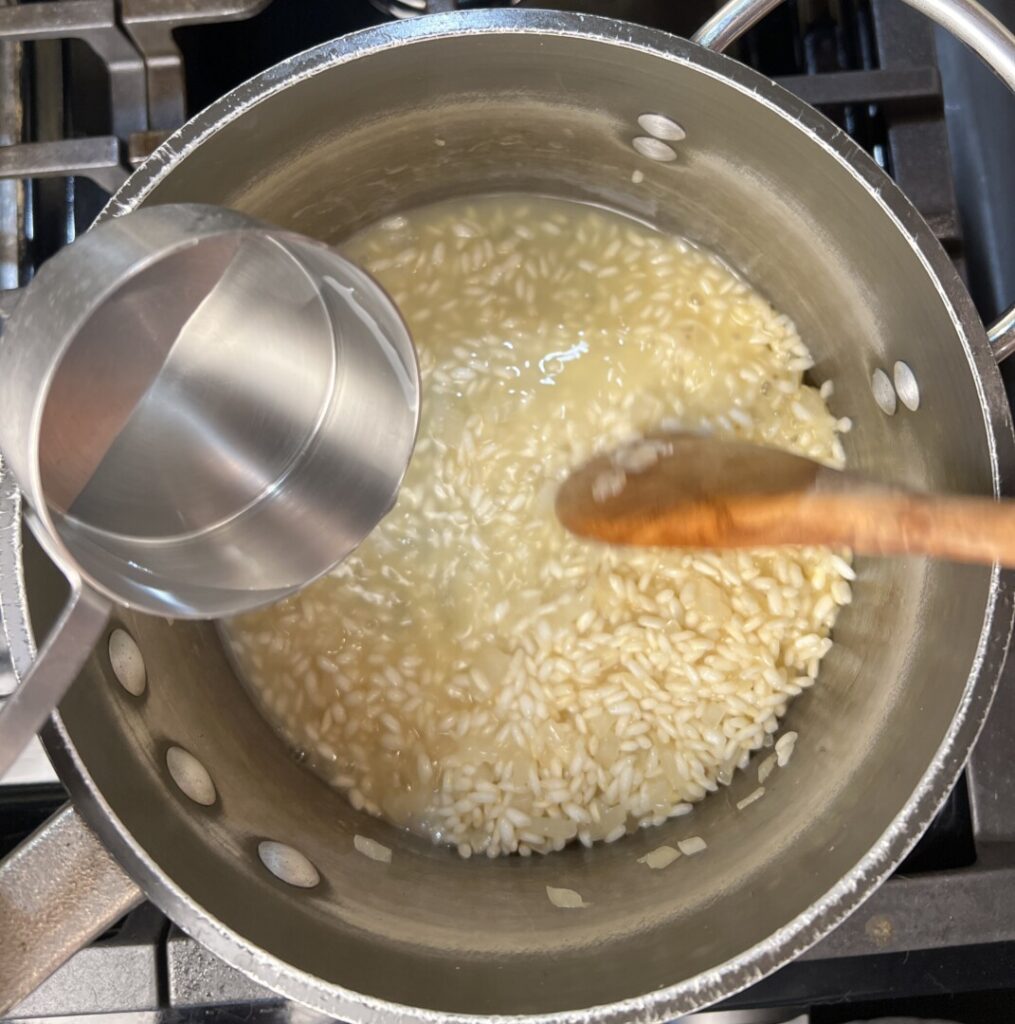
The risotto cooking method begins like a rice pilaf, by sautéing the rice grains in fat (usually butter). In both methods, the fat that coats each grain of rice helps the exteriors of the grains to withstand the heat of the pan and ever-so-lightly toast without browning. This brings out a special, nutty flavor in the finished dish. It also firms the exteriors of the rice grains and slows their release of interior starch. For a pilaf, measured liquid is added all at once, the pan is covered, and the rice cooks undisturbed to achieve fluffy, separate grains. But for a risotto, liquid is added gradually and the rice is stirred constantly. This causes the interior starch to slowly seep out of each grain and thicken the cooking liquid into an unctuous sauce with a creamy consistency (even though it contains no cream). When finished cooking, the rice grains in a risotto should have an al dente texture: firm and chewy, but not hard.
Cooking a risotto takes a significant amount of time (up to 40 minutes), during which it requires the cook’s constant attention. This leaves little opportunity for finishing your dinner’s other elements. But making a finished risotto ahead of time, and then reheating it, usually results in mushy rice grains and an unappealing sauce consistency. To overcome this problem, restaurant chefs devised a pro trick: par-cooking the risotto just long enough to begin softening the starches in the rice grains, and then stopping the cooking before much of the starch releases into the liquid. This process takes about 30 minutes.
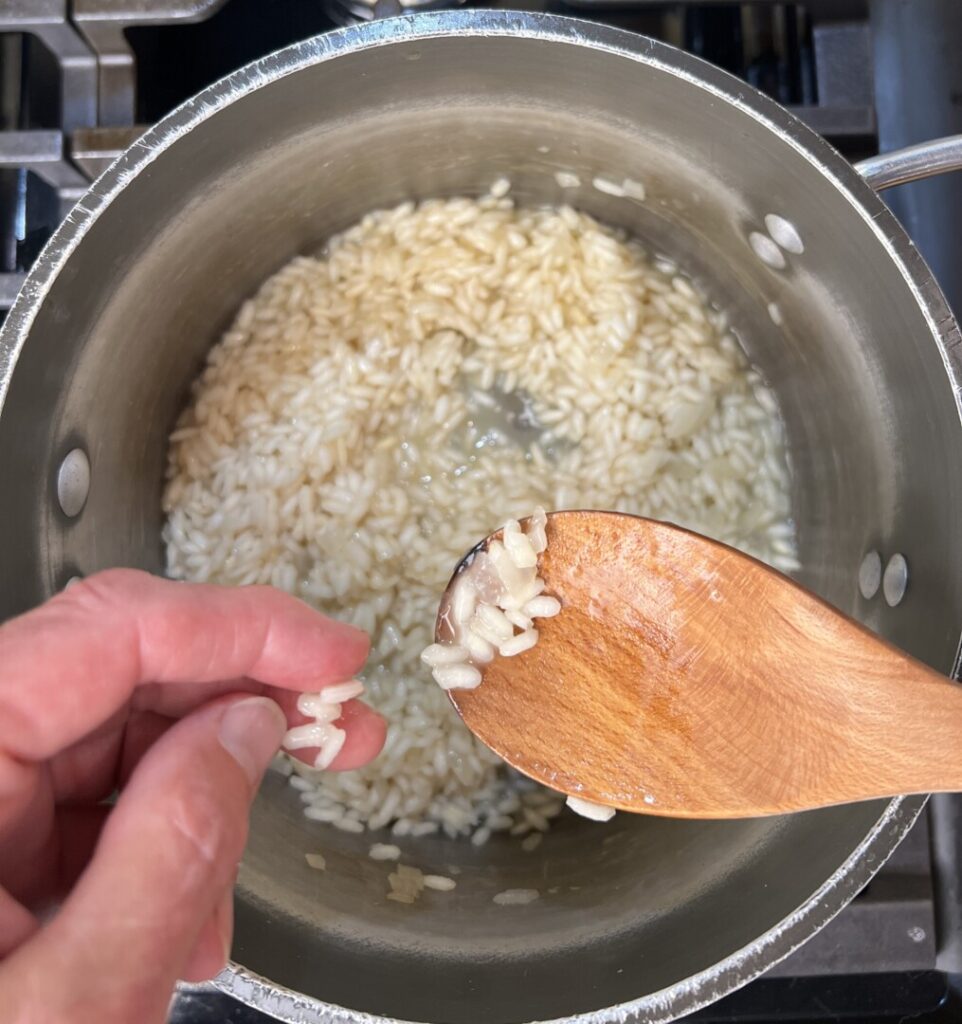
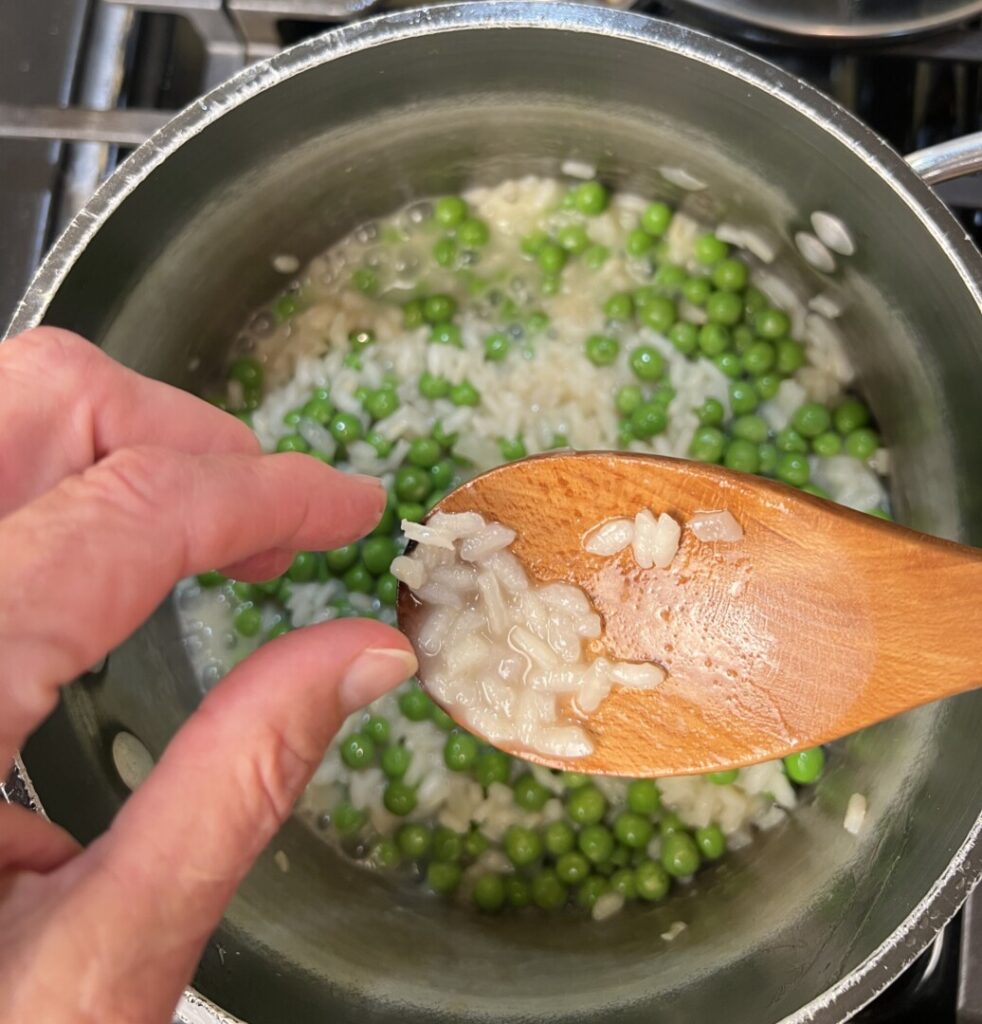
Continue adding stock a little at a time, and stirring constantly, until the rice grains are no longer hard but have softened just to a firm, al dente texture. First test the texture with your fingers and then test-taste for a final evaluation. Cool and refrigerate the rice until you’re ready to finish it at dinnertime.
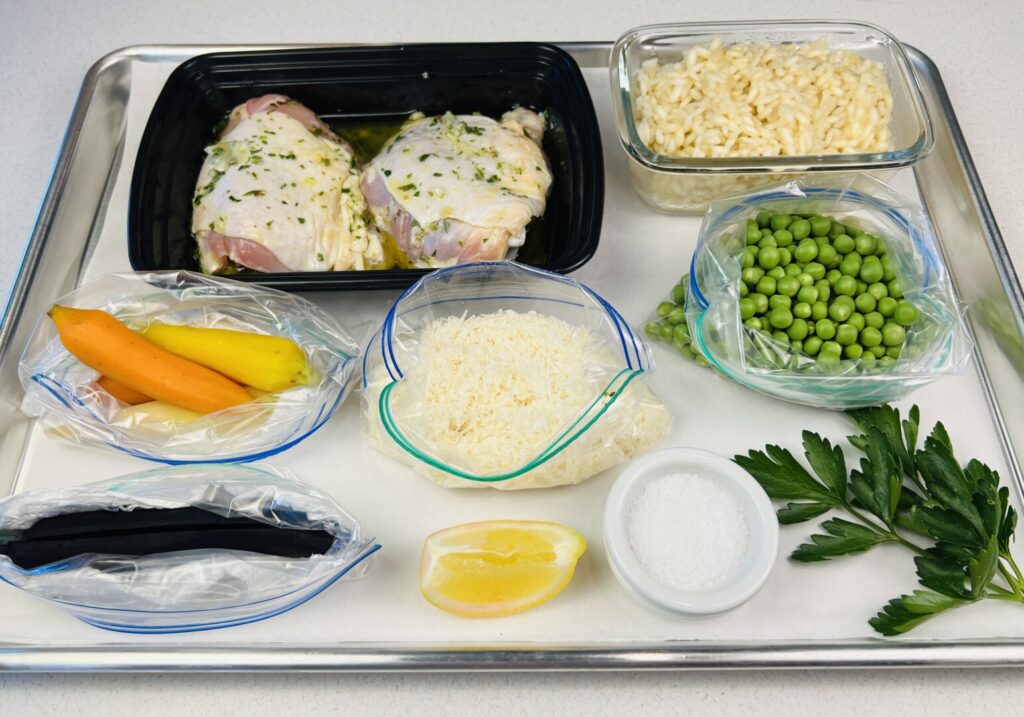
Only a few more prep steps remain. Here’s your mise tray:
It’s dinnertime—let’s COOK!
Just before dinnertime you’ll want to set up your grill. It’s important to preheat the grill well ahead of time, not only to start the chicken at the proper high temperature but, also, to ensure that the grill grids are searing hot. Raw chicken (or any raw protein) placed on a too-cool metal grid will surely stick. Make sure to have your grilling tools ready.
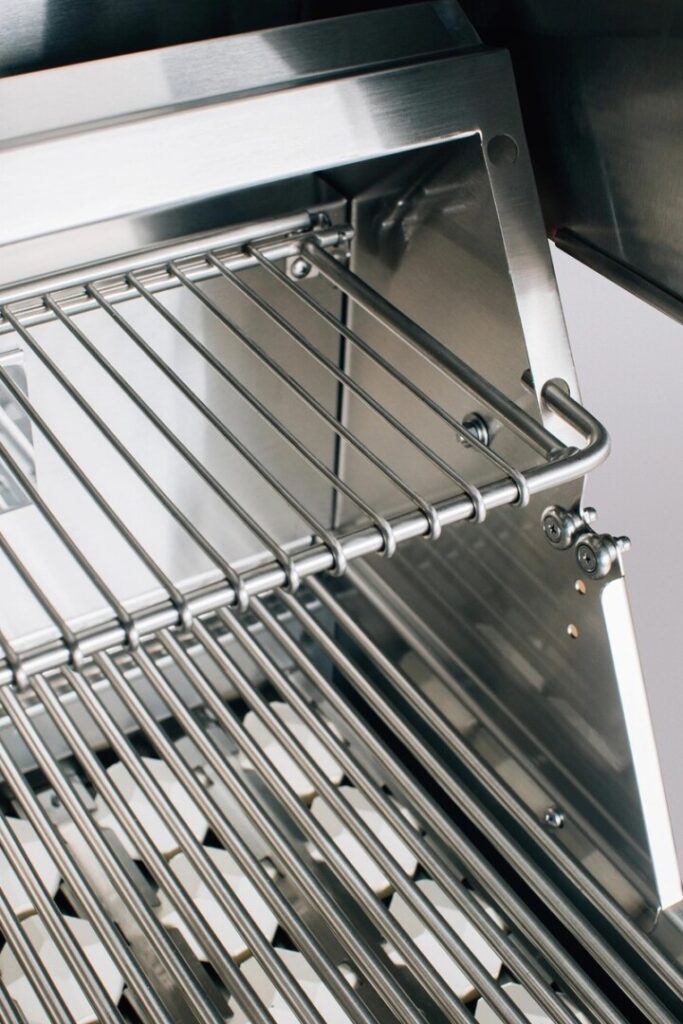
This recipe features grill-roasting, a hybrid cooking method that starts with grilling and finishes with roasting. The easiest way to do this is with a lidded gas grill with adjustable heat controls and a warming rack that can suspend food several inches above the grill grid. This allows you to “mark” the chicken on the grill grid over direct high heat, and then finish the cooking suspended in the hot air above the lowered flames.
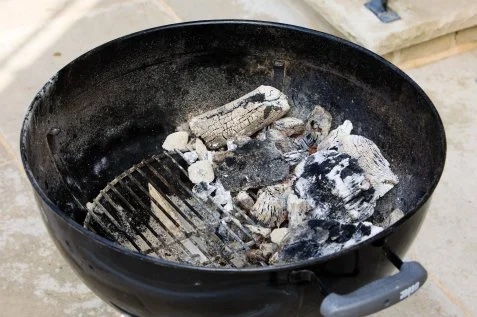
If you’re using a charcoal grill with a lid, you can start the coals on one side of the grill only. After marking the chicken over the hot coals you can move it to the other side and partially close the lid.
If your charcoal grill is the type with no lid, plan to mark the chicken on the grill for some charred flavor, and then finish roasting the chicken in the oven.
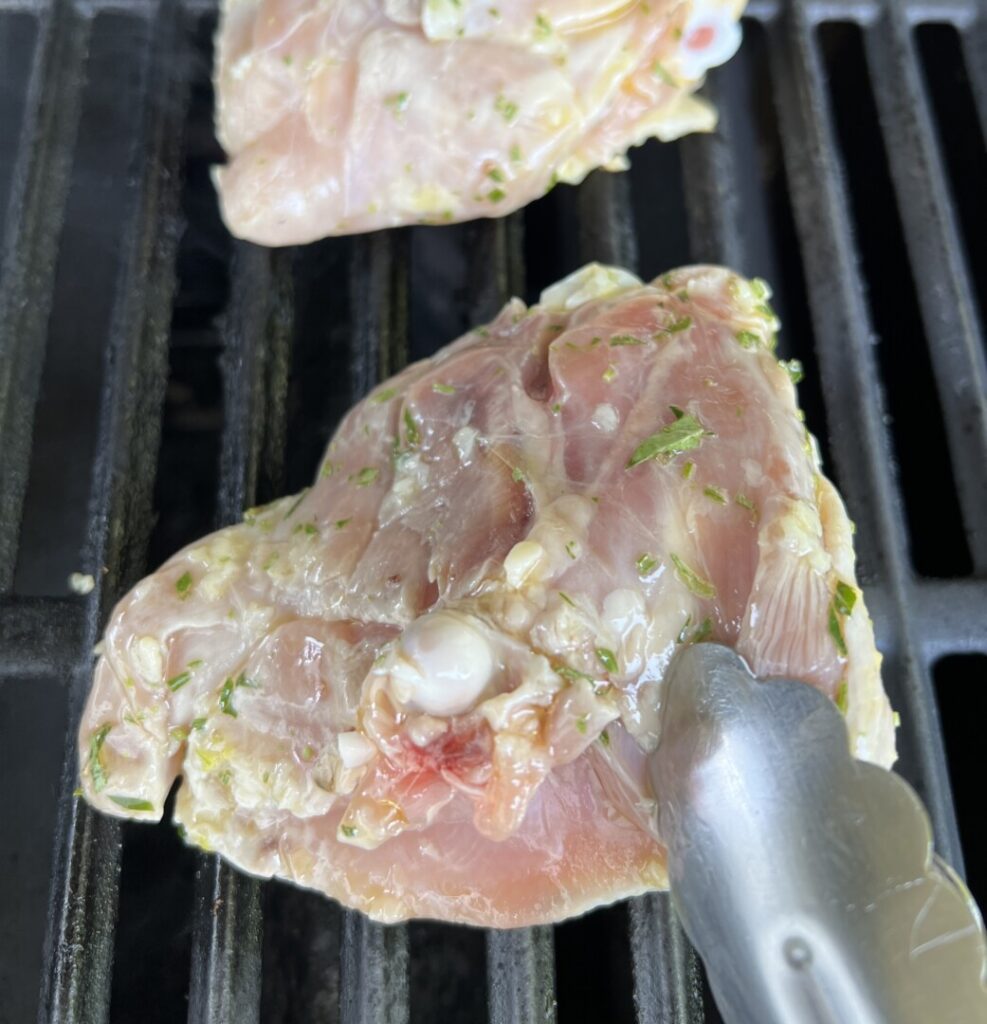
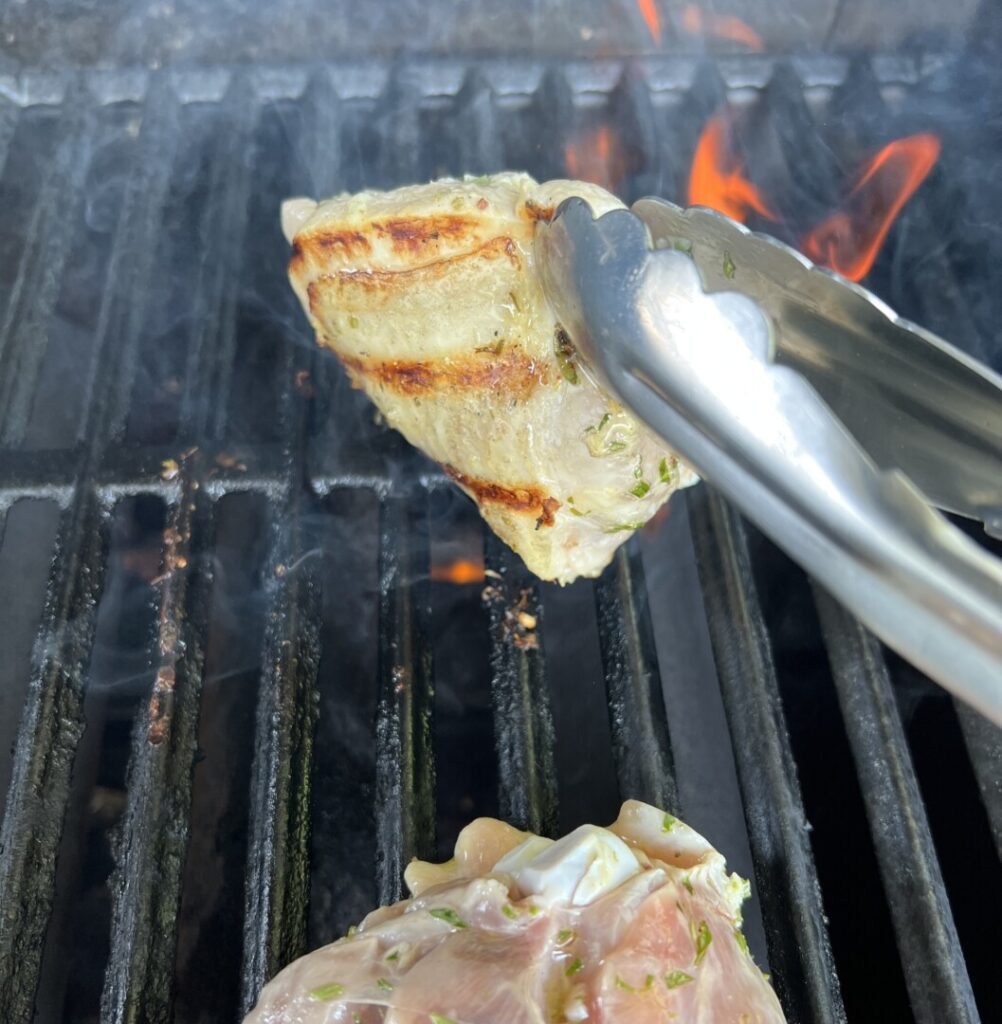
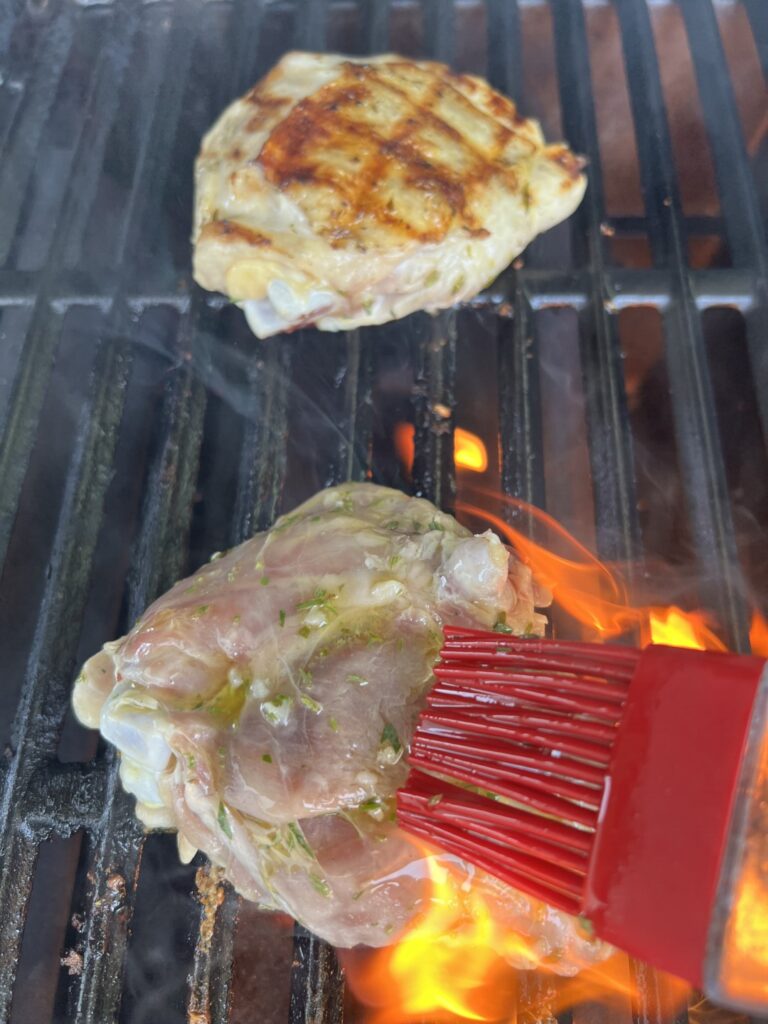
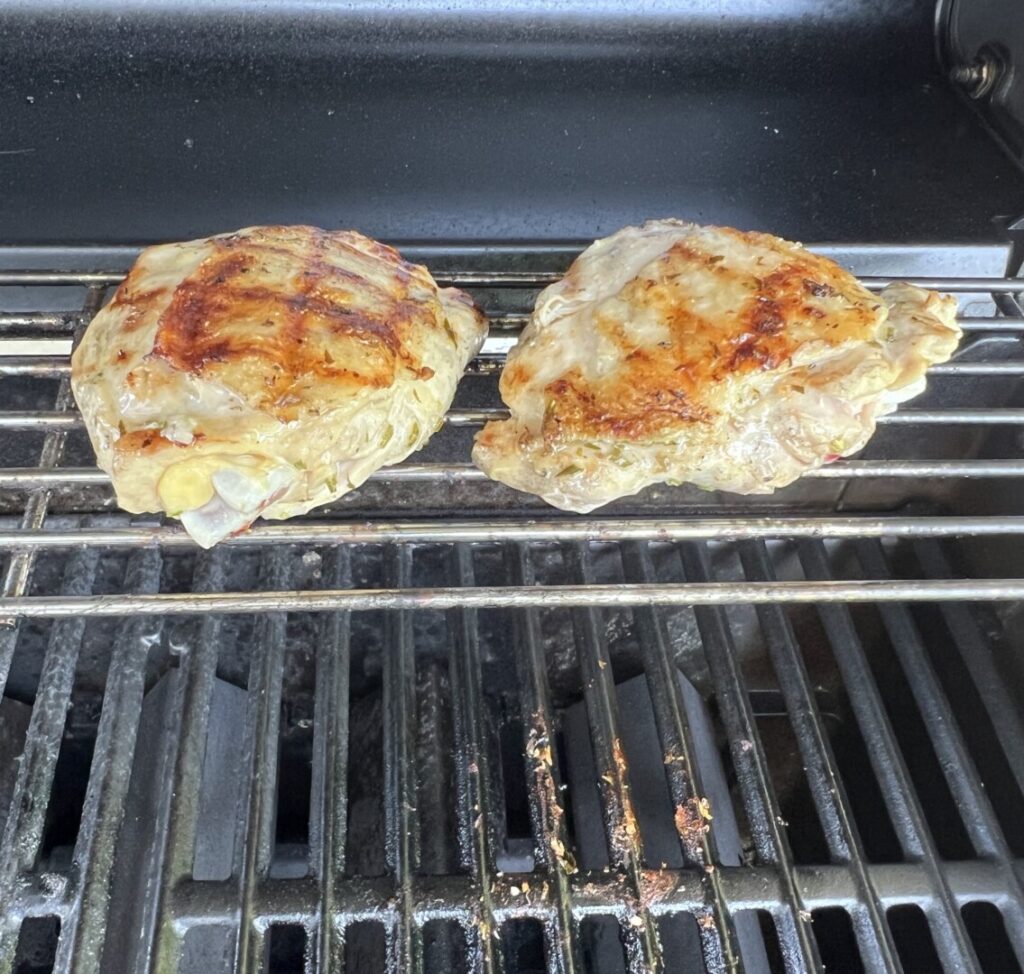
Once your grill is sufficiently hot, lift the chicken thighs out of their marinade and allow the excess marinade to drip off before placing them on the grill. Excess marinade can cause flare-ups that are not only dangerous but that also can discolor the chicken with smoke. Always start grilling chicken with the skin side down. To achieve attractive, professional-looking cross-hatch grill marks, place the thighs diagonally across the grill grids. Baste with a little marinade. Wait about 2 minutes for the skin to release from the hot grids; if you try to move the thighs too soon, their skin will stick and detach from the flesh. Peek underneath to see if you’ve achieved the first set of golden grid marks. If so, then rotate the thighs 90 degrees—don’t turn them over, just rotate with the skin side still down to achieve a cross-hatch pattern. After 2 additional minutes’ grilling, the thighs should be ready to turn over. Grill a minute or two longer, then transfer the thighs to the warming rack (or the non-charcoal side), close the lid, and roast about 10 minutes longer. The chicken thighs are done when the interior temperature reaches 160°F. Cover loosely with aluminum foil and hold in the oven set to its lowest temperature while you finish the risi e bisi. Carryover cooking will raise the internal temperature to the required 165°F.
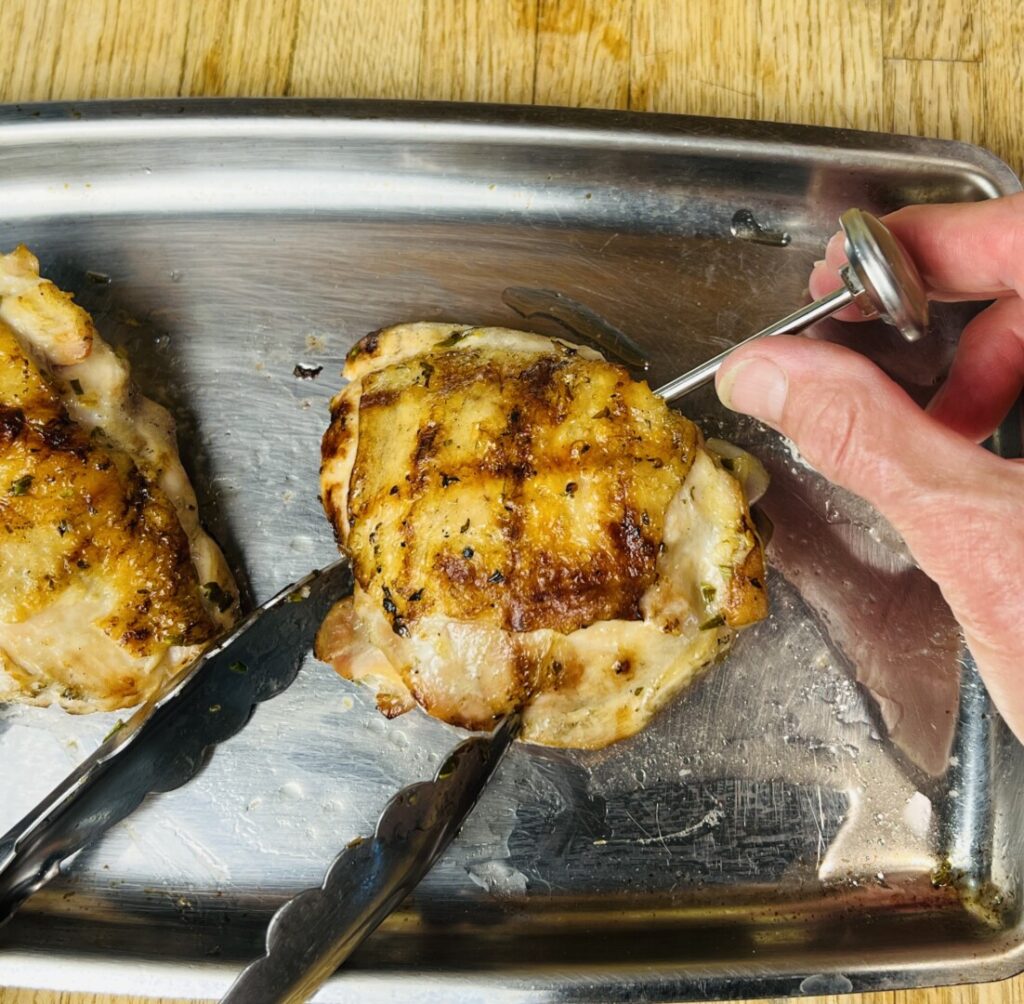
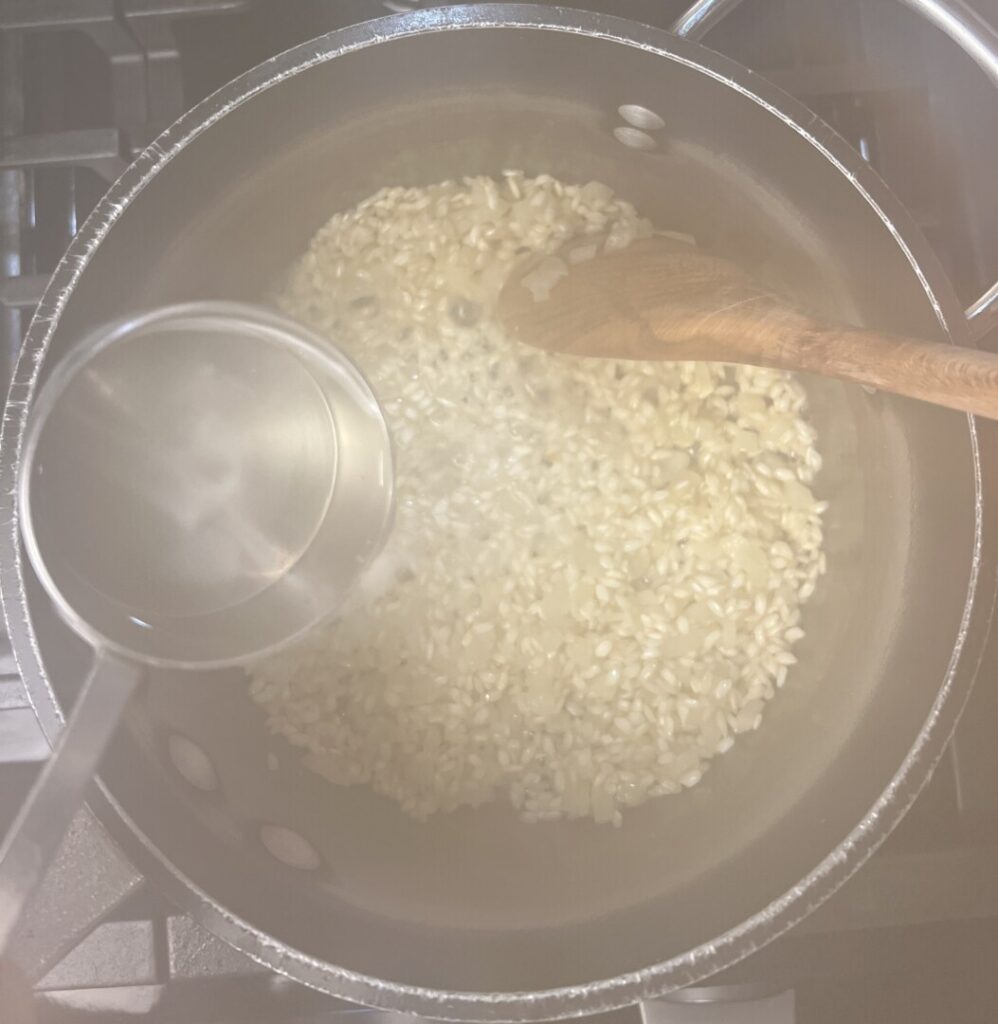
To finish cooking the risotto rice, heat some water in a saucepan until steaming hot. Place the par-cooked rice in a saucepan over medium heat and add about 1/2 cup of the hot water. Cook, stirring as you did before until the water absorbs. Continue doing this until the rice grains have almost softened to an al dente texture and the cooking liquid forms a thin sauce. Evaluate with your fingers and with a test-taste as before. Here’s where judgment comes into play: recall how long your peas need to cook and time the addition of the peas in accordance with how long the rice needs to finish cooking. If it’s your first time making risotto, take your best guess. Accuracy comes with experience!
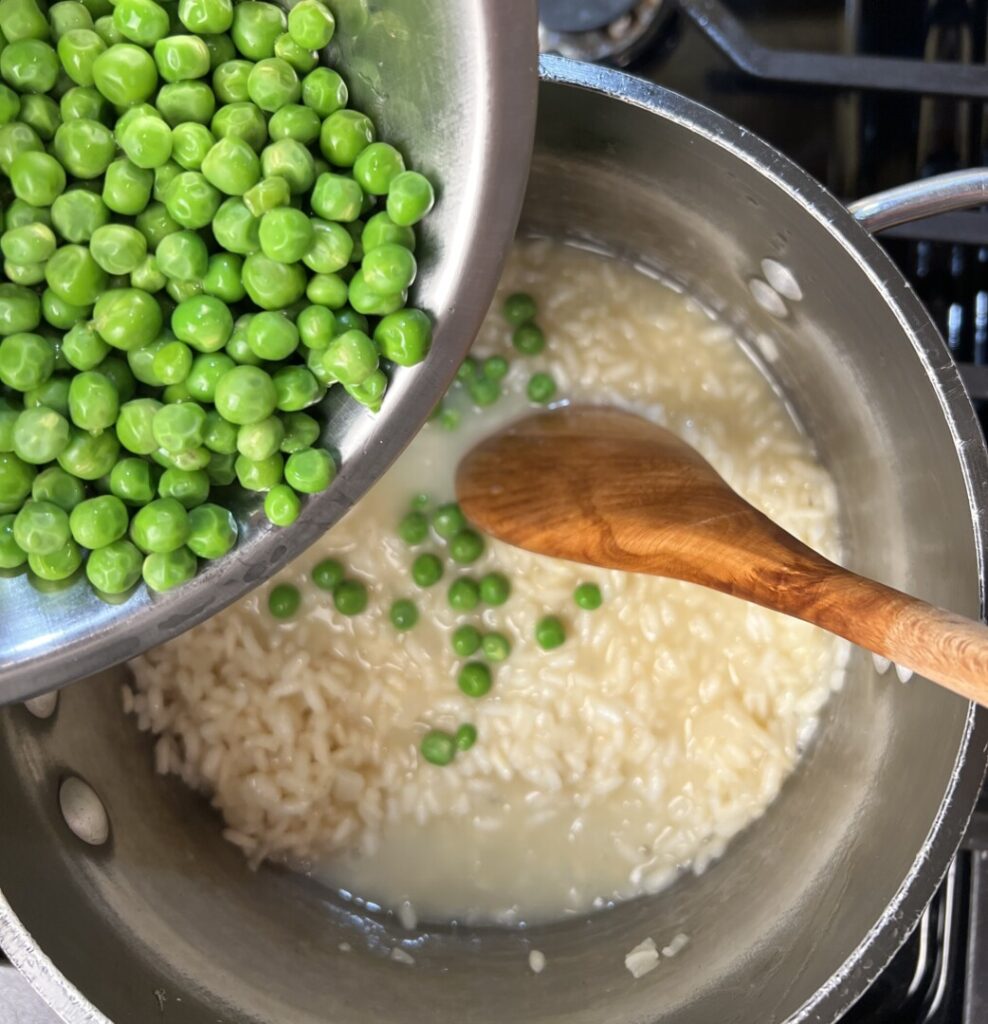
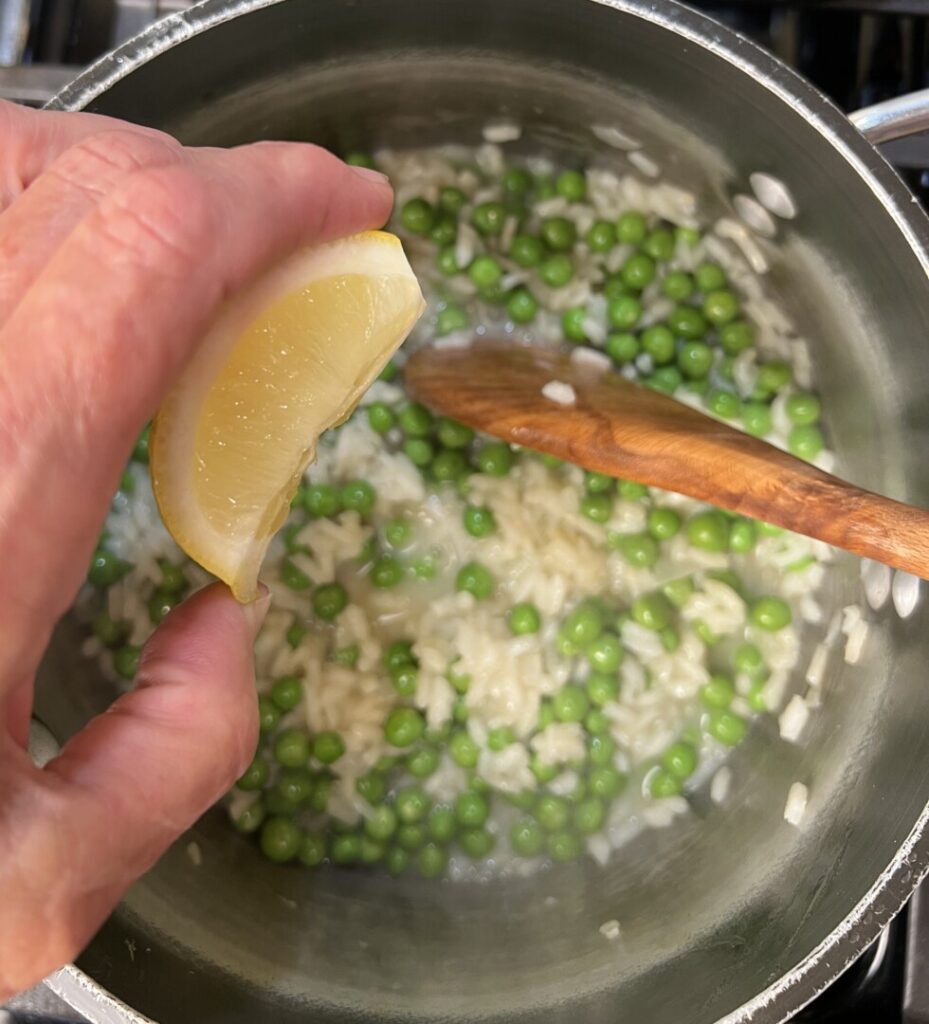
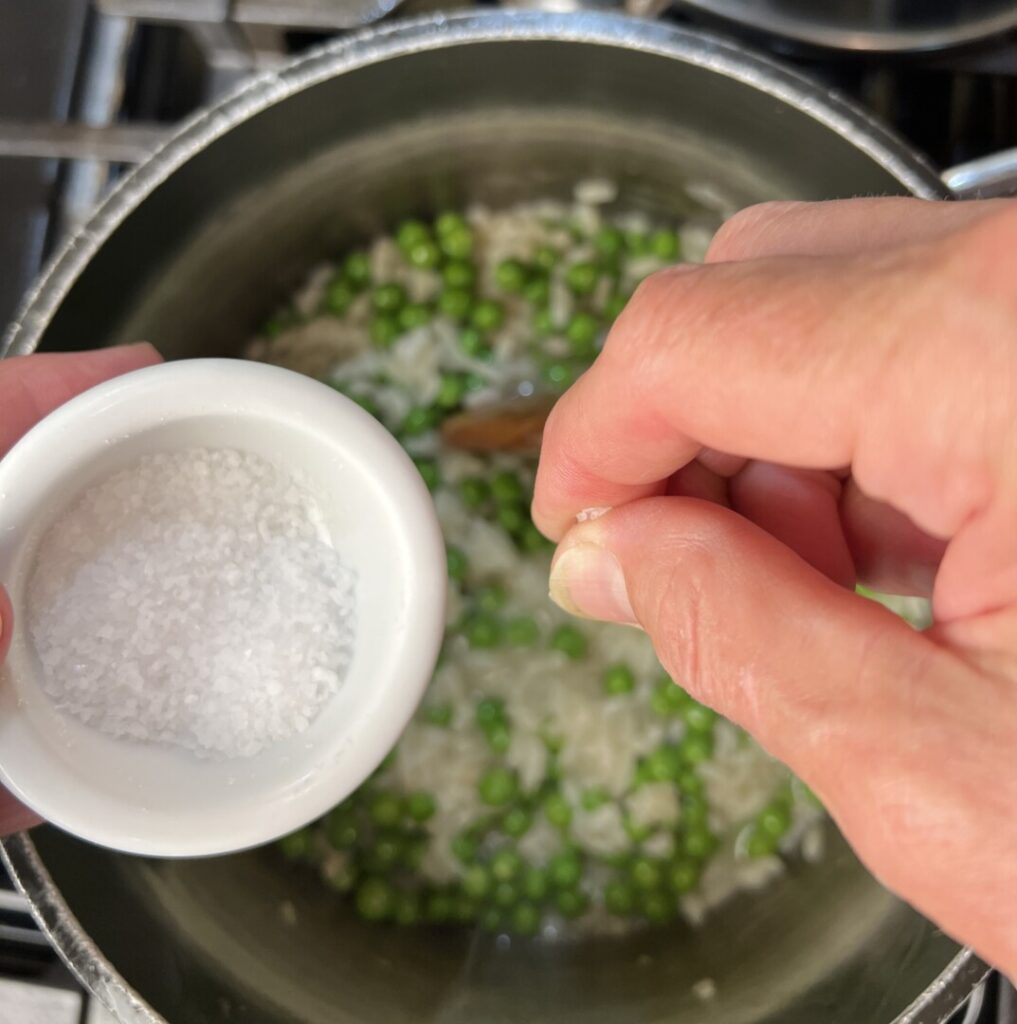
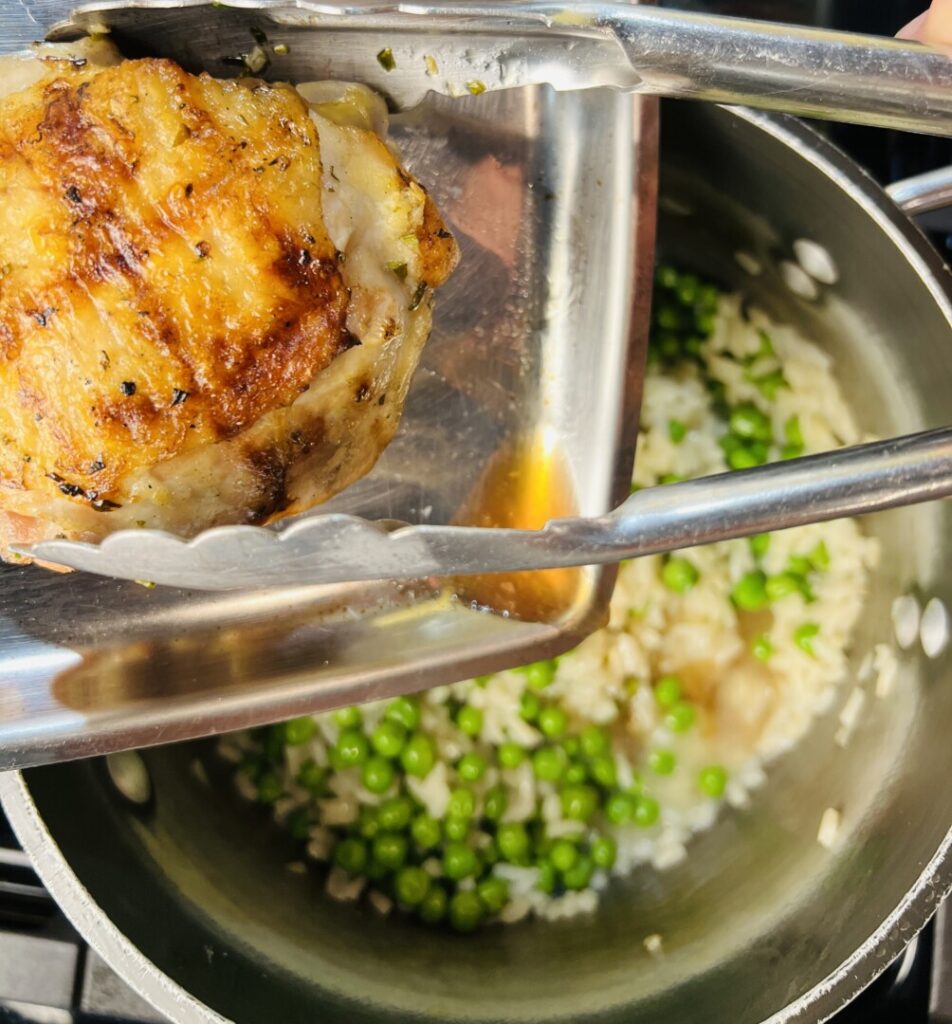
Now stir in the peas and continue cooking, adding more hot water as necessary, until the peas are tender. Take care when stirring so as not to crush the peas. When both peas and rice have reached the perfect texture, season with lemon juice and adjust the salt, if necessary. For extra flavor, stir in any juices exuded from the chicken. Finally, turn off the heat and stir in the cheese, which will further thicken the sauce. (Overheating can curdle the cheese, resulting in a lumpy sauce.) Stir in more hot water to adjust the thickness of the sauce to your preference. Serve as soon as possible!
Now you’re ready to plate:
Place the carrots on a microwave-proof plate, season with a little salt, cover with plastic wrap and heat for about 2 minutes.
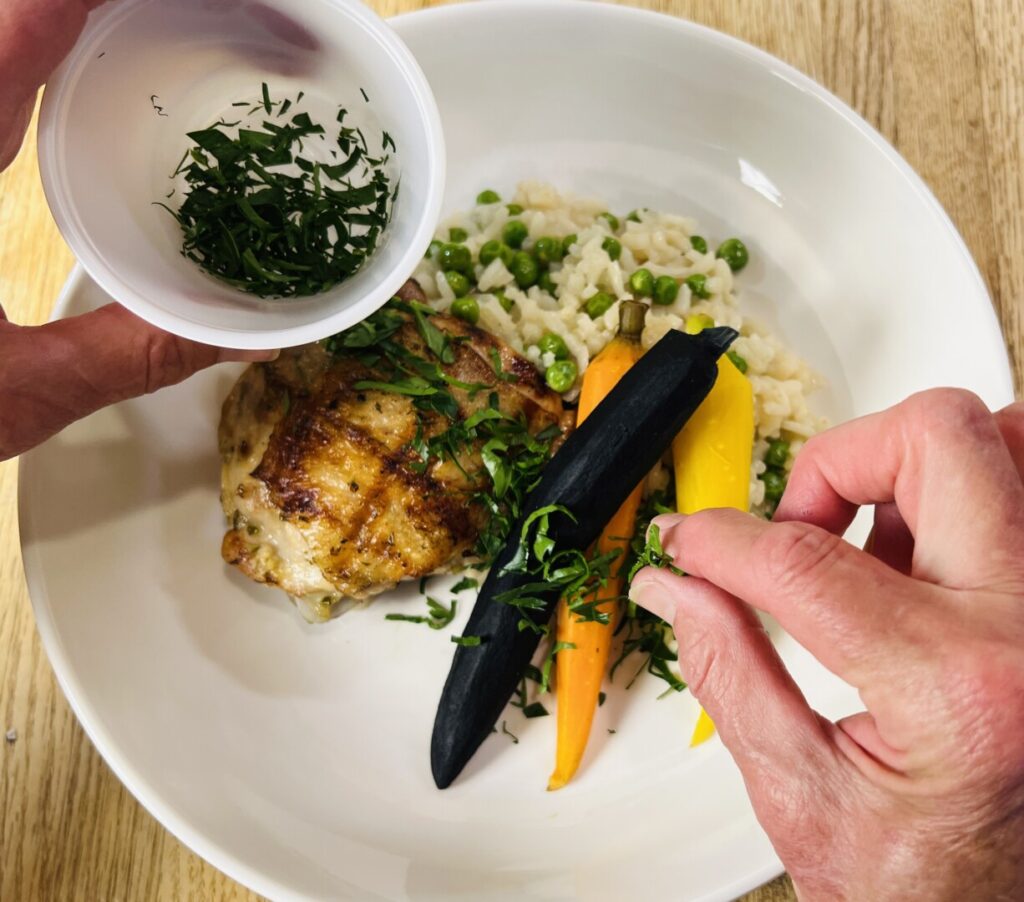
Spoon a serving of risi e bisi into the back right of each warm dinner bowl or plate. Arrange a chicken thigh in the left side of each bowl, leaning against the rice. Arrange the carrots in the right front, propped against the rice. Sprinkle with a diagonal line of parsley.
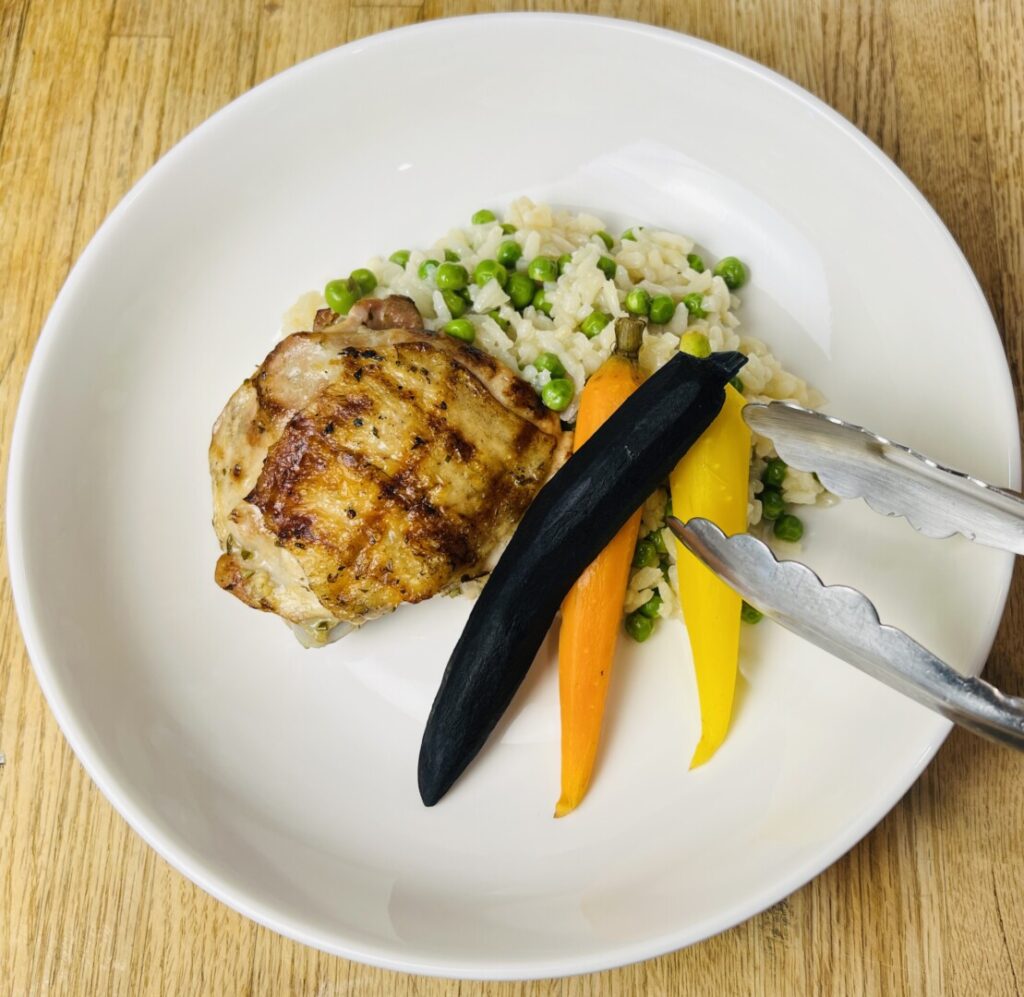

Grilled Chicken with Risi e Bisi and Rainbow Carrots
Ingredients
step 1 ingredients
- 1/2 lemon
- 1 garlic clove
- 1 rosemary sprig
- 1 Italian parsley sprig
- 1/4 c extra-virgin olive oil
- 1/4 tsp kosher salt
step 2 ingredients
- 2 (7-oz) bone-in, skin-on chicken thighs
step 3 ingredients
- 1 lb fresh English peas in the pod (or 2/3 c frozen peas per person)
step 5 ingredients
- 5 oz young multi-color carrots (3 to 4 carrots per person)
step 6 ingredients
- 1 c chicken stock or chicken bone broth
- 2 c water
- 1/8 small yellow onion
- 2 Tbsp butter
- 2/3 c Italian arborio rice
- 1/4 c white wine
- 1/8 tsp kosher salt
step 7 ingredients
- 2 oz Parmigiano-Reggiano cheese
step 11 ingredients
- 2 Italian parsley sprigs
step 12 ingredients
- 3 c water
- 1/8 lemon, seeded wedge
- to taste kosher salt
Instructions
PREP: Mise the recipe ahead of time.
1. Make the marinade:
- Squeeze the lemon into a container just large enough to accommodate the chicken thighs.
- Peel the garlic, and then force the garlic through a garlic press into the container.
- Mince the rosemary and parsley leaves and add them to the container.
- Stir in the oil and salt.
2. Trim and marinate the chicken:
- Rinse the chicken under cold water and blot dry on paper towels.
- Trim away any visible yellow fat and excess skin.
- Place the chicken thighs in the marinade, skin-side-down, and then turn them over to coat all surfaces with marinade.
- Refrigerate the chicken for at least one hour and up to 24 hours. After 24 hours remove the chicken from the marinade and store chicken and marinade separately.
- Thoroughly wash and sanitize the knife, cutting board, and sink.
3. Shell the peas:
- Hold a pea pod over a bowl with the stem side facing upward and with the pea curving away from you.
- Use thumbs and index fingers to squeeze the bottom of the pod. The pod will open at the seam.
- Pull the two sides of the pod apart.
- Use your thumb to scrape the peas out of the pod and into the bowl.
- Repeat until all of the peas are shelled. Discard the pods.
- If prepping ahead, place the peas in a plastic bag.
4. Test-cook about ⅛ c of the freshly-shelled raw peas to determine their required cooking time: (See recipe note*.)
- Bring water to the simmer in a saucepan. Obtain a strainer that will fit down inside the saucepan.
- Put the peas in the strainer, place the strainer in the saucepan, and simmer briskly for about 1 minute.
- Lift out the strainer and taste one of the peas. You’re looking for a slightly sweet flavor and a tender, but not mushy, texture. If the pea is still chewy and starchy, continue cooking the remaining peas. Keep track of the cooking time, and keep tasting a pea every 20 seconds or so until the peas have cooked to a tender texture.
- Note the cooking time so that you’ll remember how long to cook the peas in the risi e bisi risotto.
5. Fabricate and par-cook the carrots:
- Bring a saucepan of water to the boil, place a bowl next to the stove, and have ready tongs or a perforated spoon and a paring knife.
- Peel and trim the carrots, leaving the stem ends on. (See recipe note**.)
- If some of the carrots are large, cut them in half lengthwise to achieve even sizes.
- (See recipe note***.) Place the carrots in the water and blanch for 2 to 6 minutes, depending on the size and maturity of the carrots. Cook until a paring knife inserted into a carrot meets just a little resistance.
- Transfer the carrots to the bowl and refresh under cold running water for about 2 minutes.
- Blot dry on paper towels.
- If prepping ahead, place the carrots in a plastic bag with a folded paper towel in the bottom.
6. Par-cook the risi e bisi risotto:
- Heat the chicken stock in a saucepan on the stove or in a microwave oven until steaming hot.
- Bring about 2 cups water just to the simmer.
- Fine-chop the onion.
- Melt the butter in a heavy saucepan over medium heat and add the onion. Cook, stirring, for about 1 minute until the onion softens. Don’t let it brown.
- Add the rice and cook, stirring constantly, for about one minute longer until the rice grains are coated with butter and have changed color from translucent to white. Don’t let the rice brown.
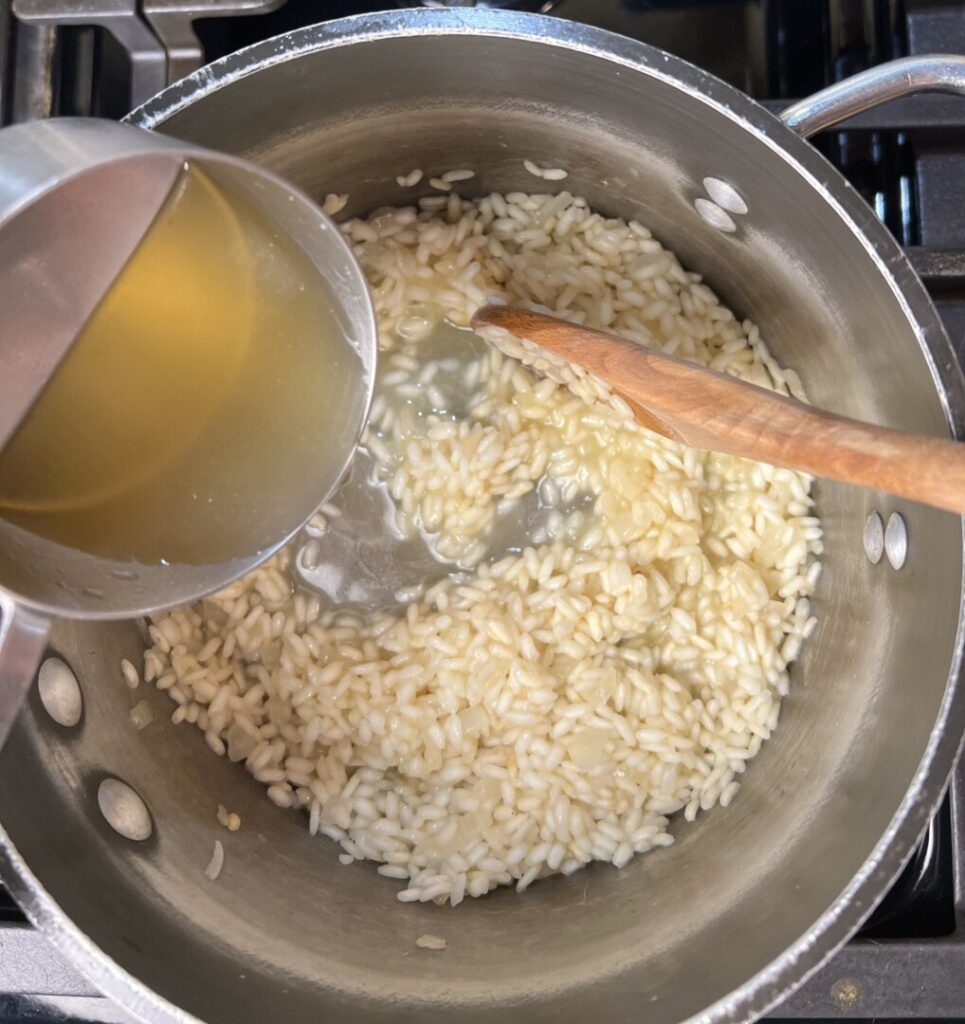
- Add the wine and cook, stirring, for about 1 minute until it absorbs/evaporates and the pan is almost dry.
- Add ½ c of the hot stock and the salt, and cook as before, stirring constantly for about 2 minutes, until the stock absorbs/evaporates.
- Add ½ c of the simmering water and cook as before.
- Add the remaining ½ c stock and cook as before.
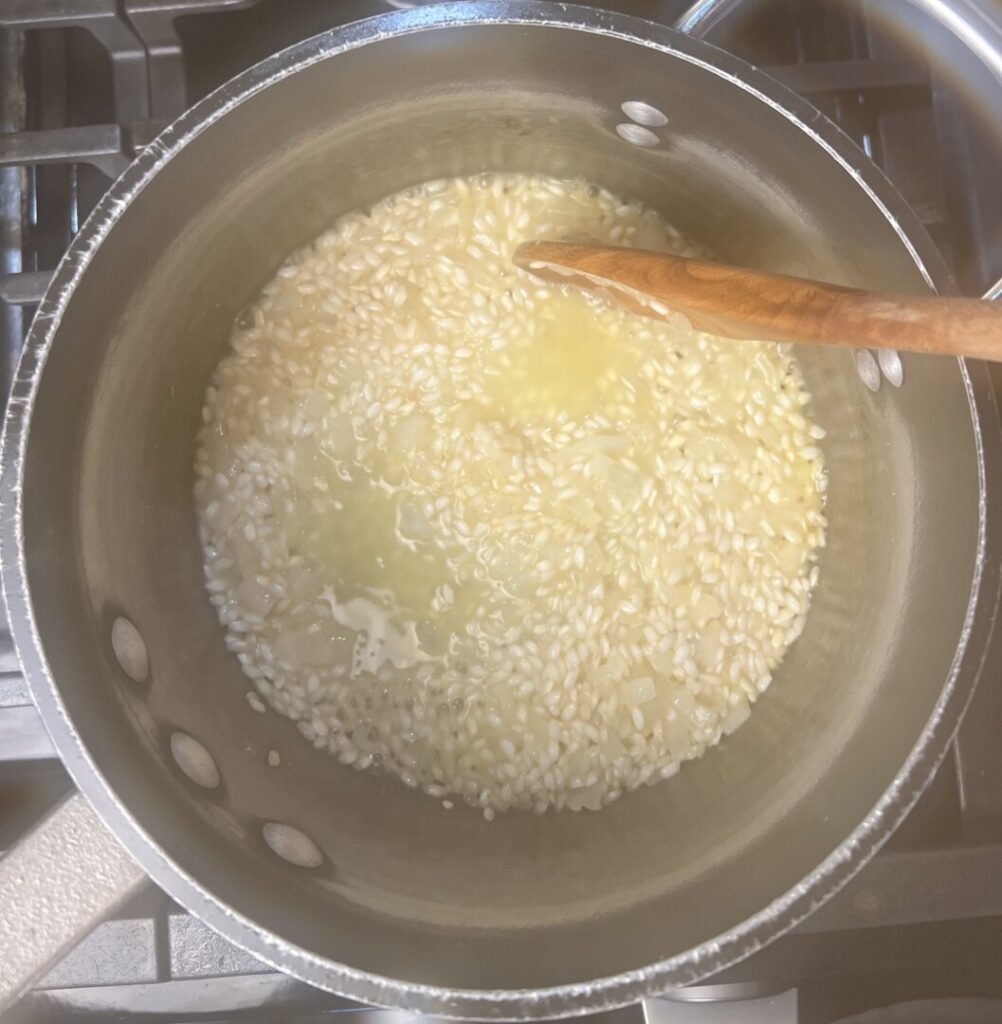
- Spoon out a few grains of rice and taste to evaluate the texture. The par-cooked rice should be slightly tender but still chewy; the center of the grains should be firm but not hard.
- If necessary, add another ½ c water and continue cooking. Repeat only if necessary until the rice grains are tender.
- If prepping ahead, transfer the par-cooked risotto to a container and cool to room temperature.
7. If necessary, fine-grate the cheese and place in a bowl or plastic bag for storage.
HOLD: After 24 hours remove the chicken from the marinade and store chicken and marinade separately. Refrigerate all ingredients up to 4 days.
COOK! Finish and plate your dinner.
8. Set up a grilling station:
- Preheat a gas or charcoal grill to high heat. (If your charcoal grill doesn’t have a lid, preheat an oven to 300°F.)
- Have ready a sizzle plate or small sheet tray, tongs, a flexible spatula, a heat-proof basting brush, and an instant-read thermometer.
9. Set up the carrots for reheating:
- Place the carrots in an microwave-proof dish, season with salt, and cover with plastic wrap. Don’t allow the plastic to contact the carrots.
10. Grill the chicken:
- Brush any bits of herb or garlic off of the skin side of the chicken thighs.
- Use tongs to lift each thigh out of the marinade and allow all excess to drip off. Place each thigh, skin-side-down, diagonally on the grill grid. Grill for about 1 minute.
- Baste with some of the marinade. (Take care not to use too much, or to splash marinade onto the flames; this can cause a flare-up.) Continue grilling for about 1 minute longer.
- Partially lift up one of the thighs to check underneath for light brown grill marks. (If the chicken skin has not yet released from the grill grid, don’t pull on it; just release the thigh back down onto the grid and wait for a minute or so longer.)
- When the chicken has achieved grill marks in one direction and releases from the grid, rotate each thigh 90° and continue grilling for about 1 minute longer to achieve an attractive cross-hatch grill pattern.
- Baste again, then turn over the thighs and continue grilling for about 1 minute longer.
- Transfer the chicken to the holding rack above the grilling surface; alternatively, turn off one burner and move the thighs to that area of the grill. Turn the heat to medium. (If your’re using a charcoal grill with no lid, transfer the thighs to the sizzle pan and place it in the oven.)
- Finish cooking the chicken by grill-roasting it (or in the oven) for about 10 minutes until it reaches an internal temperature of 160°F. Place the chicken on the sizzle pan and cover loosely with aluminum foil to keep it hot and to allow carryover cooking to raise the temperature to 165°F.
11. Chop the Italian parsley or cut it into chiffonade (very fine strands).
12. Finish the risi e bisi:
- Bring about 3 c water to the simmer.
- If necessary, put the par-cooked risi e bisi risotto in a saucepan placed over high heat. Add about 1 cup of simmering water and bring the rice and liquid up to the simmer. If you’ve determined that the peas will take about 2 minutes to cook, add them now. Stir carefully to avoid crushing the peas, then cover the pan. Recover the simmer and then cook, uncovered and stirring gently for about 1 minute. If the peas need only 1 minute of cooking, add them now. Cook until the liquid absorbs/evaporates.
- Pull out a few grains of rice and taste for texture. The rice should be tender but not mushy. If still too hard in the center of the grains, add more water and continue cooking.
- When both the rice grains and the peas are tender, add any juices that have exuded from the chicken. Then add more simmering water to achieve your desired consistency, whether it be just moist or rather “soupy.” Keep in mind that the sauce around the rice and peas will thicken with the addition of cheese.
- Squeeze in the lemon, stir, and then turn off the heat.
- Stir in the cheese. The sauce will thicken; adjust the consistency with more simmering water if necessary.
- Evaluate the seasoning and adjust the salt if necessary.
13. Place the carrots into a microwave oven and heat for 2 minutes.
14. Plate:
- Spoon a portion of the risi e bisi into the back left of each warmed shallow dinner bowl or plate.
- Place each chicken thigh on the front left side of the bowl, propped against the risi e bisi.
- Arrange a portion of the carrots on the right side of each bowl, stem ends propped against the risi e bisi.
- Scatter a diagonal line of parsley across each plate.