

Your Cooking Lesson
Advice, explanation, and in-depth information to help you achieve recipe success.
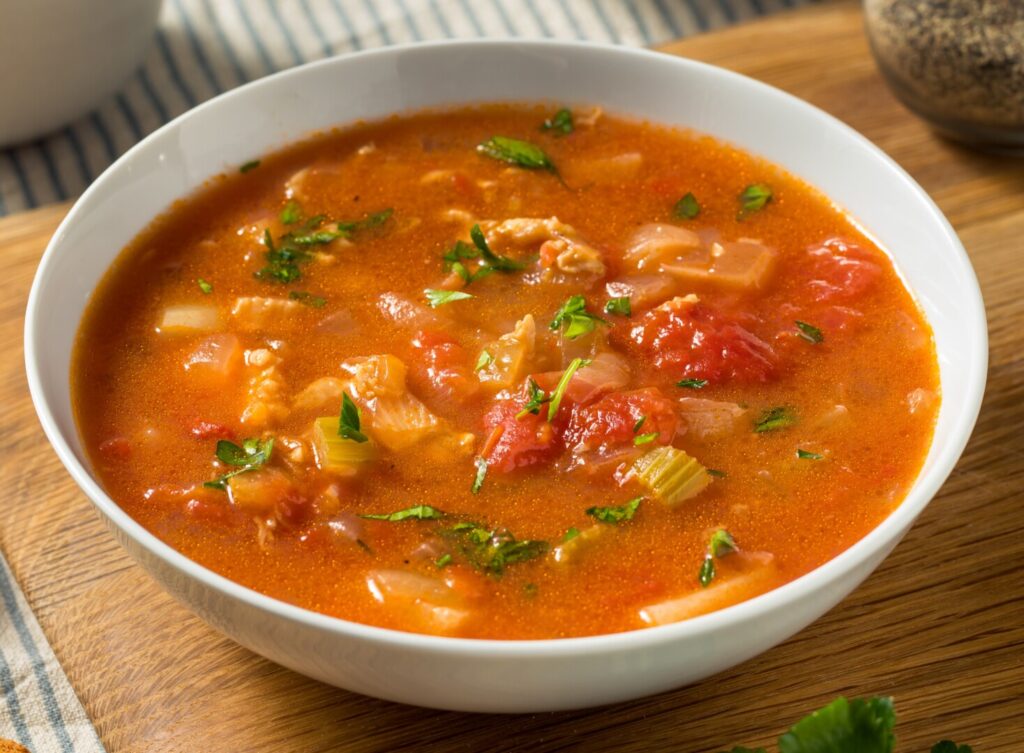
A New England chowder traditionally includes three basic ingredients: a preserved pork product, such as salt pork, bacon, or ham; potatoes; and a full-flavored broth. Beyond these three elements, chowders vary greatly according to the region and to the discretion of the cook. We usually associate chowders with seafood, with clams being the best-known type. But other bivalves (such as scallops and mussels) are often featured, as are crustaceans (such as shrimp and lobster). Fish chowders are economical ways to use up tails and trimmings. And don’t forget corn chowder, a summer favorite. Most New England chowders contain milk or cream, but Rhode Island and Connecticut chowders are based on clear broth. Manhattan clam chowder is also broth-based, but includes tomatoes. The consistency of chowder also varies, from light and thin to robustly thick. Chowder’s role in a meal varies, as well. A cup of chowder can function as an appetizer, whereas a bowl of chowder can be a substantial main course. So, almost anything goes! For simpler shopping and shorter prep time, our mixed-seafood chowder recipe omits the pork, but amplifies the flavor with a variety of shellfish in a rich, creamy sauce. This hearty and filling entrée is perfect for a winter dinner.
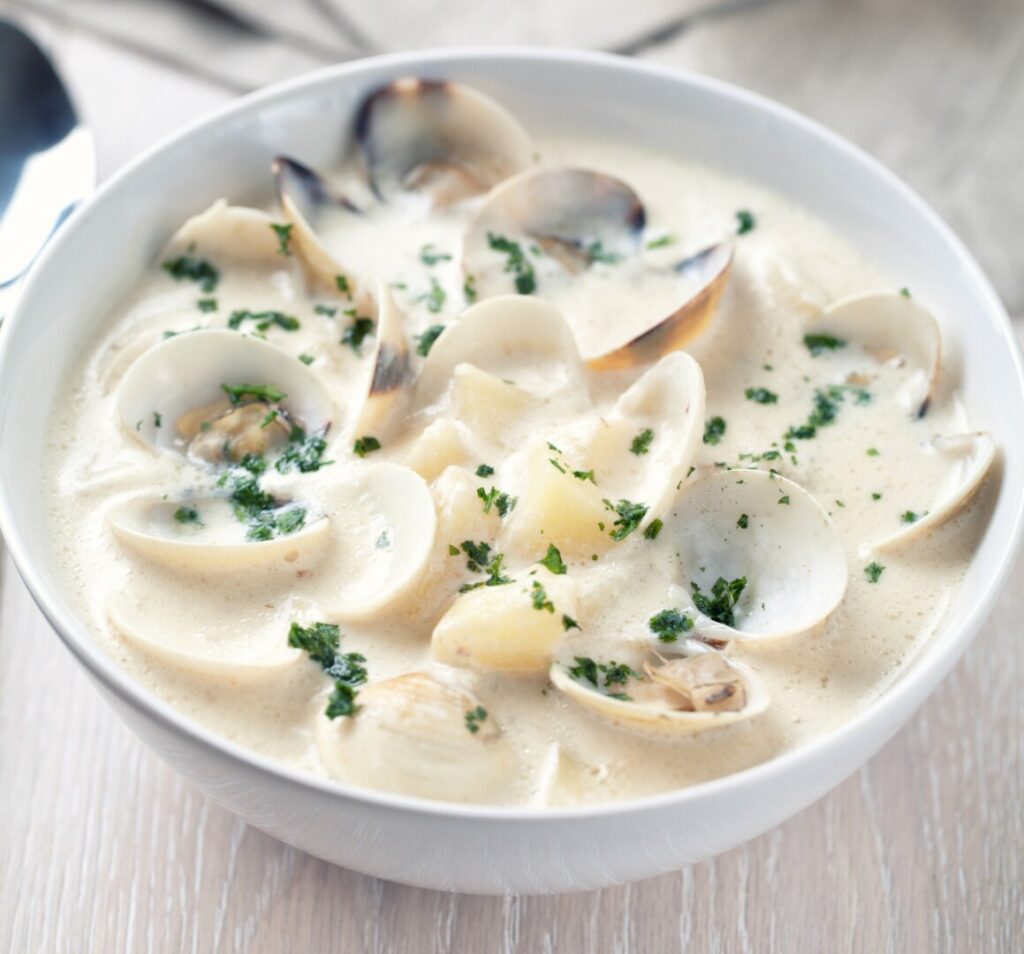
The most important thing to know about cooking seafood is not to cook it too much! Crustaceans (shrimp, lobster, crayfish), bivalves (mussels, scallops, oysters, and smaller clams), and almost all fish are tender protein foods that need only to be heated to 140°F internal temperature to achieve the perfect texture and for food safety. If these foods are heated too long or to an overly-high temperature, their protein chains tighten up and turn the flesh from tender to tough, rubbery, and dry. Because most seafood items are too small for thermometer use, chefs judge by timing, appearance, and the “touch test.” Bivalves are finished cooking the moment their shells open up. Fish fillets are done when the flesh no longer springs back when touched and when it flakes slightly under pressure. Follow the timing in this recipe, and use your senses to double-check your donenesses. It’s better to undercook than overcook—you can always heat your bowl in the microwave for a few seconds, if necessary.
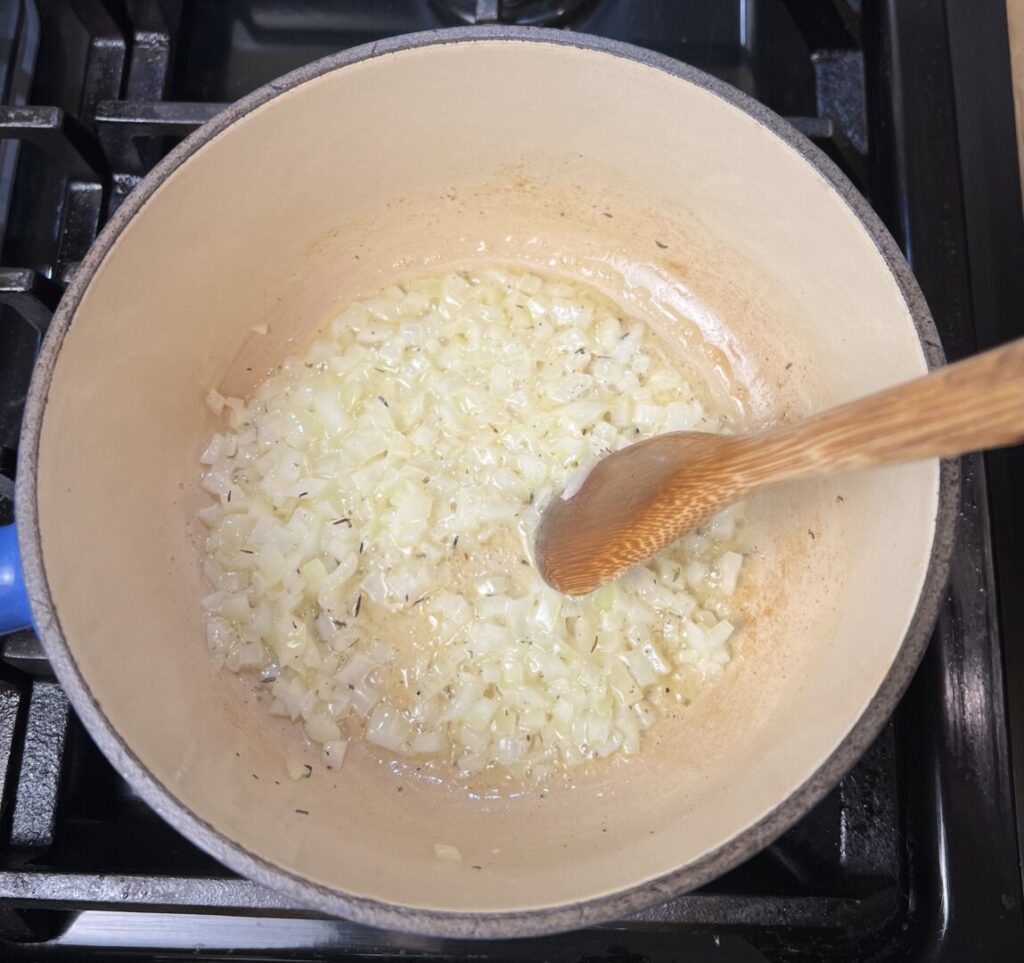
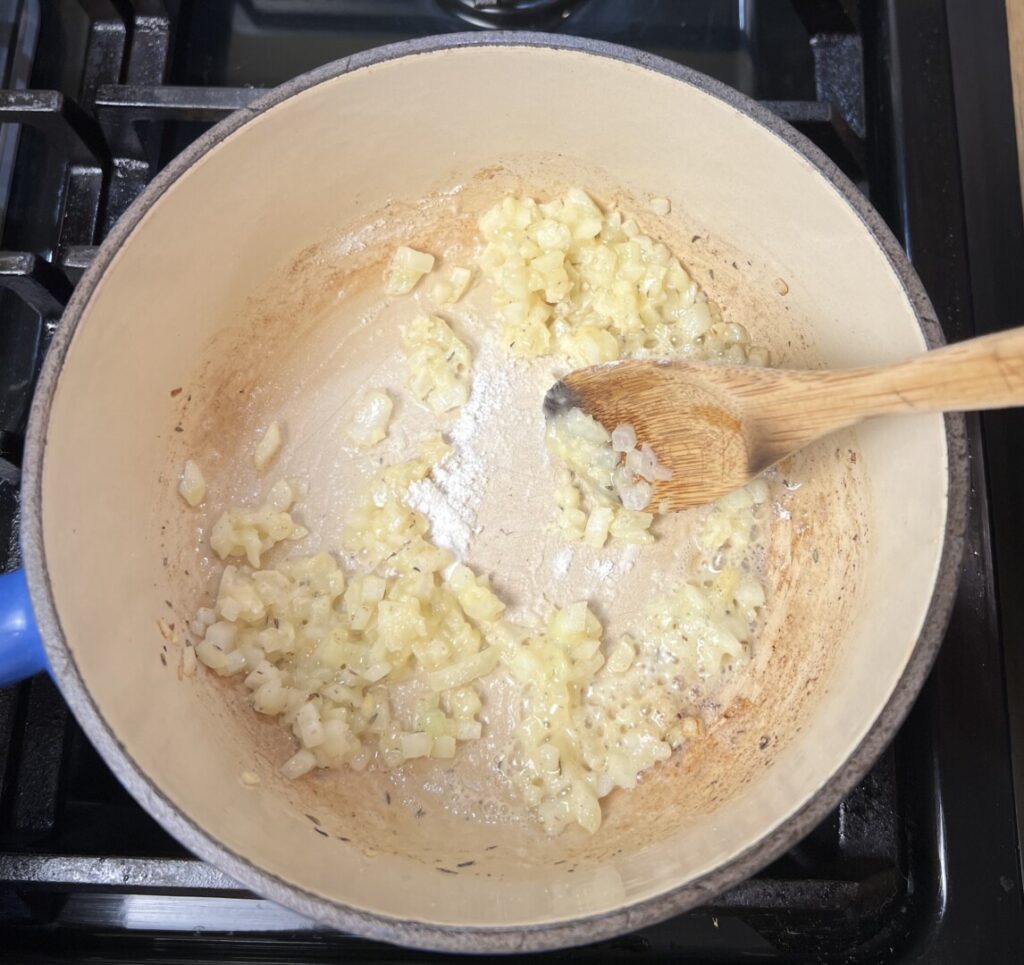
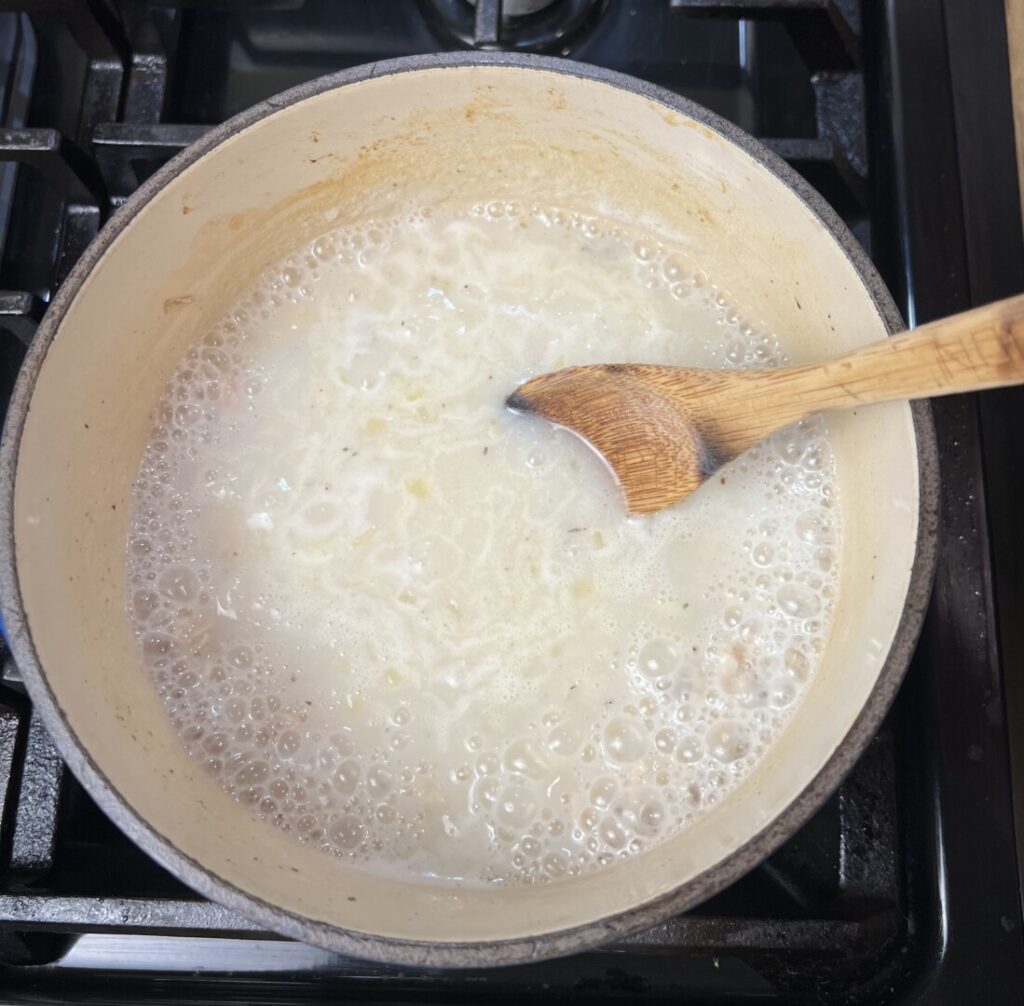
The first prep step in this recipe is making the sauce base. Have your diced potatoes stored in water to prevent enzymatic browning that happens when peeled potatoes are exposed to air. You’ll sauté the onion in butter, and then build a white roux in the same pan. (It won’t actually be white because of the yellow butter, but that’s the culinary term for the type of roux that’s cooked least, and has the most thickening power.) Stir in the liquids including the canned clams. (Canning facilities steam, chop, and process large hard-shell clams, which are tough but tasty. Unlike smaller clams, these need more lengthy cooking, which is why we’re adding them now.) Like all roux-based sauces, this one needs to simmer for at least 20 minutes to fully convert the flour’s starch into a gel for a smooth mouthfeel. You’ll then par-cook the potatoes in the sauce. Watch carefully to prevent scorching and to ensure that the potatoes don’t overcook. When done, they should be quite firm, but not crunchy. The finished sauce will be very thick; that’s OK because you’re going to thin it later, with mussel liquid and cream.

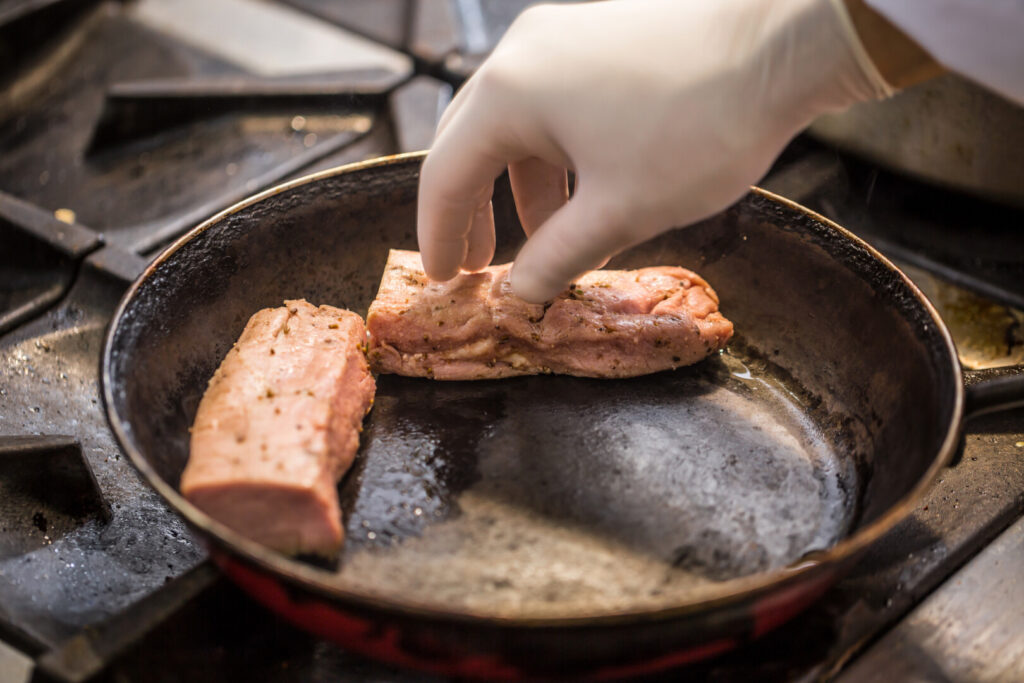
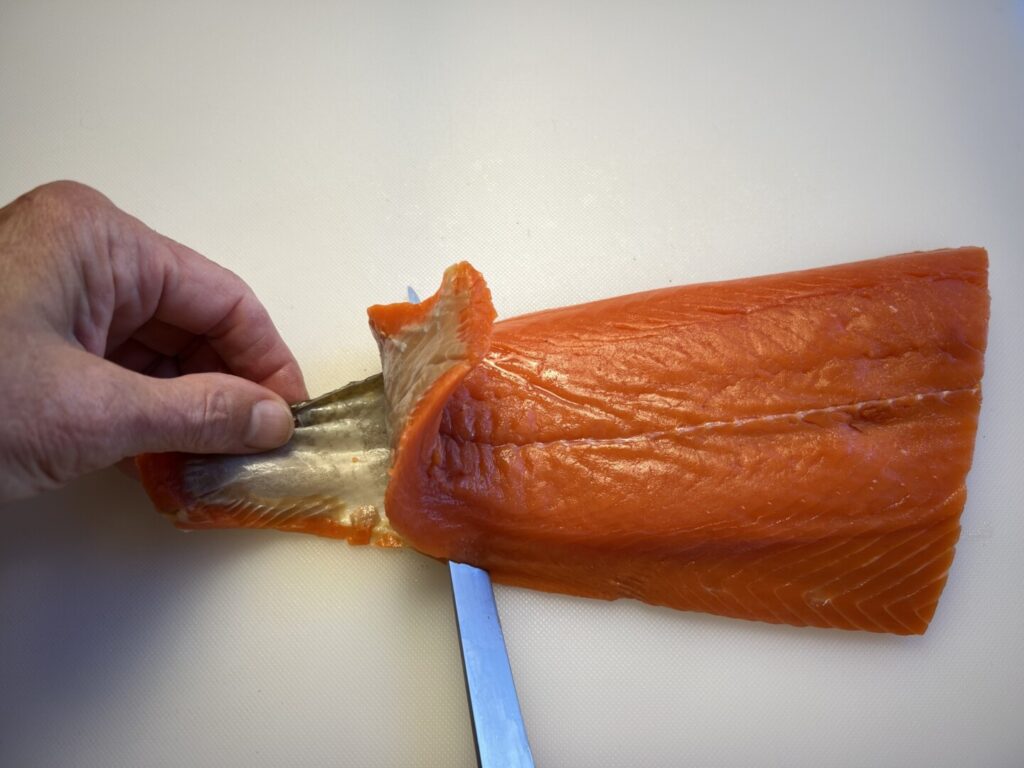
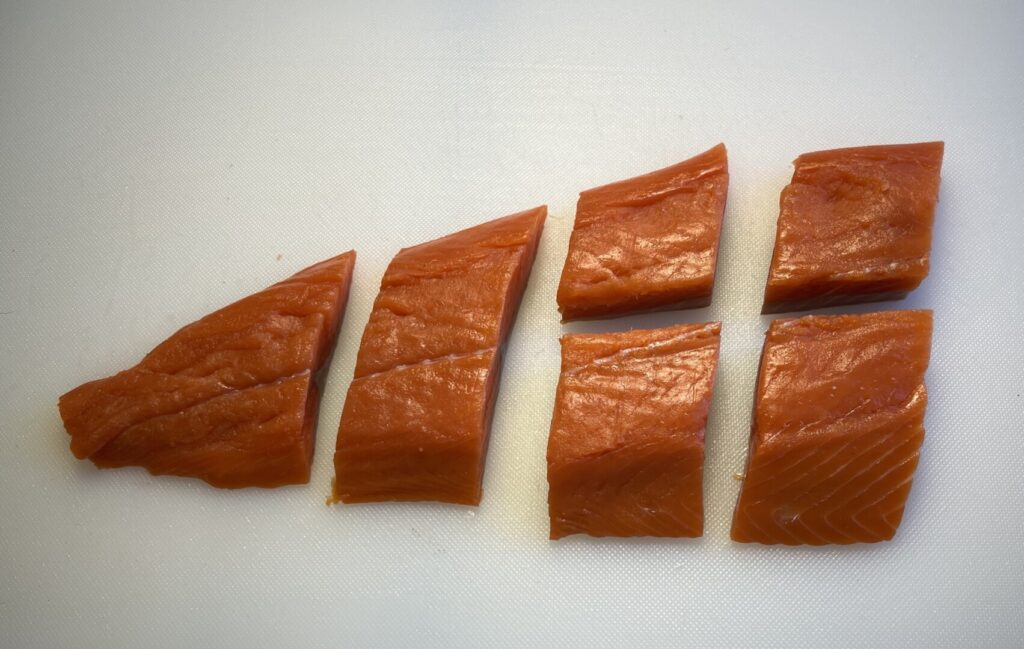
The next prep step is to fabricate and store the seafood. Most salmon fillets are sold with the skin attached. Although fish skin can be delicious when grilled or pan-seared crisp, it’s most unpalatable when cooked with moist methods as in this recipe. The photo below illustrates how to start skinning your salmon fillet. For a video tutorial, use this link: https://www.youtube.com/watch?v=j22fZS_pOXc. Portion the skinned fish into large chunks, about three per person.
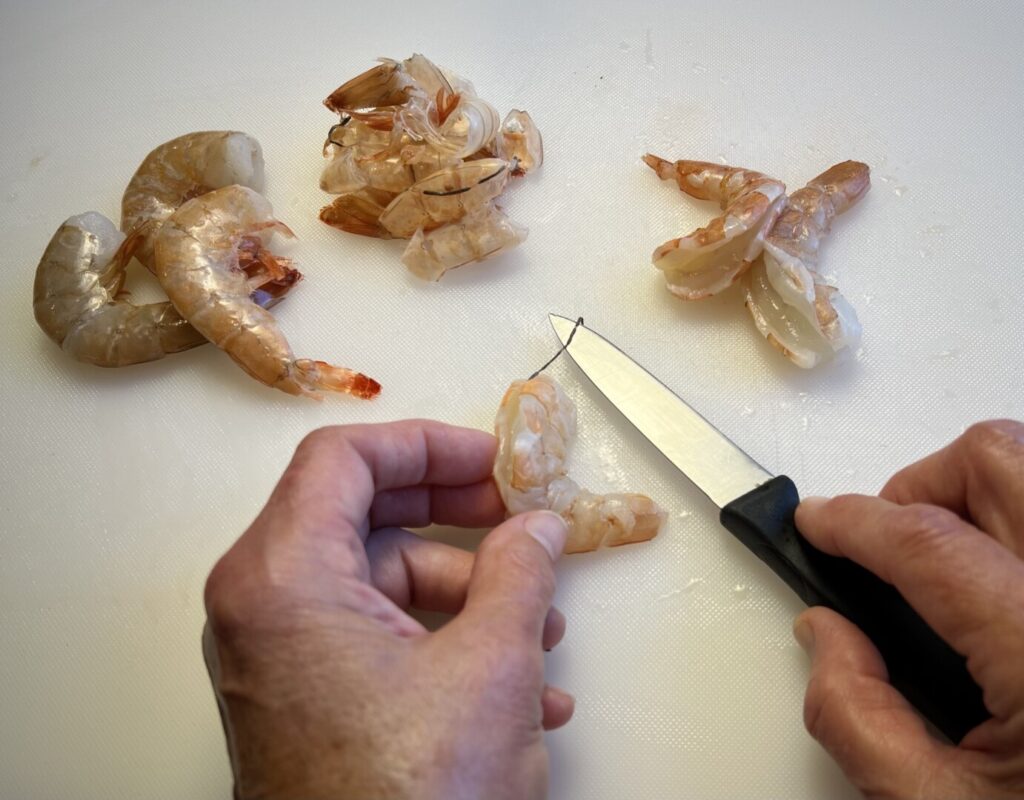
Let’s talk shrimp. You’ll notice that the recipe ingredients list suggests 21-25-count Gulf shrimp. Gulf shrimp are wild-caught species from the US Gulf of Mexico, individually quick-frozen in their shells. These are far superior to farm-raised shrimp from other world sources, and better ecologically, too. Resist purchasing already peeled and deveined imported shrimp, which are inferior in flavor and texture. Virtually all shrimp sold in supermarkets and most fish stores arrives frozen; fish counters sell thawed shrimp for customer convenience. It’s usually more economical to buy 2-lb bags of frozen shrimp to store in your freezer. To use, simply shake out the amount you need and thaw under cold running water for 15 minutes or so. The specification “21-25” refers to size: a pound of these shrimp comprises between 21 and 25 pieces. Larger count numbers mean smaller shrimp; smaller count numbers mean larger shrimp. If your shrimp are smaller (say, 26-30 or 31-35), decrease their cooking time. If larger (16-20), increase the cooking time. Shrimp are properly cooked when their color intensifies and when they loosely curl. Whatever type and size shrimp you use, peel and devein them as in the photo.
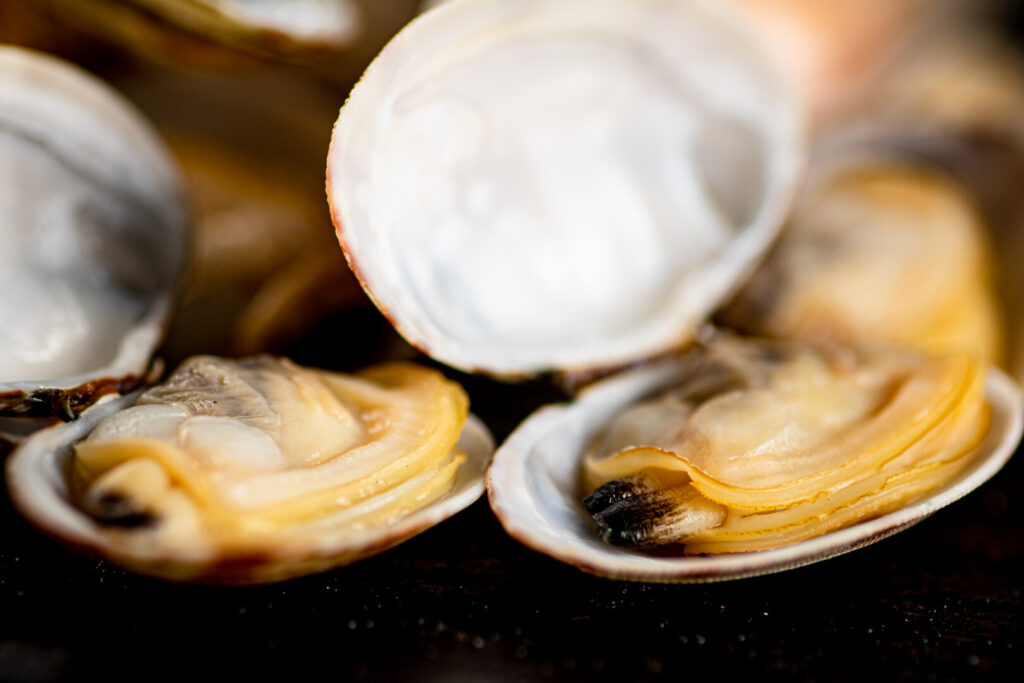
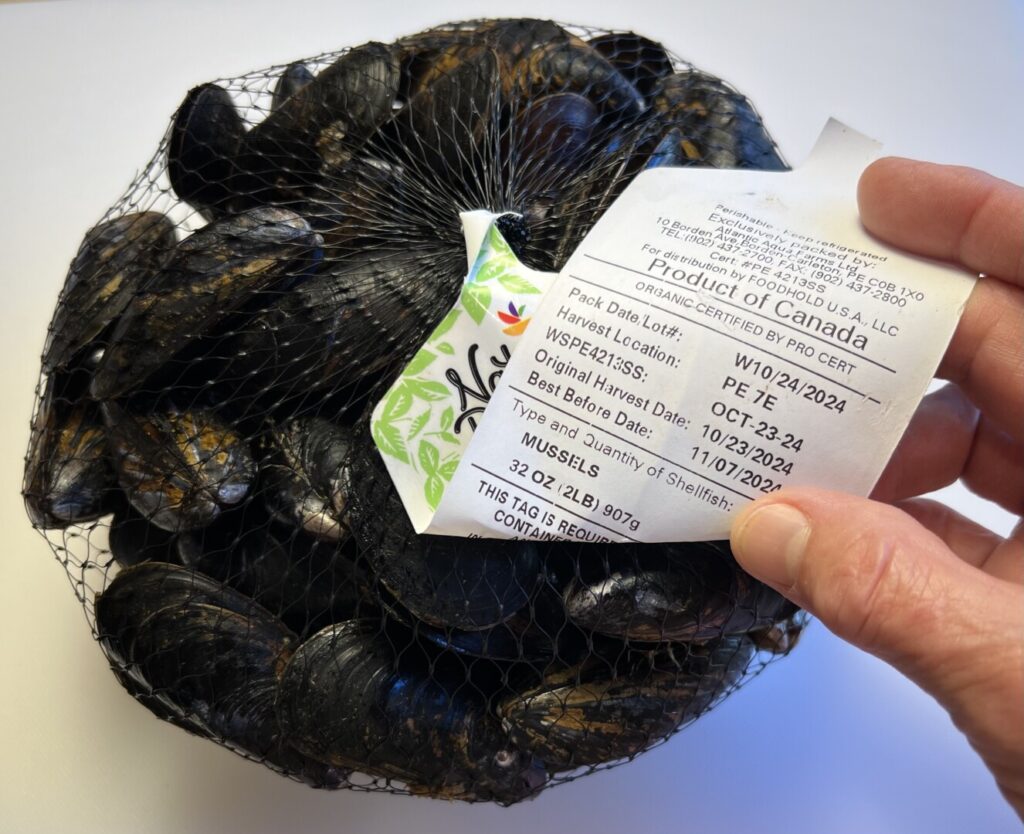
In-shell, raw mussels are sold live, and must remain alive until they’re cooked. Because the necessary prep steps risk killing them, you can’t prep them ahead. Just place the mussels in a bowl, cover with a damp towel, and refrigerate. Don’t discard the attached shellfish tag; after eating the mussels, keep it for a week or so in the rare case that you should experience a food borne illness. The tag allows authorities to trace the mussels’ origin.
If you hadn’t washed, dried, and stored your lettuce while putting groceries away, do it now. (Remember to remove the greens from the towel after an hour or two, to prevent wilting.) A dry paper towel placed in the bottom of a sealed plastic bag absorbs any excess moisture.
If you haven’t made the cider vinaigrette, do it now.https://prepholdcook.com/blog/apple-cider-vinaigrette/ Alternatively, plan to use a similar commercial salad dressing.
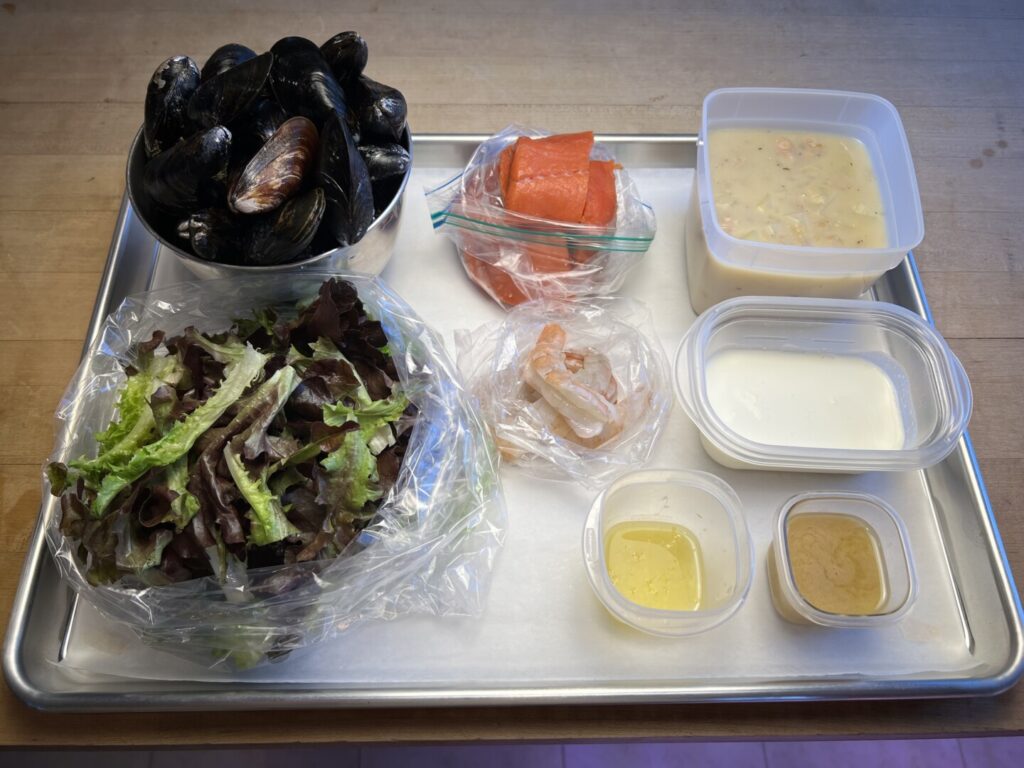
Your prep is done. Here’s your mise tray:
It’s dinnertime—now you’re ready to COOK!
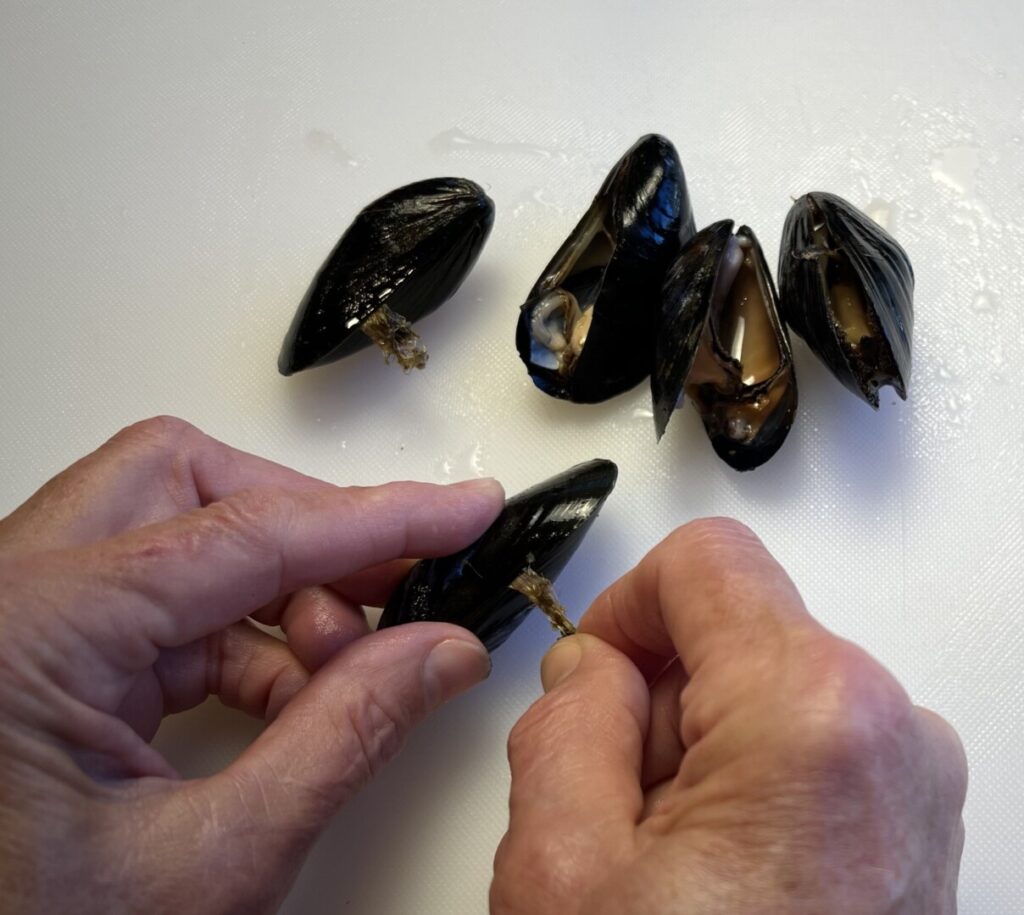
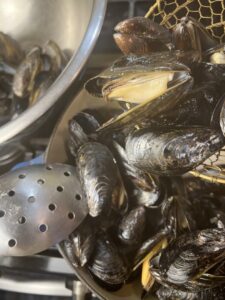
Dump the mussels into the sink and then put them in a bowl, one-by-one, inspecting them as you go along. You don’t want to eat a dead mussel! The shells of live mussels are usually tightly closed; however, some live mussels may be a little bit open. Tap these on a hard surface and watch for them to draw closed. If they do, add them to the bowl; if not, discard them. Also discard any mussels with cracked or broken shells. Mussels growing in seawater attach themselves to rocks or other submerged objects with hairy filaments called “beards.” Farm-raised mussels typically have few beards, but if you see any, pull them off.
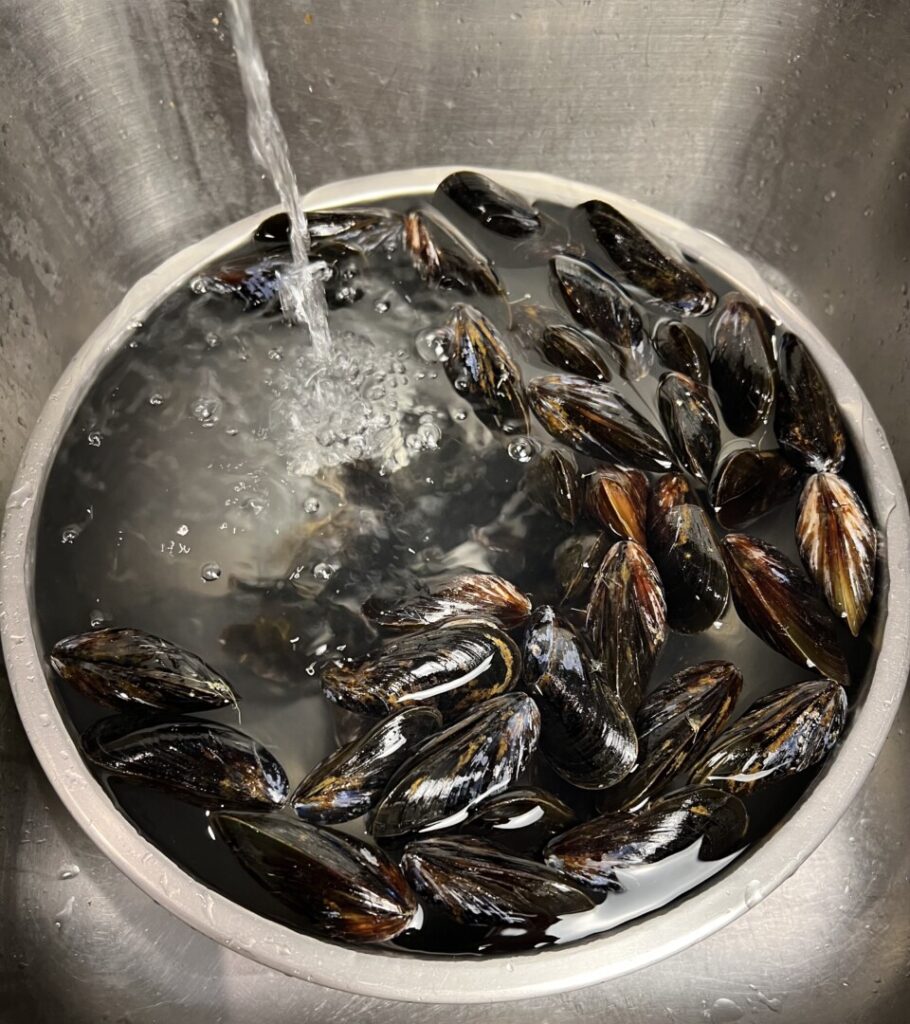
Next, purge the mussels of as much grit as possible by placing the bowl under cold running water for at least 15 minutes.
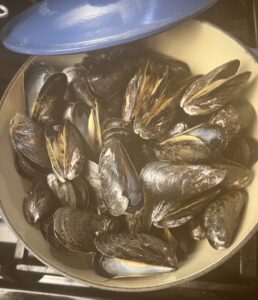
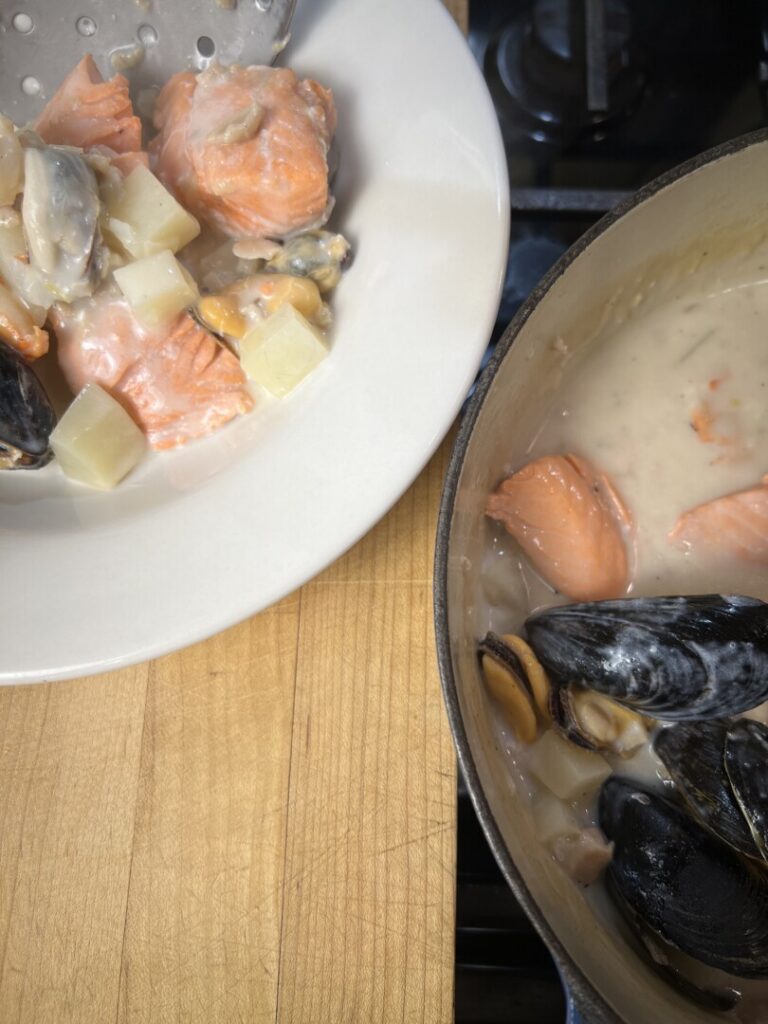
Drain the mussels and put them in a heavy stove-top-proof casserole or pot large enough to hold them when they’re open. The vessel in the photos is a Le Creuset enameled cast iron chef’s oven; its rounded shape and heavy construction are perfect for steaming clams and mussels. https://amzn.to/3Pwf47N You don’t need to add any liquid; the mussels will release plenty as they start to cook. Cover the pan and place over high heat. Depending on size, they should require about 3 minutes of steaming to open. Don’t overcook, or they’ll shrivel up and toughen. When they’re done, lift them out to a bowl and keep warm. (A “spider” tool works best for this. https://amzn.to/3DZBo76 or https://amzn.to/40uTJ53 ) Even though you rinsed the mussels, they’ll nonetheless have exuded a little grit. Strain the cooking liquid into a bowl and let any grit sink to the bottom. Rinse out the casserole.

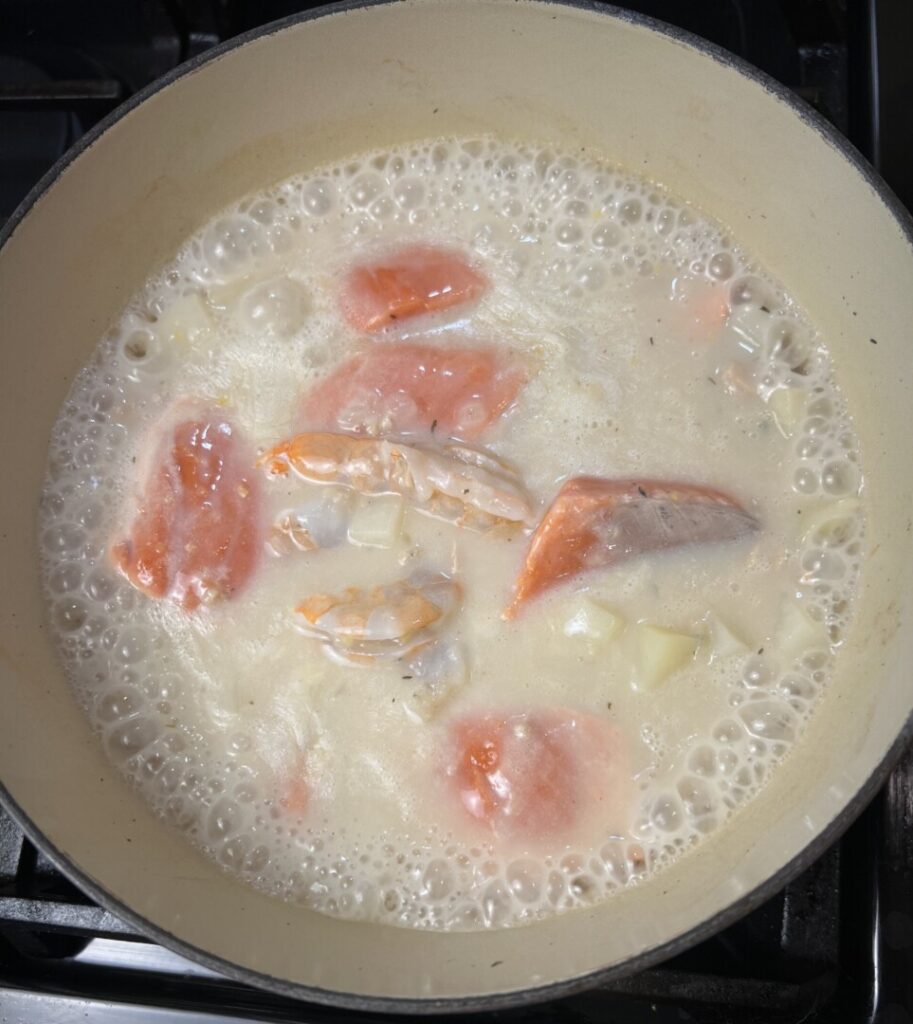
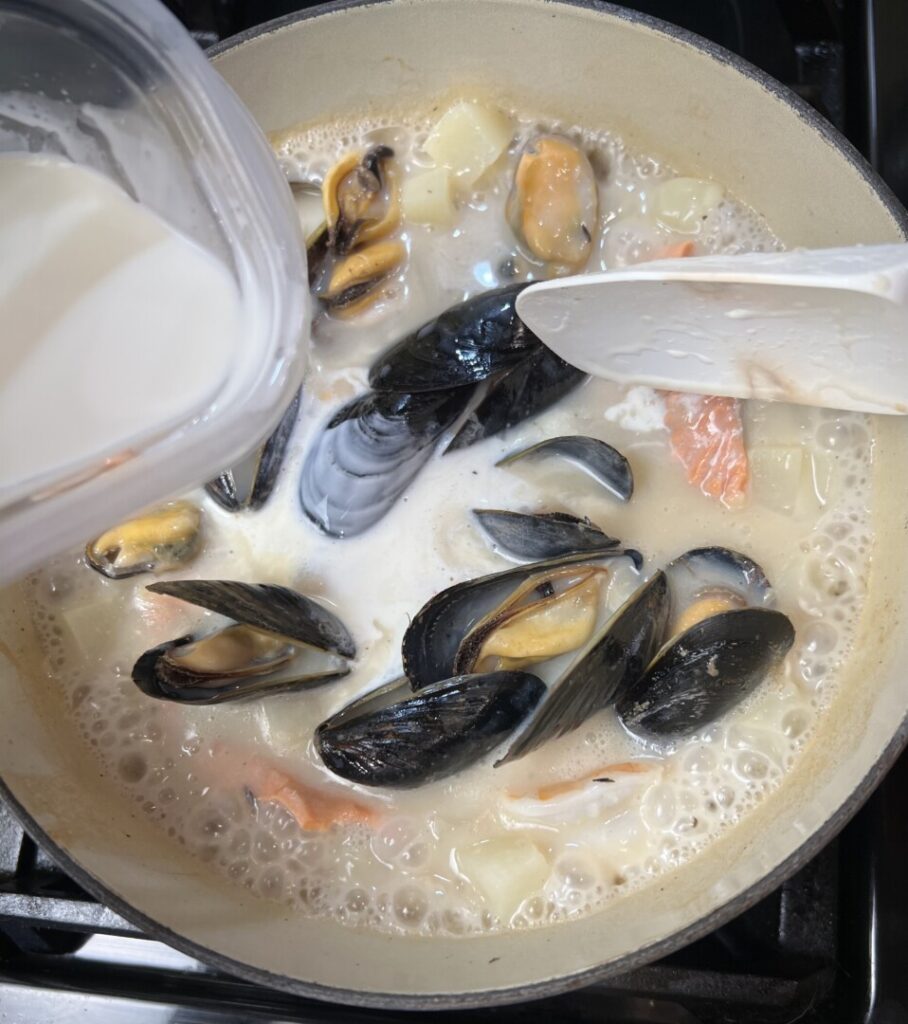
Now, put the sauce base in the casserole and pour in most of the mussel liquid; leave any gritty dregs behind in the bowl. Bring to the simmer. If you purchased 21-25-ct shrimp, they will cook at the same rate as the salmon so add them together. (If your shrimp are smaller, wait a minute before adding.) Cook rapidly but gently, basting and carefully turning the pieces so that they cook through. Add the mussels, cover, and cook just until hot, then stir in the cream. Keep covered.

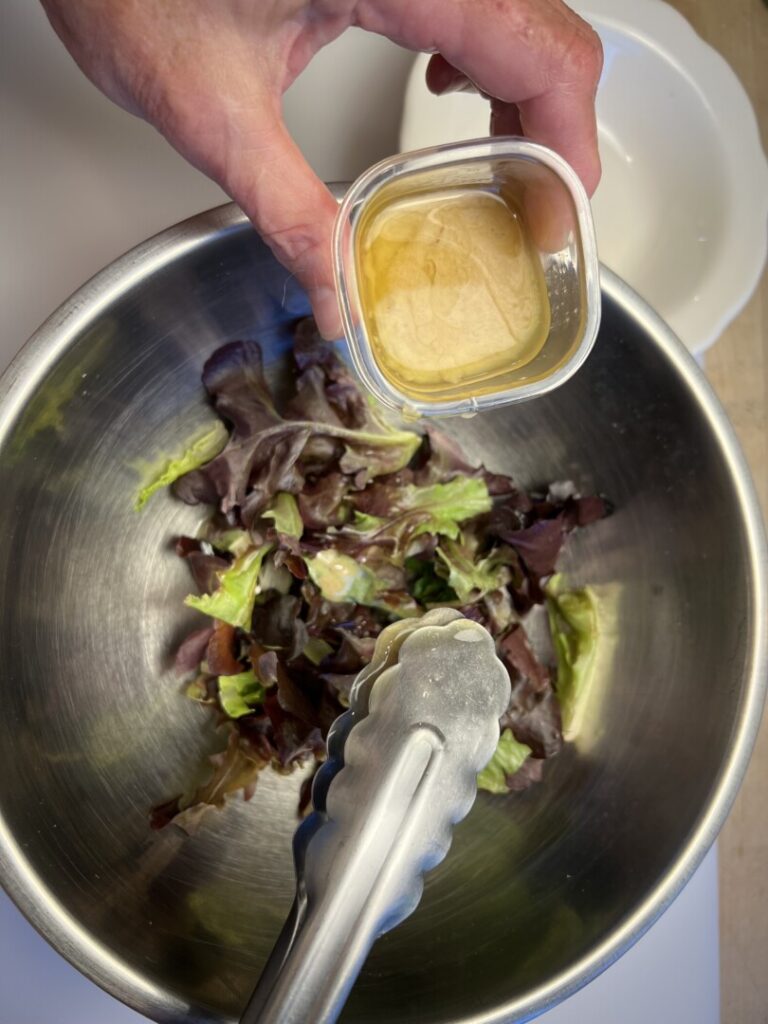
Dress the salad. Break up the lettuce leaves as you add them to a bowl. Gently toss the lettuce with tongs as you drizzle on just enough dressing to coat the leaves.
Now you’re ready to plate!
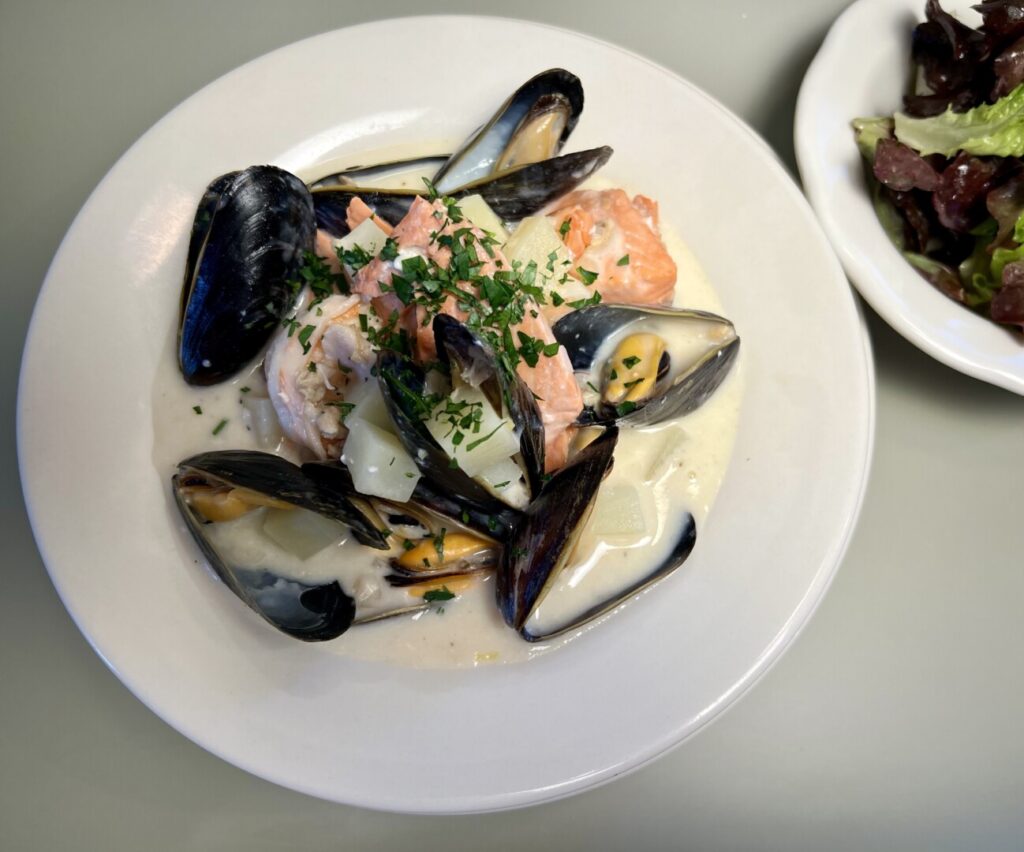
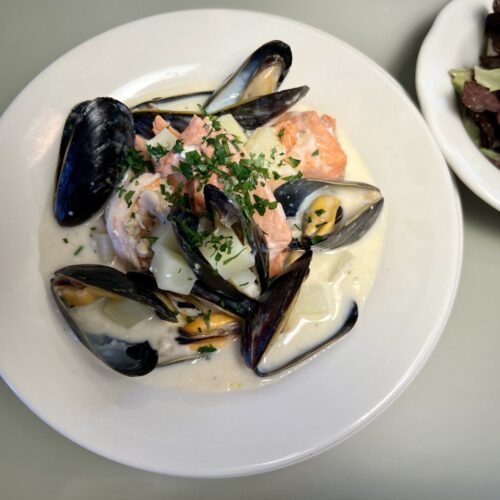
Use tongs and a slotted spoon to evenly portion the salmon, shrimp, mussels, and potatoes into hot pasta plates or wide, shallow soup bowls. Ladle the sauce and clams overtop. Garnish with parsley. Serve the salad in individual bowls, and pass the peppermill.
New England Seafood Chowder
with Winter Greens SaladIngredients
step 1 ingredients
- 1 small russet potato (about 6 oz each)
- 1/4 small onion
- 3 Tbsp butter
- 1/8 tsp dried thyme
- 1/8 tsp ground dried sage
- 3 Tbsp flour
- 1/4 c white wine
- 1 6.5-oz can Snow's chopped clams
- 1 8-oz bottle Snow's clam juice
- 1 bay leaf
step 2 ingredients
- 1 6-oz salmon fillet
- 4 oz Gulf shrimp (preferably 21-25 count)
- 1 lb farm-raised mussels
step 3 ingredients
- 1/4 lemon, seeded
step 4 ingredients
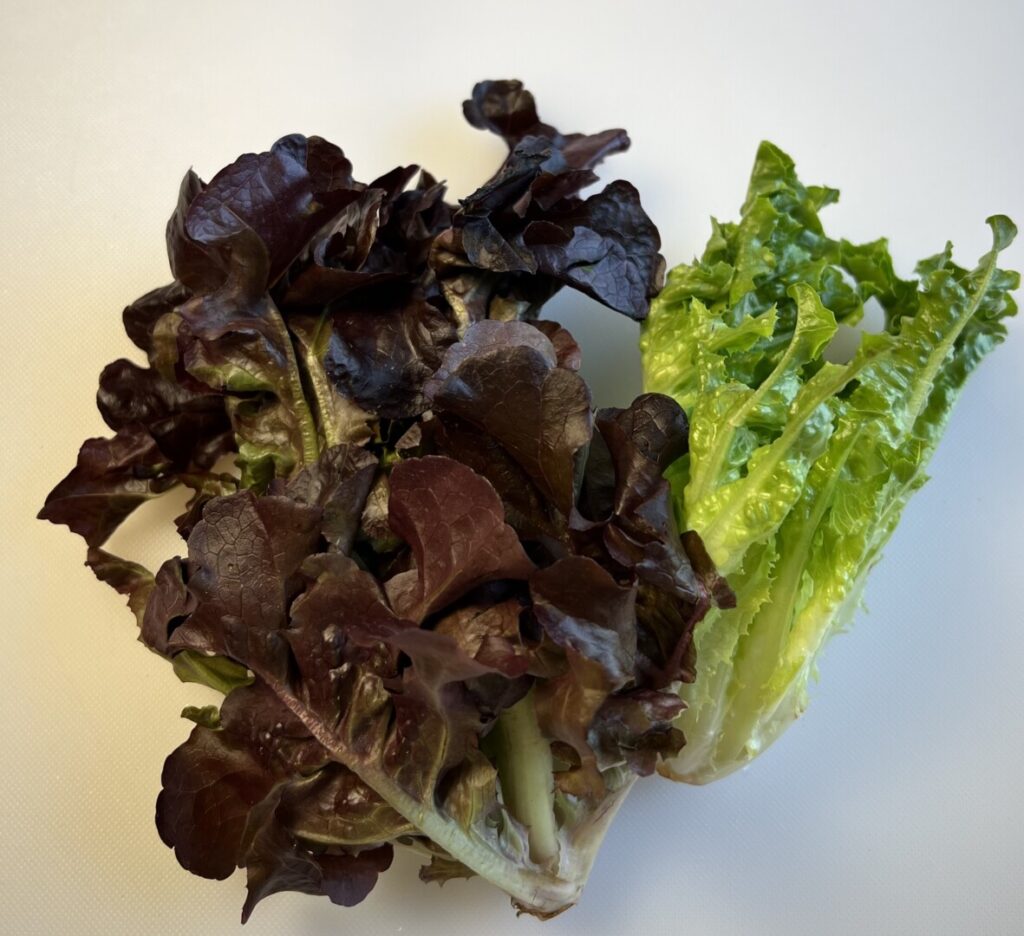
- 4 oz sturdy winter salad greens (romaine, winter head lettuces, escarole)
step 8 ingredients
- 2 Italian parsley sprigs
step 11 ingredients
- 1/4 c heavy cream
step 12 ingredients
- 2 Tbsps Apple Cider Vinaigrette
step 13 ingredients
- to taste black pepper in a mill
Instructions
PREP: Mise the recipe ahead of time.
1. Make the sauce base:
- Peel the potato and cut into rough ½-inch dice. Place in a container and cover with cool water.
- Peel and fine-chop the onion. Place it in a saucepan along with the butter, thyme and sage.
- Cook the onion on low heat about 2 minutes until softened.
- Stir in the flour and cook, stirring constantly for about 30 seconds, to make a roux.
- Slowly stir in the wine, clam juice, and canned clams to avoid lumps forming. Cover the pan and simmer about 10 minutes, stirring occasionally. The sauce should be quite thick.
- Drain the potatoes and add them to the sauce. Simmer about 5 minutes longer, stirring and scraping the bottom of the pan with a plastic spatula, until the potatoes are barely cooked—very firm when bitten, but not crunchy. If necessary, add a little water to prevent scorching.
- If prepping ahead, cool to room temperature, place in a covered container, and refrigerate.
2. Fabricate and store the seafood.
- Rinse the salmon and pat dry. If necessary, remove the skin. Cut the salmon into large chunks (3 pieces per person).
- Peel and devein the shrimp.
- Place the mussels in a bowl and cover with a wet kitchen towel. (See notes at end of recipe.)
- Cover and refrigerate the seafood until needed.
3. Fine-grate the lemon zest and squeeze the juice. Combine and store in a small container.
4. Prep the salad greens.
- Remove and discard any wilted outer lettuce leaves, then separate the remaining leaves from the core, discarding any discolored parts or the tough bases of the veins.
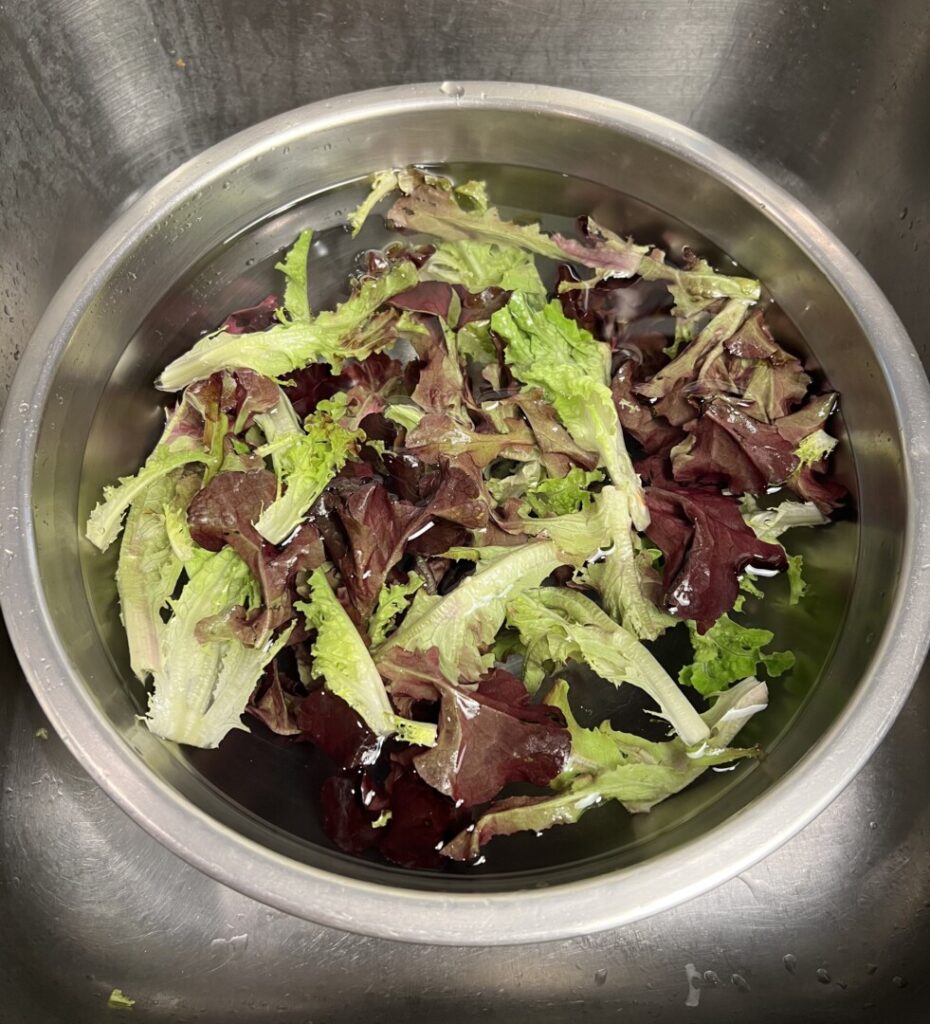
- Wash the lettuce by immersing in cold water and stirring gently with your hands to loosen any soil or grit.
- Lift the lettuce out of the water and drain in a colander.
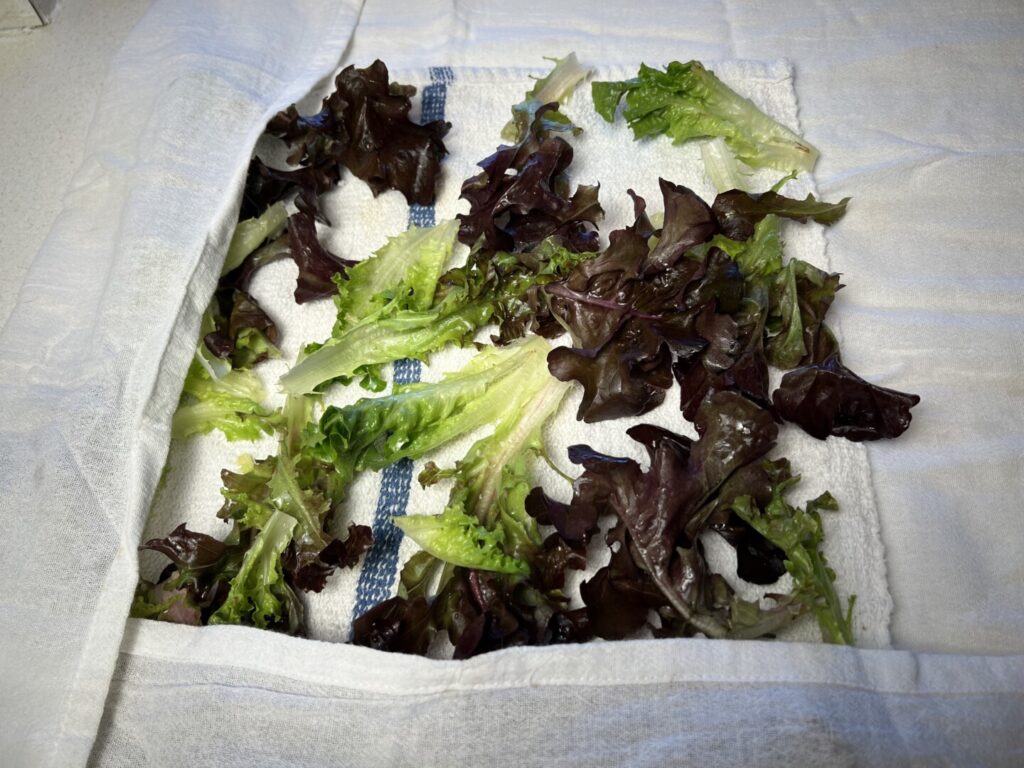
- Spread out the lettuce leaves on a clean, dry kitchen towel, roll up the towel, and refrigerate at least 1 hour to dry the lettuce leaves.
- If prepping ahead, remove the lettuce from the kitchen towel, place a damp paper towel in the bottom of a plastic bag, add the greens, and seal the bag. Refrigerate until needed.
5. If necessary, make the Apple Cider Vinaigrette.
6. Assemble the remaining mise-en-place ingredients for the recipe.
HOLD: Refrigerate all ingredients up to 2 days; salad dressing holds up to 6 months.
COOK! Finish and plate your dinner.
7. Clean the mussels:
- Transfer the mussels into a larger bowl, and place the bowl in a sink under cold running water. Use your hand to agitate the mussels to help remove any grit.
- Pour off the water, and then continue rinsing under running water and draining until the bowl is free of grit.
- Inspect the mussels: if a mussel is open, tap it firmly on a hard surface until it closes.
- Discard any mussels that don’t close or that have broken shells. If any of the mussels have “beards” (wiry protruding filaments), pull them off.
8. Wash, blot dry, and chop the parsley.
9. Pan-steam the mussels:
- Place the mussels in a large casserole or sauce pot, add a tight-fitting lid, and place over high heat. Steam the mussels about 3 minutes, and then check whether they have opened. If not, stir the mussels to redistribute them, re-cover, and continue steaming 1 or 2 minutes longer.
- Use a “spider” strainer to lift out the mussels into a bowl and cover to keep warm.
- Strain the mussel liquid into a small bowl, rinse out the pot, and return the pot to the stove.
10. Finish the broth:
- Combine the chowder sauce and the mussel liquid in the pot and bring to a simmer.
- Add the lemon juice and zest, then evaluate the flavor. (You likely won't need to add salt, as clams and mussels are naturally salty.)
11. Poach the seafood and finish the broth:
- Add the salmon and shrimp to the sauce and simmer briskly for 1 to 2 minutes or until the seafood is almost cooked through. Baste with simmering sauce and/or gently turn any seafood not submerged. Check doneness by making a small cut into the largest piece of salmon.
- Add the mussels (without breaking up the fish), cover, and simmer 1 minute longer until the mussels are hot and the potatoes are cooked through.
- Add the cream and simmer a few seconds until the sauce once again is hot. Re-evaluate the flavor and make any necessary corrections. Cover the casserole.
12. Dress the salad greens:
- Tear the lettuce into bite-size pieces and place in a bowl.
- Thoroughly shake the dressing to re-emulsify it, then drizzle onto the greens, using just enough to coat each leaf but not overdress. Toss with tongs until each leaf is lightly coated.
13. Plate:
- Use a slotted spoon and tongs to portion the salmon, shrimp, mussels, and potatoes evenly among hot soup bowls.
- Ladle the sauce over the seafood.
- Sprinkle each serving with parsley.
- Portion the salad into individual bowls.
- Pass the peppermill for the chowder.